Author Topic: Winter project - Yew Recurve bow  (Read 288438 times)

0 Members and 4 Guests are viewing this topic.

Offline Gordon

  • Member
  • Posts: 3,299
Re: Winter project - Yew Recurve bow
« Reply #105 on: March 03, 2012, 11:06:33 am »
Thank you for the nice words Mark.

Scott, I actually have a bandsaw and I use it a lot. But I wanted folks who are newer to the craft to benefit from the build-a-long and many of them don't have access to power tools. The wood handled tool you are referring to is a scraper. It's called a Bowyer's edge and is sold by Dean Torges. I use this tool a lot. I typically use the shorter yew pieces for handles. If you want to make some bow reels out of it, that would be pretty cool. I'd be happy to send you some.

Thanks for the compliment Randman. I actually use those shoes for hunting. They are quiet and you can feel every stick and twig under your feet which is great when you are stalking elk.

Gotta go now and mix up the hide glue.
Gordon

Offline Gordon

  • Member
  • Posts: 3,299
Re: Winter project - Yew Recurve bow
« Reply #106 on: March 04, 2012, 02:13:42 pm »
Today I will be applying the sinew backing to the bow. I start by mixing up the glue. I’ll be using a mixture of dried hide glue flakes that I got from a woodworking store and some Knox unflavored gelatin. I’m using a mixture because I don’t have enough dried hide glue for the whole job.  I put the mixture in about 2 cups of water in a stainless steel bow and slowly heat it to about 140 degrees using a crock pot as a double boiler. In about 2 hours I have a nice amber colored glue about the consistency of light syrup.


While the glue is heating, I prepare the bow for the sinew job. First I sand the back with 60-grit paper to rough it up a bit. I then put small groves into the surface of the back by running a toothing plane blade along the length of each limb. The surface needs to be absolutely free of contaminants to ensure good glue adhesion so I wipe it down with acetone. After the acetone has flashed I rinse the limbs with boiling water.


Gordon

Offline Gordon

  • Member
  • Posts: 3,299
Re: Winter project - Yew Recurve bow
« Reply #107 on: March 04, 2012, 02:15:06 pm »
The final preparation step is to size the surface with glue. This step is necessary to ensure that there will be a good bond between sinew and wood.  I apply 3 coats of warm hide glue using a clean brush and let the glue dry between applications.


Now I am ready to begin applying sinew to the bow. I begin by laying out bundles of different lengths sinew on my bench. Each bundle is made up of about 5-7 strands of sinew.

Gordon

Offline Gordon

  • Member
  • Posts: 3,299
Re: Winter project - Yew Recurve bow
« Reply #108 on: March 04, 2012, 02:16:26 pm »
I’m going to lay the first row of sinew down the center of the limbs. I start by taking a bundle of long sinew strands and swirl it in the warm hide glue for several minutes until it is saturated. I hold the bundle in the middle to prevent the ends from tangling. About midway through the process I move my hold to a different spot to allow the sinew that was between my fingers to become saturated with glue. After the bundle is saturated, I gently squeeze the excess glue from the bundle and then I comb the fibers straight to prevent them from crossing over when I lay them down.


Gordon

Offline Gordon

  • Member
  • Posts: 3,299
Re: Winter project - Yew Recurve bow
« Reply #109 on: March 04, 2012, 02:17:57 pm »
I center the first bundle down the handle of the bow and then starting from the center of the bundle I run a wooden dowel toward the ends to smooth the bundle and push it into the surface. I then place additional bundles end to end until I have a continuous strip of sinew down the center of the bow.


Next I place bundles to each side of the center bundle making sure to stagger the joints between bundles so that no weak spot is created across the limb. I continue the process until the entire limb is covered with sinew. This is what the bow looks like after applying the first course of sinew.

Gordon

Offline Gordon

  • Member
  • Posts: 3,299
Re: Winter project - Yew Recurve bow
« Reply #110 on: March 04, 2012, 02:19:20 pm »
After the first course of sinew is down, I let it set for about an hour and then size it with glue in preparation for applying the next course. Some folks let the sinew cure between courses, but I don’t see any compelling advantage in doing it that way – it just makes the job longer and more complicated in my opinion.

I begin the second course of sinew by butting two long bundles at the center – recall that I centered the first bundle of the previous course with the center of the handle.  I do this to ensure that the strips for this course will be staggered with the strips from the first course. Again, I want to stagger the sinew strips so that I do not create a weak spot on the limb.

After applying the second course I apply a final ½ course down the center of the limbs to create a bit of a crown.  I then use small lengths of sinew to fill any obvious gaps and unevenness in the backing surface.
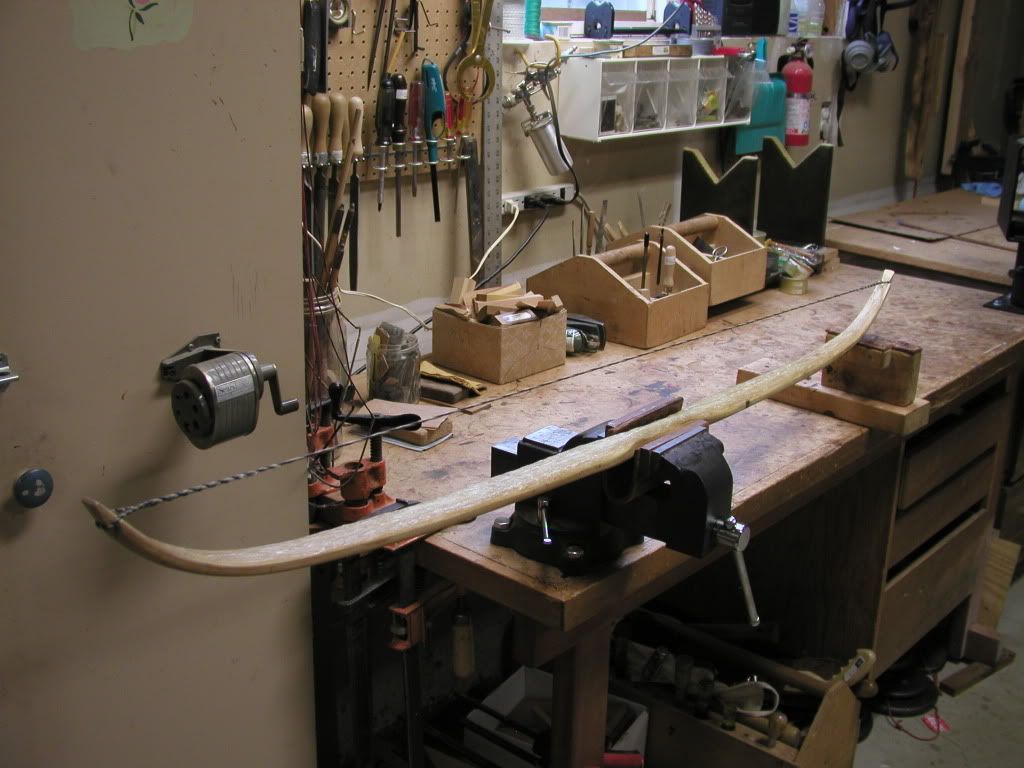
I let the sinew setup overnight and then string the bow backward to help induce reflex as the sinew cures.


I now need to let the backing cure before I do anything else. So it will be a while before I post any more steps.
Gordon

Offline osage outlaw

  • Member
  • Posts: 11,960
Re: Winter project - Yew Recurve bow
« Reply #111 on: March 04, 2012, 02:42:25 pm »
Looking great Gordon.  How long do you let the sinew dry before finishing the bow?  The wait is going to be agonizing. 
I started out with nothin' and I still got most of it left

Offline Gordon

  • Member
  • Posts: 3,299
Re: Winter project - Yew Recurve bow
« Reply #112 on: March 04, 2012, 03:00:55 pm »
I think it will be at least a month before I can do anything else with this bow.
Gordon

Offline Shaun

  • Member
  • Posts: 257
Re: Winter project - Yew Recurve bow
« Reply #113 on: March 04, 2012, 03:51:09 pm »
Fine work Gordon! Good idea to comb the sinew at the last to prevent cross over.  It will be tough to wait a month for the next installment.

Also; clean shop, respect for tools (standard and low angle block planes set on their sides to protect the blades), stainless steel Stanley coffee thermos - small things that indicate craftsmanship and an attention to detail that is reflected in your finished bows.

Offline druid

  • Member
  • Posts: 475
Re: Winter project - Yew Recurve bow
« Reply #114 on: March 04, 2012, 03:56:38 pm »
Gordon, master of buildalongs........

Offline lesken2011

  • Member
  • Posts: 2,063
  • Kenny
Re: Winter project - Yew Recurve bow
« Reply #115 on: March 04, 2012, 04:01:08 pm »
Great job, as usual, Gordon. It'll be hard to wait a month!! :'(
For by grace you have been saved through faith, and that not of yourselves; it is the gift of God, not of works, lest anyone should boast.

Ephesians 2:8-9

Kenny from Mississippi, USA

Offline ErictheViking

  • Member
  • Posts: 1,504
Re: Winter project - Yew Recurve bow
« Reply #116 on: March 04, 2012, 04:03:57 pm »
Gordon, master of buildalongs........

exactly!
"He that but looketh on a plate of ham and eggs to lust after it hath already committed breakfast with it in his heart"  C.S. Lewis

Offline gstoneberg

  • Member
  • Posts: 3,889
Re: Winter project - Yew Recurve bow
« Reply #117 on: March 04, 2012, 04:26:58 pm »
What, no pictures of sinew stuck to every part of your hands and arms.... :o  You're missing half of the fun of a sinew job.  Wow, I have never spent the time to lay out the sinew, looks like it would really be handy that way.  I've also never combed out my sinew and I'm definitely trying that next time.  I love build-a-longs.  Doesn't matter how many times you've done what's being presented, you always learn something new. :)

George
St Paul, TX

Offline Prarie Bowyer

  • Member
  • Posts: 1,599
Re: Winter project - Yew Recurve bow
« Reply #118 on: March 04, 2012, 05:13:19 pm »
What, no pictures of sinew stuck to every part of your hands and arms.... :o  You're missing half of the fun of a sinew job.  Wow, I have never spent the time to lay out the sinew, looks like it would really be handy that way.  I've also never combed out my sinew and I'm definitely trying that next time.  I love build-a-longs.  Doesn't matter how many times you've done what's being presented, you always learn something new. :)

George

There is a Youtube video on making Korean Horn Bows, in Korean, about a Korean making the traditional bows.  In that he's sinewing it the same way and using a metal comb.  Like a realy fine one.  It looked similar to a flea comb like you might get at the pet store to combing out your dog after a flea bath.  ALL his patches seemd to be pretty shot but they were well woven togeather and staggered.

Offline Jboyd

  • Member
  • Posts: 89
Re: Winter project - Yew Recurve bow
« Reply #119 on: March 04, 2012, 06:58:48 pm »
What a great build along and one fine piece of wood, very organized and precise, I'm sure I would
be a much better bowyer if I were that way, I love all the bows of yours I've seen on here they are
works of art and very inspireing thank you!

Jamie