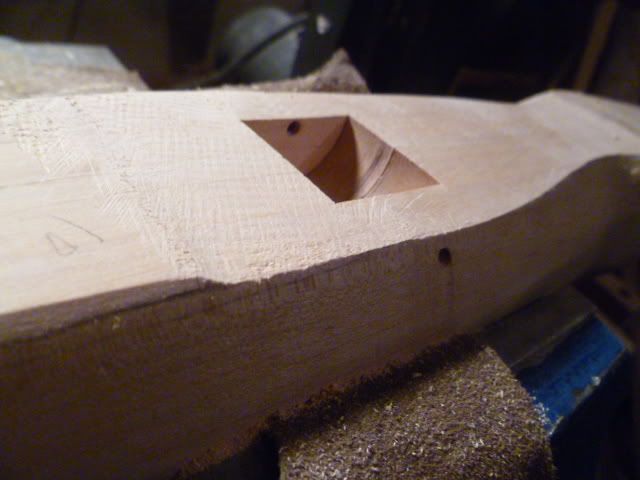
Before I could start the bone table work, a few more steps needed to be completed. Next, I made the dovetail slot for the quarrel or bolt rest. I am not sure you can tell, but the nose of the crossbow slops downward from around just before the prod binding hole. There are essentially two systems for medieval crossbows, one being a groove to guide the bolt as it is shot, and a more sophisticated quarrel rest coupled with a slightly downward sloping “nose.” The primary advantage to this style (besides looking more elegant and “cooler”) is that much less of the bolt is in contact with the tiller, thus reducing friction and improving velocity. A secondary benefit with an adjustable bolt rest (vs. one that is permanently glued on) is that you can then adjust the bow for windage. Since this bow (and almost universally historic bows from the medieval period) will not have a rear site, adjustment for elevation is accomplished by raising or lowering the bow by the shooter.
The much simpler bolt groove that was typical of earlier crossbows had the primary advantage of more robust construction, but at a cost of more friction to the bolt, which rests at all times along the interior of the groove. Lining the groove with bone will help in reducing velocity-robbing friction, so that extra step is one to consider.
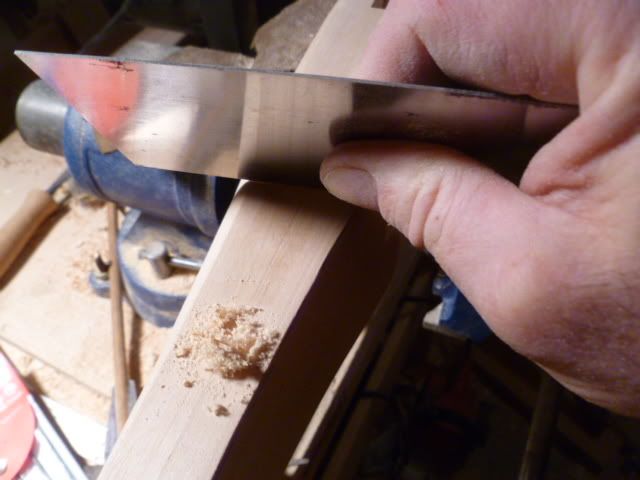
It wasn’t too hard to make this, and basically consisted of cutting a dovetail slot with a small saw and chisels and finishing the slot with a 60° triangular file and small flat files for the base of the groove. A router would speed construction of the slot, but at the risk of making a single fatal error and ruining all the work you put into the tiller up to this point. If you are like me, chisel work sometimes looks pretty ugly until you done, so don't dispair if you think things are not shaping up well. They really are.
After making the quarrel rest out of cow bone, I changed my mind and will be fashioning a new one out of a nice contrasty hardwood for a bit of added style and contrast to the color of the other tiller components.


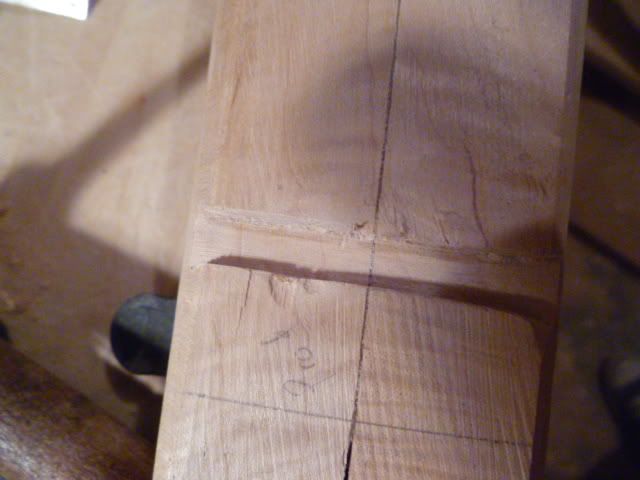
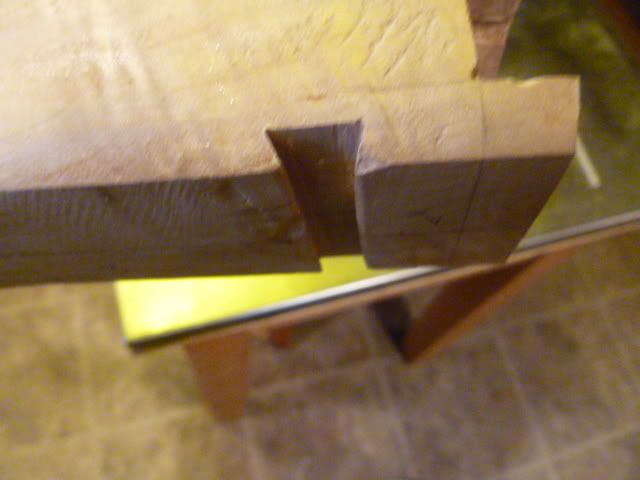
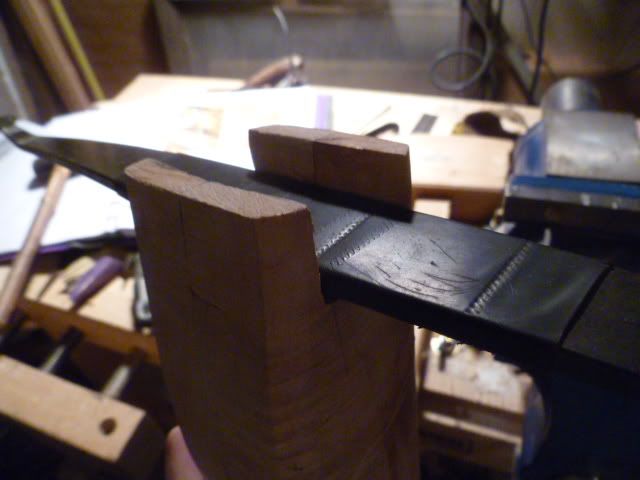
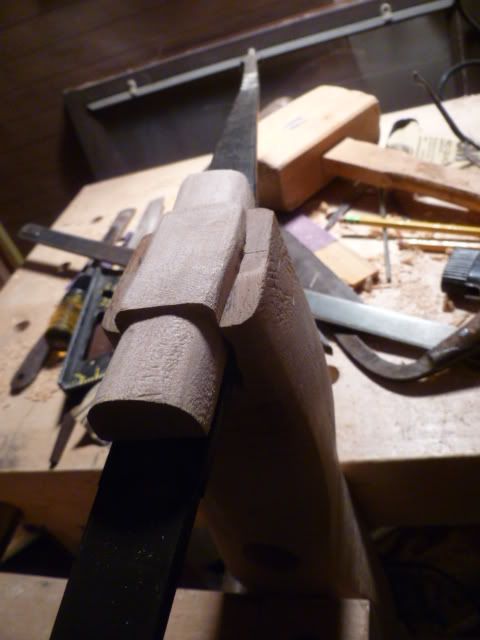
Next, it was time to cut my prod socket. Notice there is a lot of extra wood I left on the nose of the tiller just for this purpose. The back of the socket will be exactly 11.5” from the center (give or take a wee bit) of the rolling nut socket, and another point of measurement I used was where that slope ended and the table was flat all the way back to the butt end of the tiller. You will need the prod to be not at about a 6 degree angle, with the bow tips pointing up, toward the ceiling, rather than down, toward the ground (how is that for exact engineering language?) That is because of string clearance on the top of the tiller. Hopefully, the photos will make sense, but perhaps saying without that angle for the prod, the string would rest hard against the top of the tiller all the way through the draw, wearing out the string fast and causing hideous friction. You would have a beautfiful looking club, but not much of a bow. Ideally, when strung, the string never touches or barely touches the table top all the way through the draw from brace height. Once you string the bow, you will then be able to see if adjustments have to be made to the prod socket, perhaps wedges or shims, or judisious wood removal. But that for later, and for now, a 6 degree angle should be just right.
I laid the prod on the tiller, making sure I had equal amount of wood both above and below, and had left enough extra that I could monkey around a bit. I drew the outline with a pencil, and used a protractor to ensure I had a 6 degree angle at the back of the socket. I used a band saw to cut away the waste wood and then used chisels and rasps to do the rest. Notice perhaps that there is some curly figuration in the wood, and that means the wood was a bit harder to work, more brittle, and just a little more demanding than clean grained stuff. The price to pay for beautify, I guess

So, the socket edges are not quite as precise as I would have liked them to be, but on the other hand, most of it is going to be hidden by a prod binding block (I will get to that simple component later), and the binding itself, both for the prod and the stirrup).

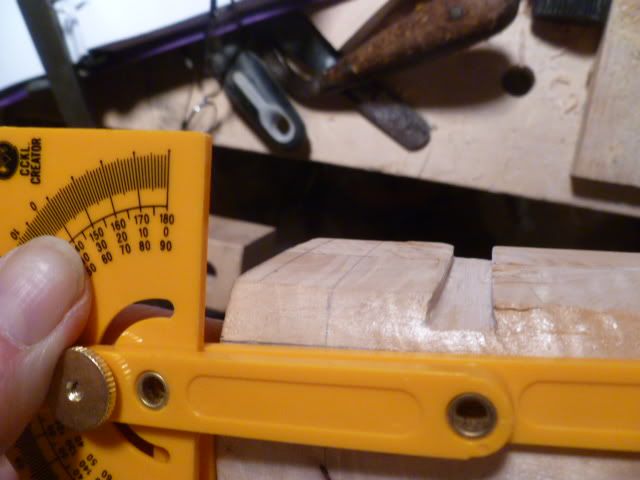
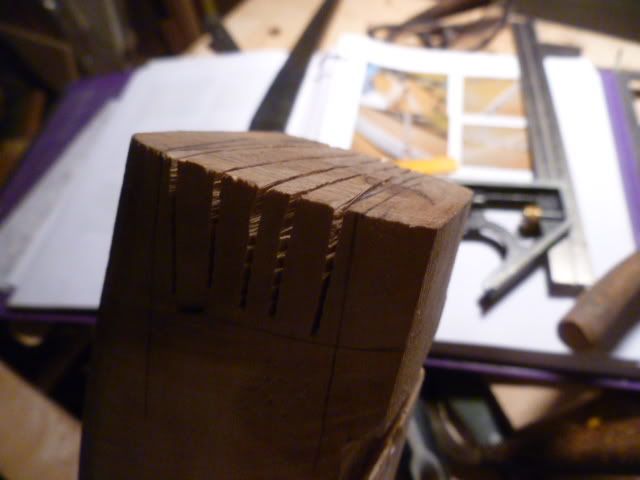
Now things got dicey – aka time to think on your feet and not despair. As I mentioned before, I had used holly wood for my last medieval crossbow’s table facing material. It looked great, and was very similar in appearance to bone or ivory. But it wasn’t bone or ivory, and I had wanted to use the “real deal” for a long time. Be advised that you can have no special table surface material at all, and you will have a very fine crossbow.
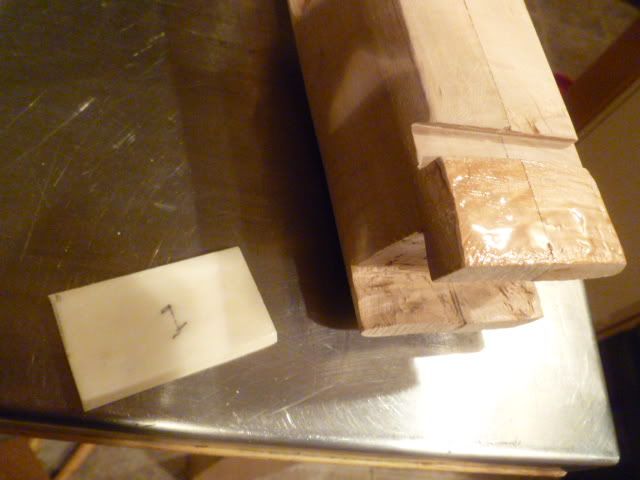
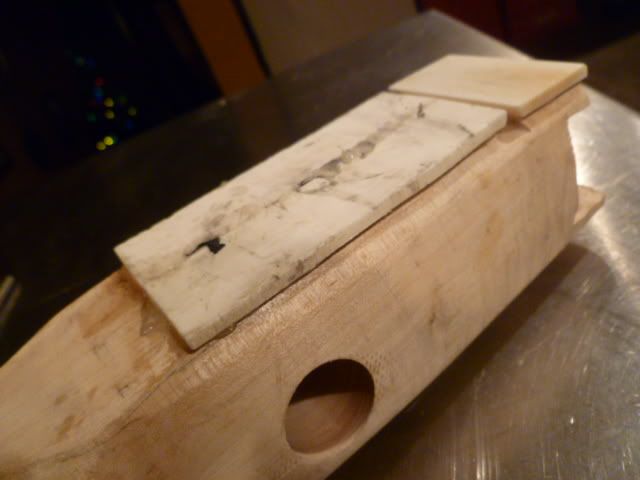
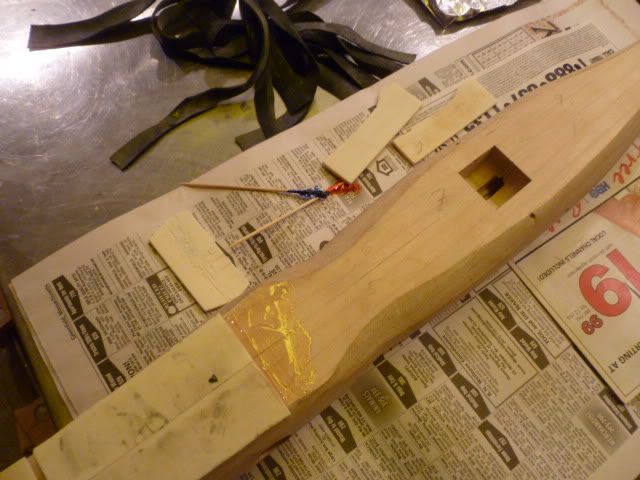
That being said, I found an online vendor that sells preshaped bone scales in various sizes all ready to go. Knife makers use them for handle scales. I purchased 14 pairs that were 4” x 1.25” by 1/8” thick. They came about a week after ordering, and looked great, and thus I had found an easy way to get a killer bone table.
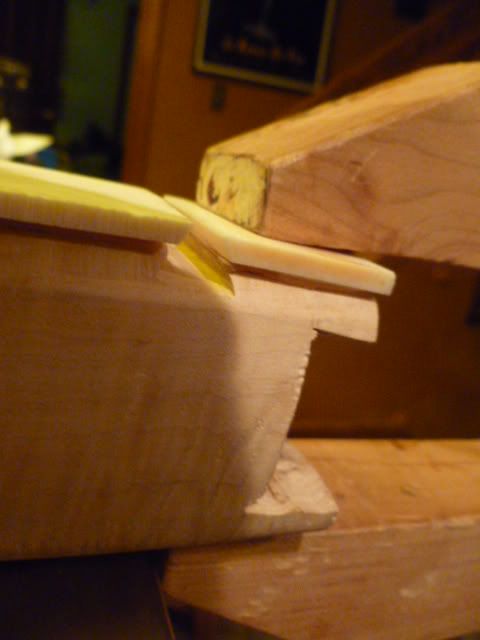
However, and this is a big however, the scales were thick enough that not enough of the rolling nut would be there to properly string the bow. My big concern was that with the bone plating, the top surface of the crossbow would be too high, and thus interfere with the operation of the nut. In other words, the bolt would be riding too high and the notch in the nut would have to be so high, the lugs would not be sufficient for stringing the crossbow.
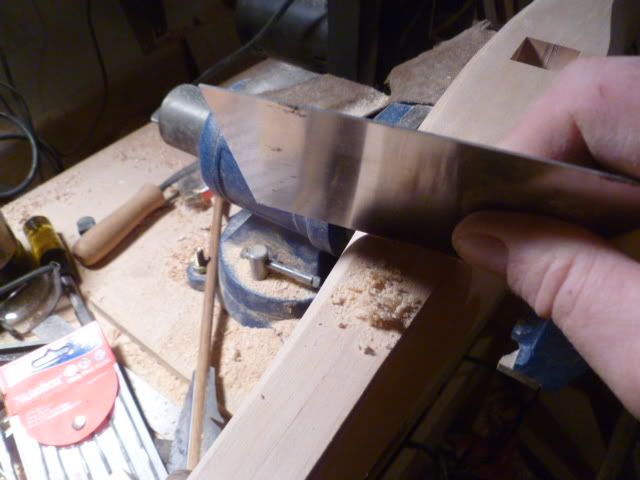
I had two options; 1, sand down the bone to half their thickness, or work down the top of the tiller. Being of sound mind and body, the thought of sanding and filing down that volume of bone was out of the question and in the stone cold crazy column of crossbow building. So, out came the old farrier’s rasps and the cabinet scraper, and I began what turned out to be a not too horrible task of reducing the height of the tiller.
And to think,, all this would have been unnecessary if I had had the bone scales at hand when I was laying out the initial dimensions, and I could have adjusted the socket hole depth without all this bother. A lesson there, for sure.
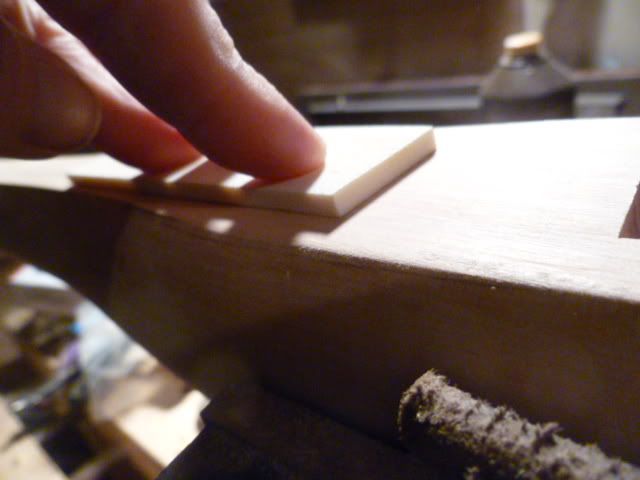

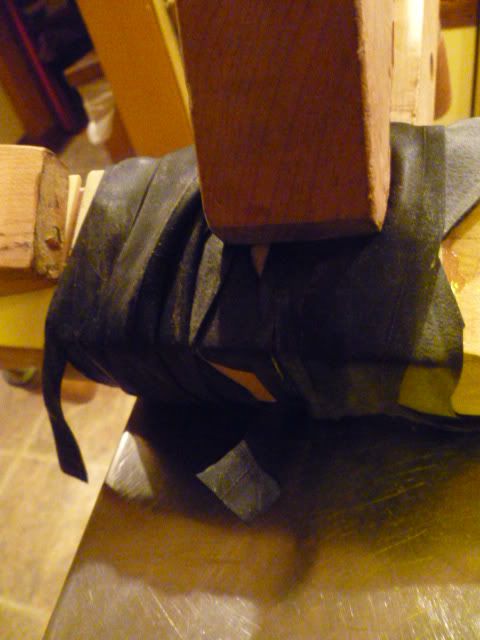
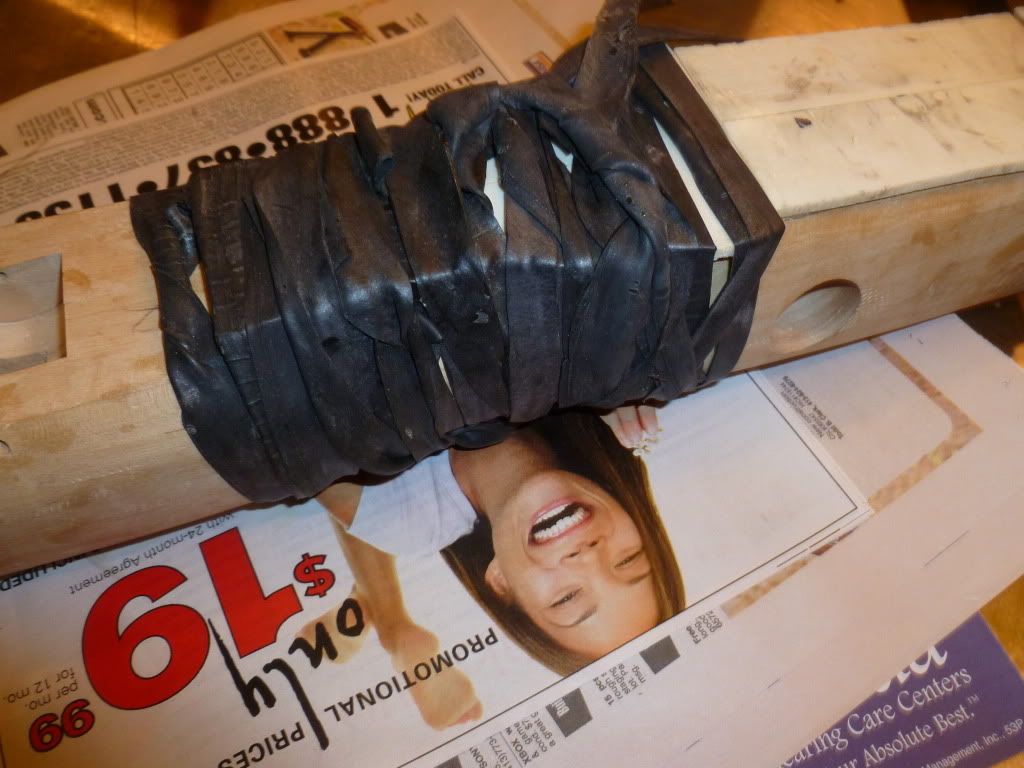
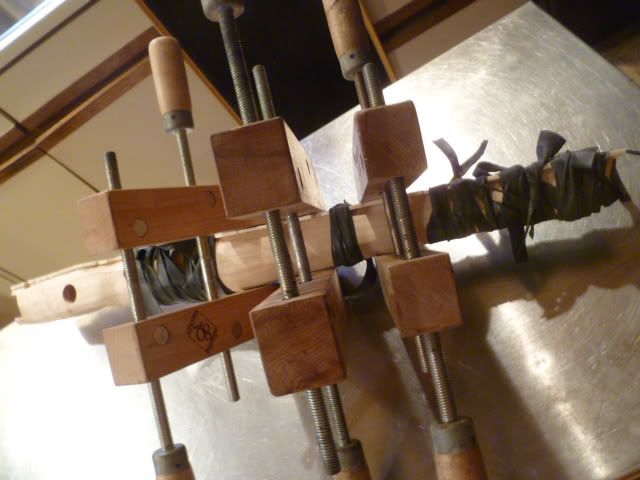
Once all was set, I liked the pattern I had developed, and I felt that the wood was as flush as I was going to get it, it was time glue it all down. I used two part epoxy, stuff I got at a big box store that said it was “professional grade.” Most likely any type – 3, min., 5 min, 7 min, etc will work. The used a few wood clamps, but mostly I used bicycle inner tubes cut into long strips to help glue this all together. It was easy to do, and I just tied on the tube strip where I wanted it to begin, wrapped, and then slipped the end into the next adjacent already tied tube.
It looks like a rubber mummy, a bit, and the scent of the inner tubes reminded me of when I was a kid and used to go to Pep Boys for those little Monkey inner tube repair kits.
I only glued a few bone pieces at a time, with a 24 hour wait between gluing operations, and thus, I got the job done.
Next posting, I will continue with the bone surface treatment, aka why the $#@#&**% didn’t I just settle for a plain table?
