Ok, those projects went well except for the arrow rest...i put one on, but i might just shoot this off the hand, take that sucker off.
INLAYS
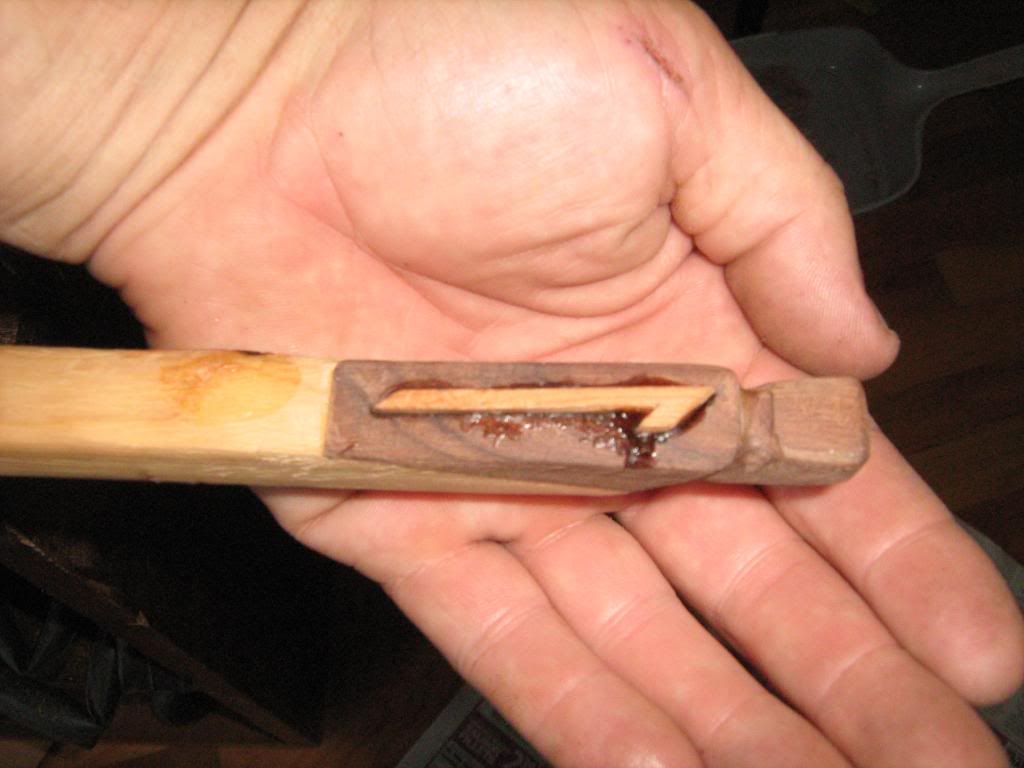
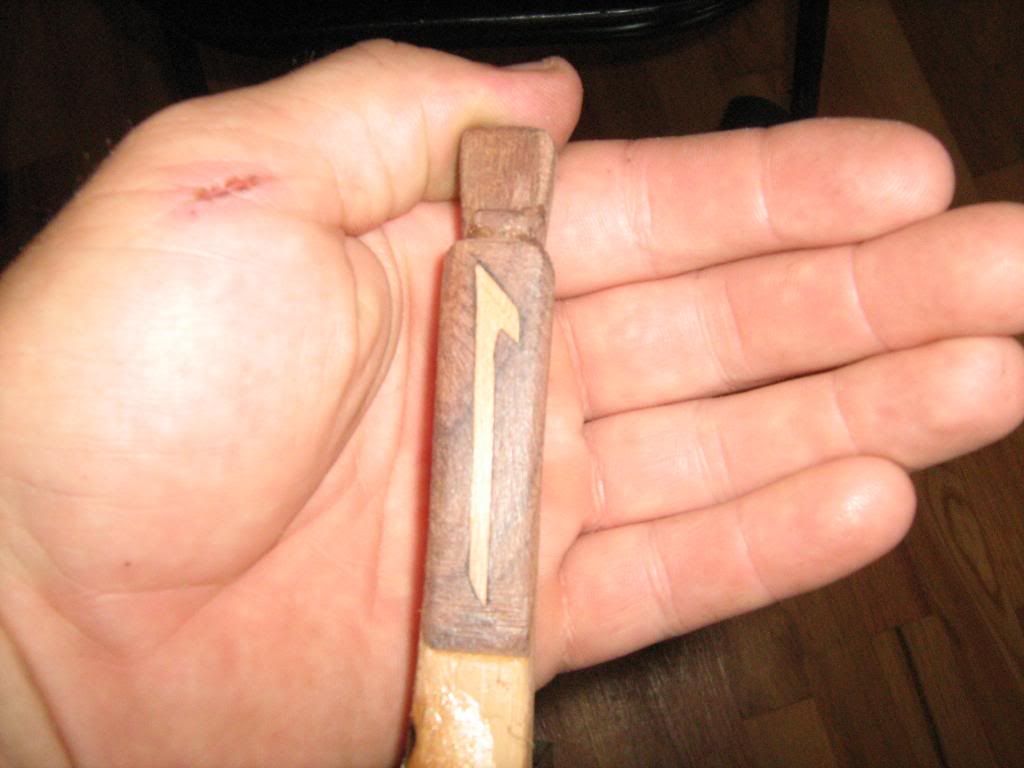
These were not easy. Well, this part was easy: drawing them on a blank. The blank is a slat of yew which is 3/16 thick. I used a sliding bevel to make the angle, roughly 60 degrees. Next time i will make it a true 60 degrees, because then it will match the taper files i bought to clean out the inside corners. You'll notice the shape: a straight line with a hook at each end. This is the rune i was going for, because apparently it means Yew Tree. But sadly i busted one end off, making it a rune which means emotion/imagination/magic. I've put a couple pics in which show permutations of how two of these "L's" can be combined. One way of course is to make a longer version of the rune i originally intended. Another way is shaped like an arrow: another rune which means victory.
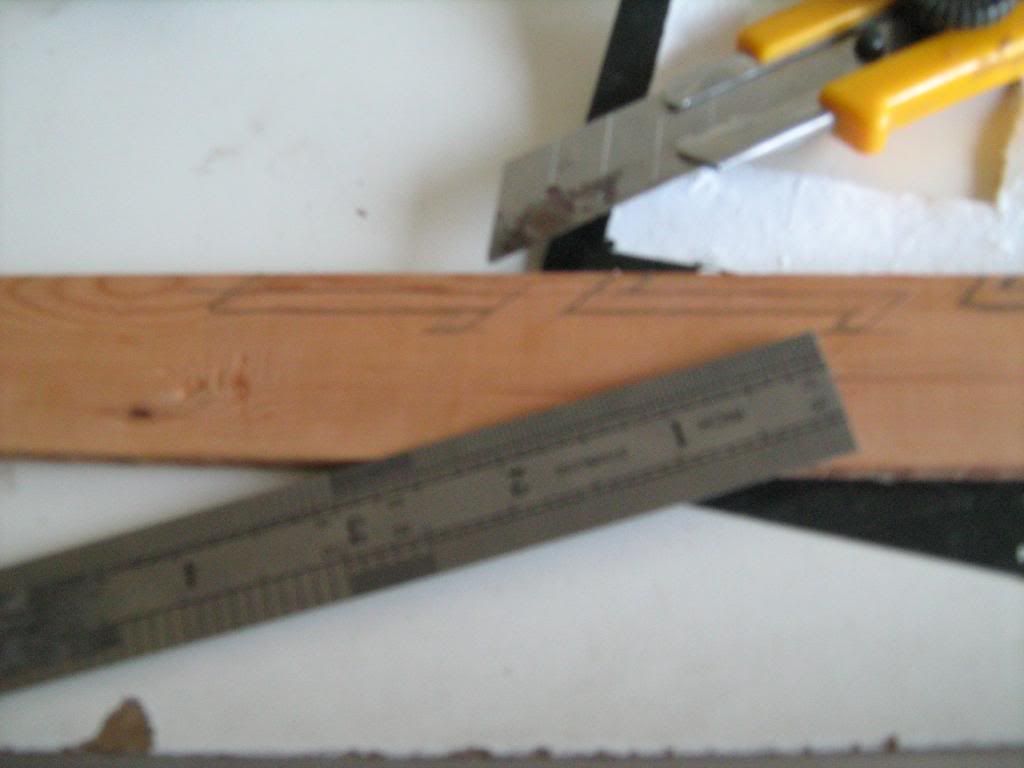
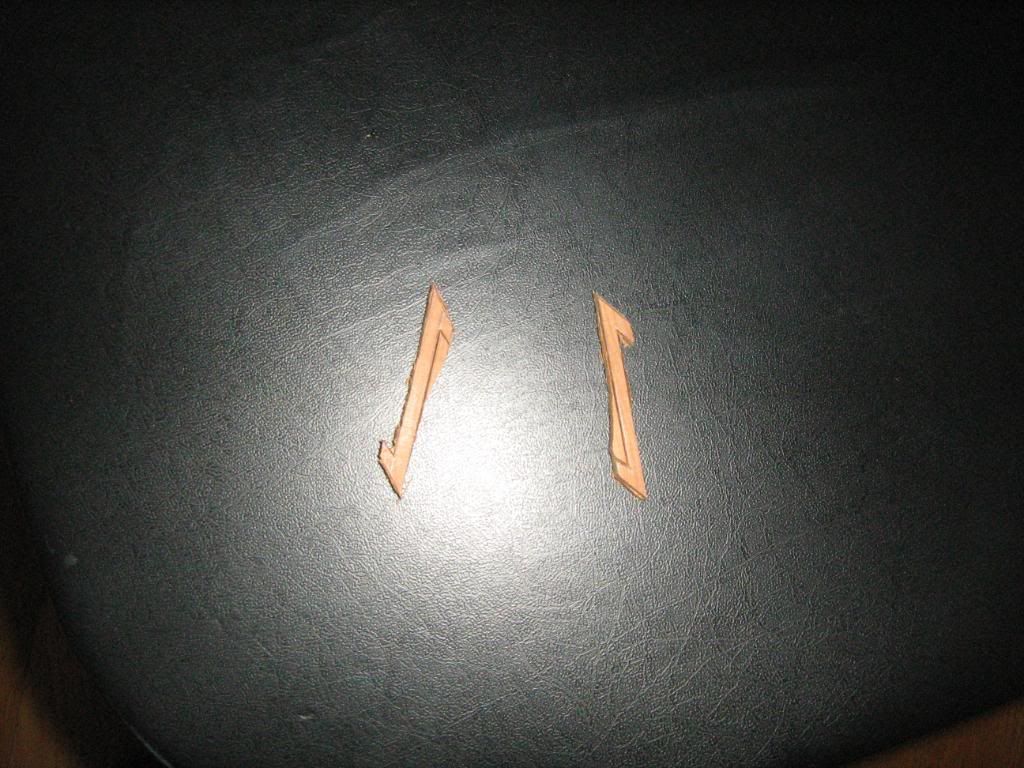
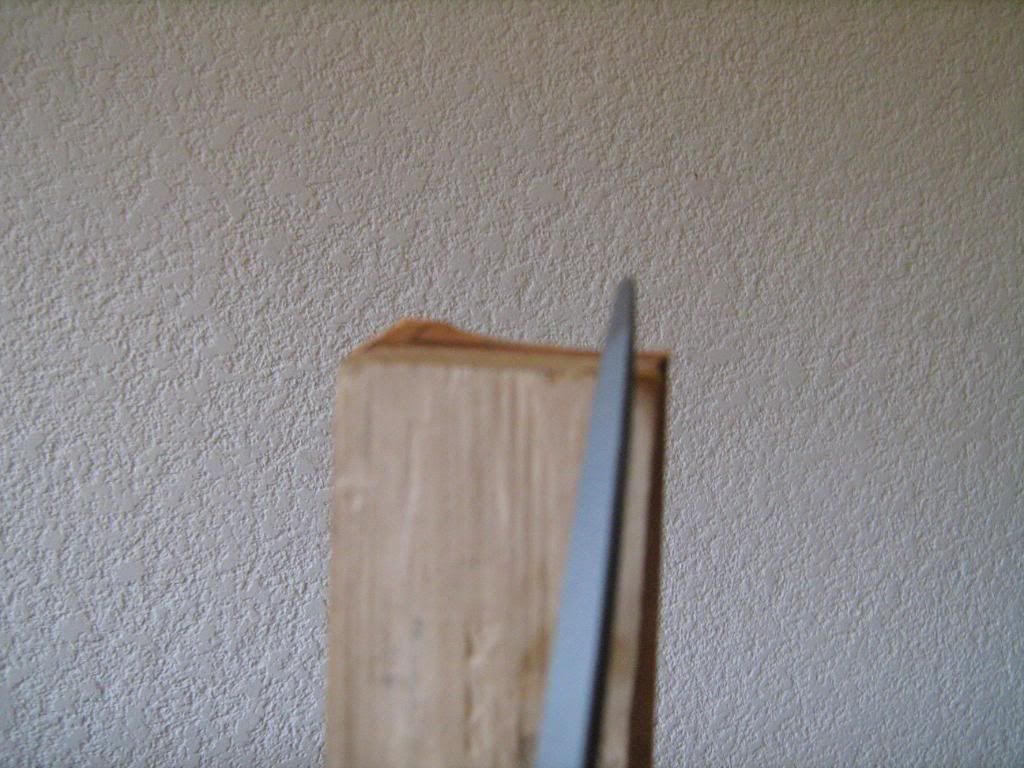
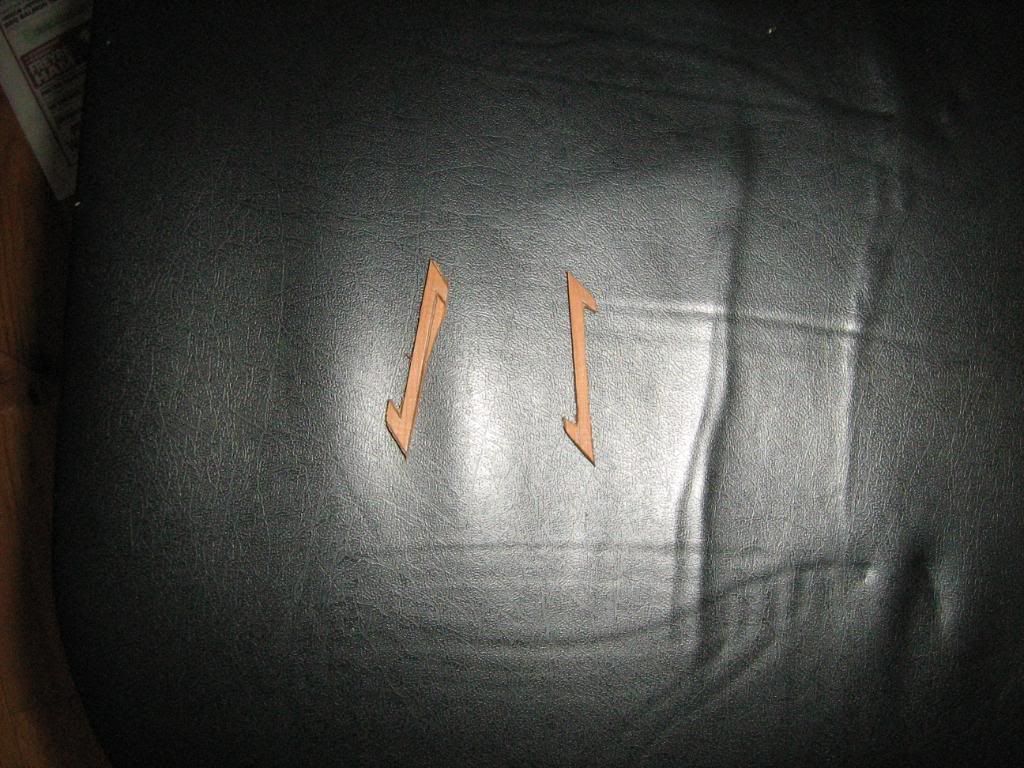
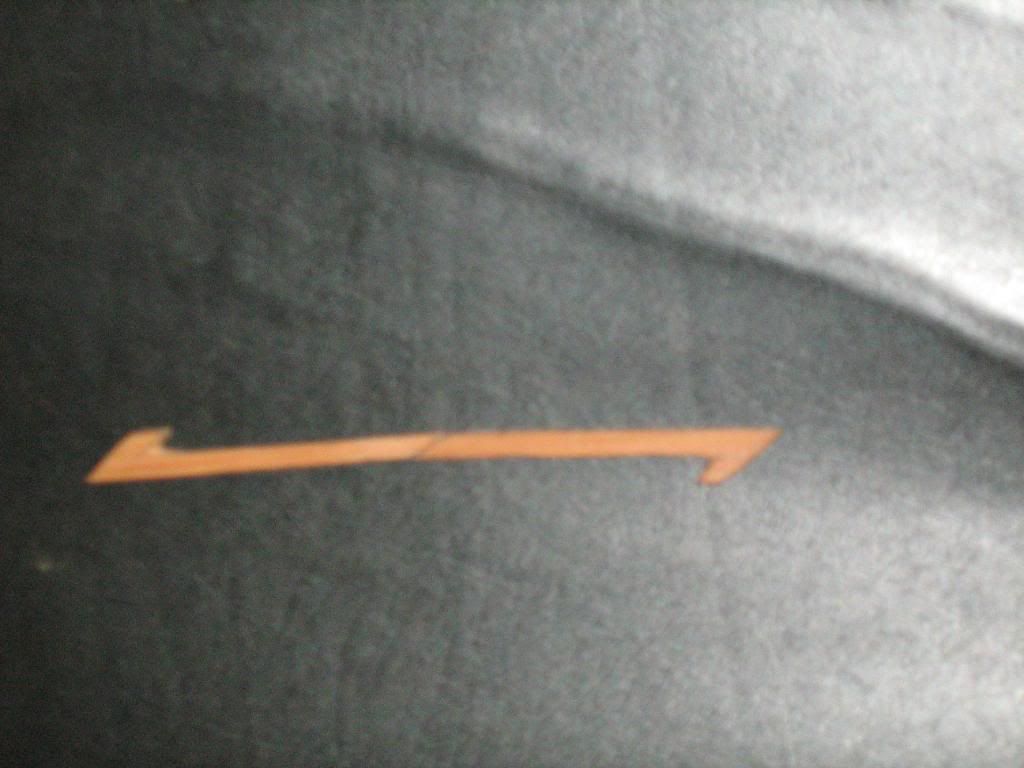
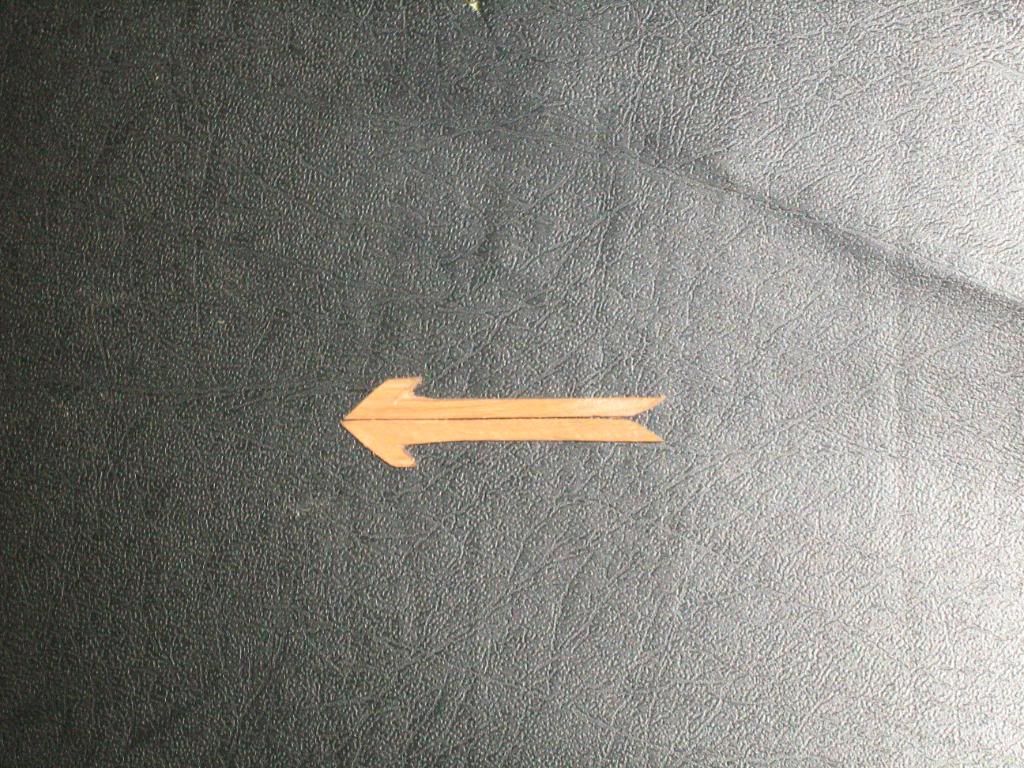
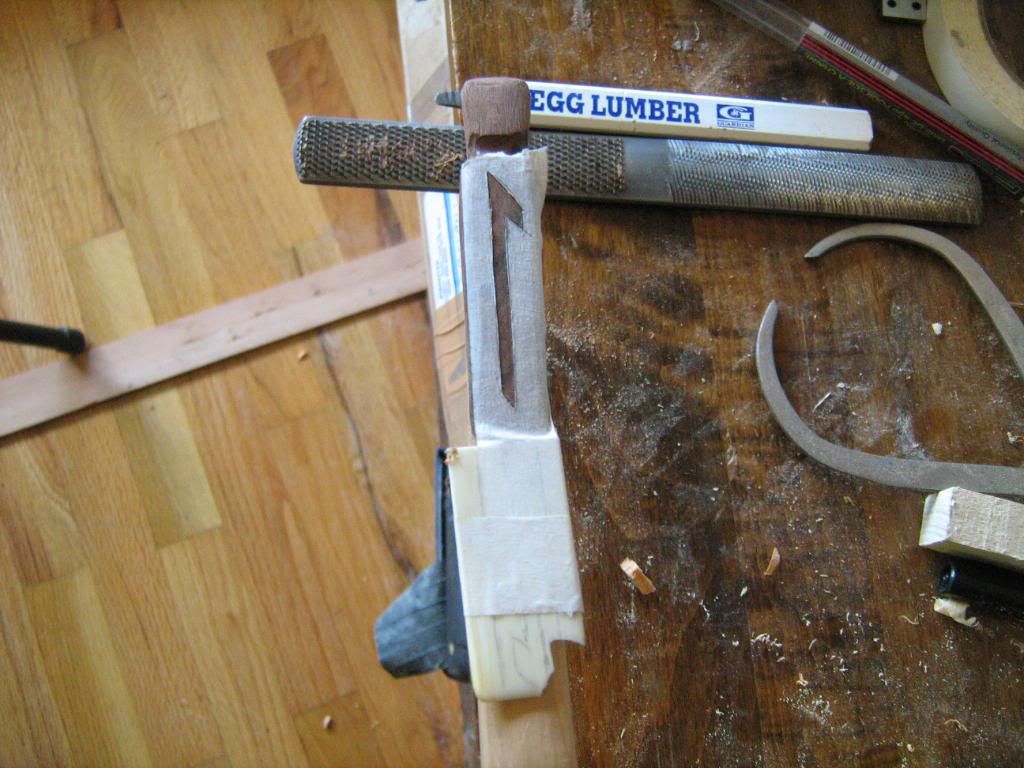
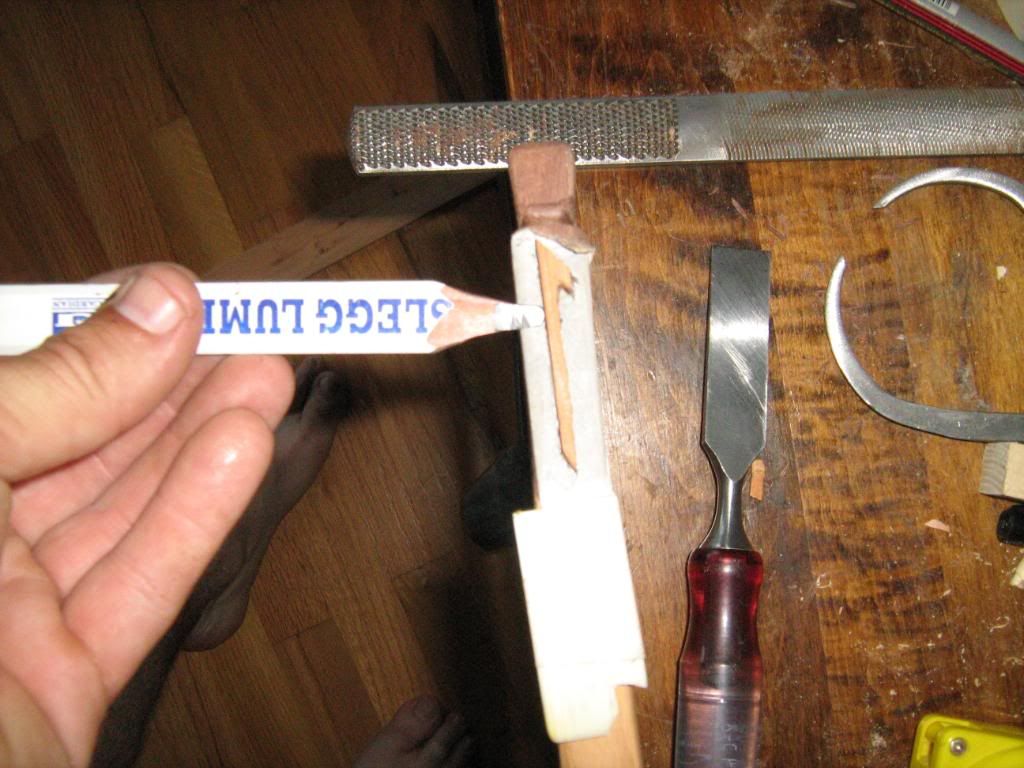
Here, i show how i taped the tip, outlined the piece to be inlaid, and cut the outline into the wood. I taped the piece of ivory to the limb tip in case of knife error. After the inlay fits in entirely, i mark it all around with a pencil to determine depth. It helps to see where it doesn't go in deep enough. After a couple errors at the handle, i realized i wanted a thicker inlay and a deeper set. That way, when i inevitably gouged the surrounding wood, i'd have plenty left to file and sand down with no one the wiser.
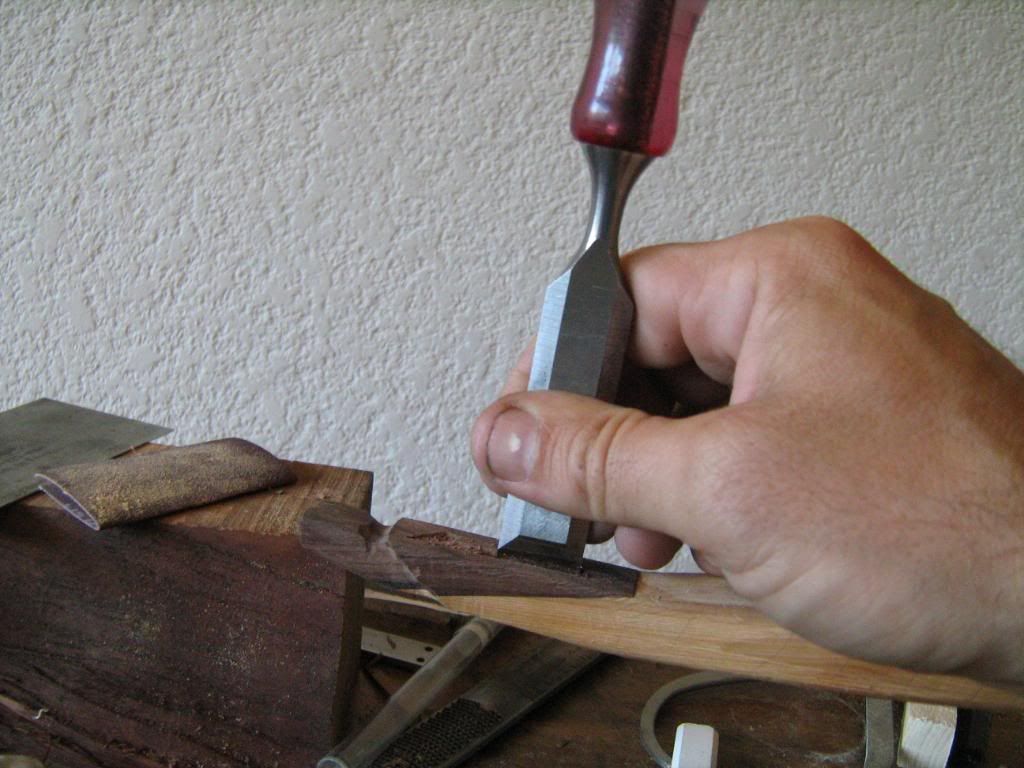
You can see how i worked the chisel: vertically, back and forth. I acquired some 400,800, and 1000 grit sharpening stones the other day (from the same guy who sold me the vise) and i put those to good use and that really helped. Sharp tools. Very important.
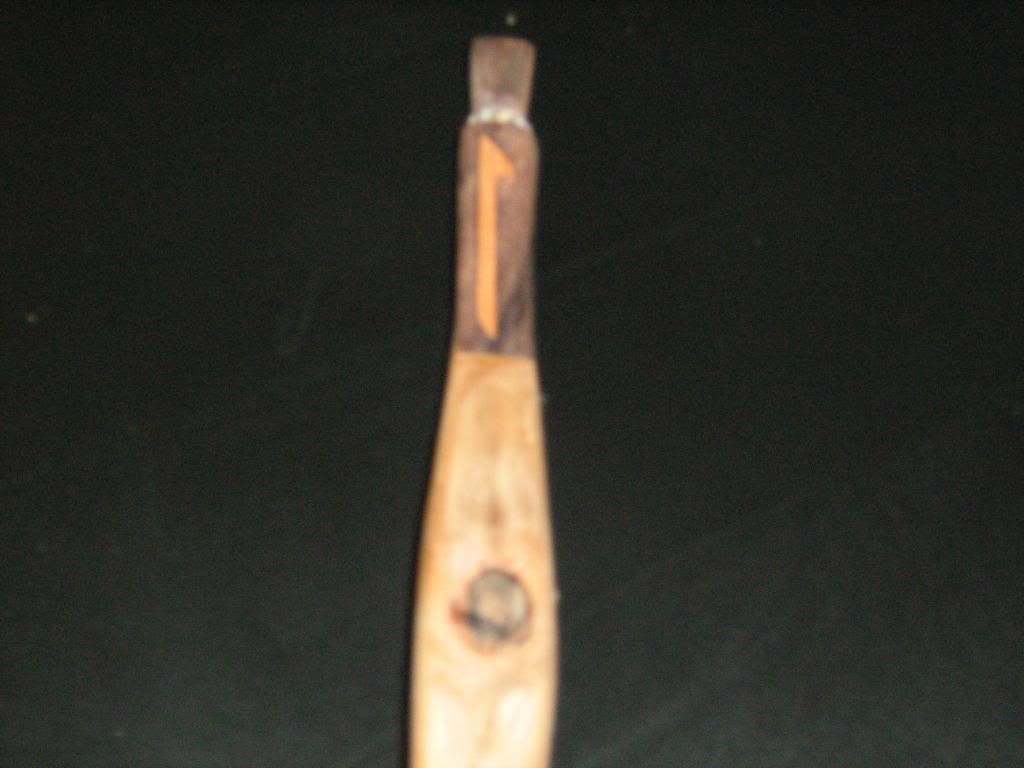
Here is the inlay after the clamps came off. I mixed some rosewood/yew sawdust in with superglue and filled the mortise, adding more superglue once the spooge was spread around to make it all thinner. This has hopefully had some effect on the outcome...still need to work on my inlay skills. Even so, i think it looks pretty good.
