This pic shows how I remove the wood from the area to be inlaid.
(Sorry it's not a great pic)
I use a craft knife with a new blade. The old style cast knife, (not one of those modern ones with a retractable blade that prevents it being useful

)
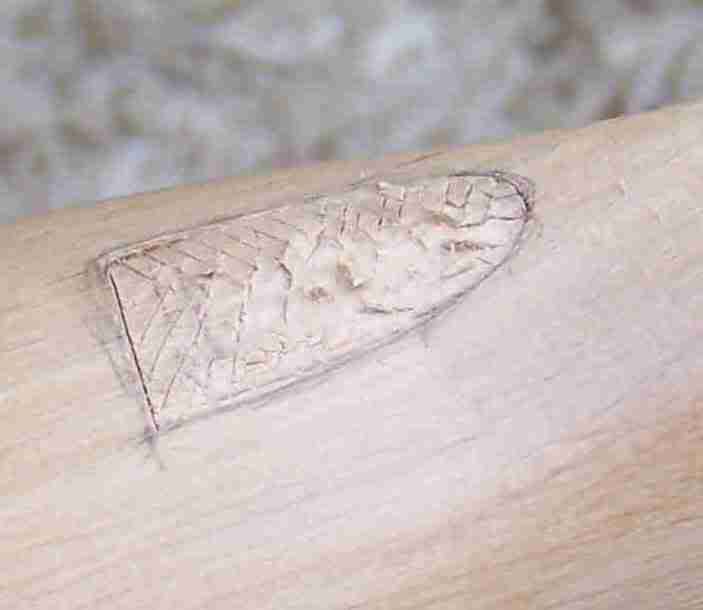
Once you have cut the outline, you cut a series of cross hatched lines, cutting in from the perimeter towards the centre. That way there is no risk of cutting outside the area. You can then slice, pick or chisel* out the little pieces with the tip of the knife. You then repeat the process going deeper each time, it gets easier oneach subsequent layer as you have a better edge to work to.
* An old needle file (square or flat section ground to a chisel point is handy for this)
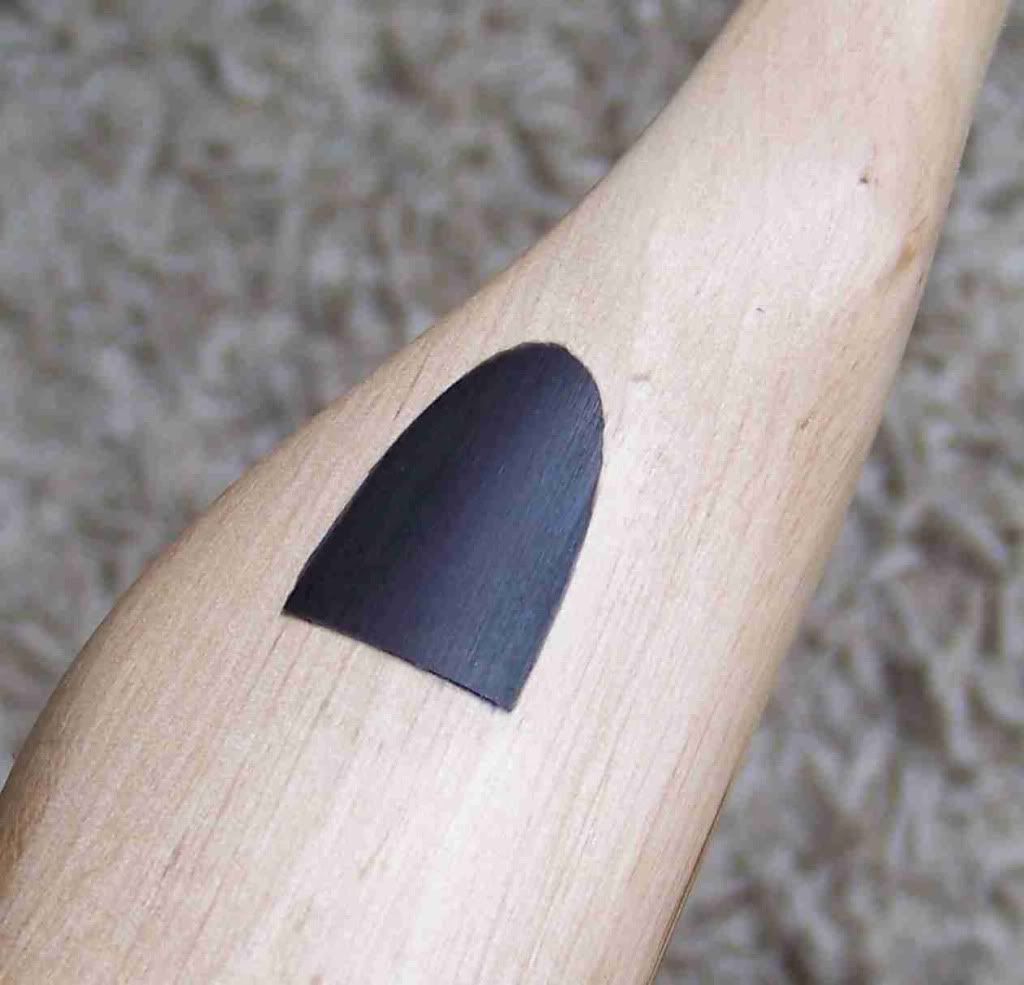
I used to mark round with a pencil, and cut just inside the line, but I sometimes use the knife from the start. The final fitting is done by ajusting the bit of horn usually. These days I go for an inverted shield shape as the curves aren't too tight and it looks good. The more you de the easier it gets.
A good trick assuming a shape like in the pic, is to cut thestraight lower edge a bit on the tight side, that way the pointed end can be adjusted to push in tight first and then the easier flater edge adjusted to drop in. Or looking at it another way, make the horn a tad long and adjsut the straightest edge last.
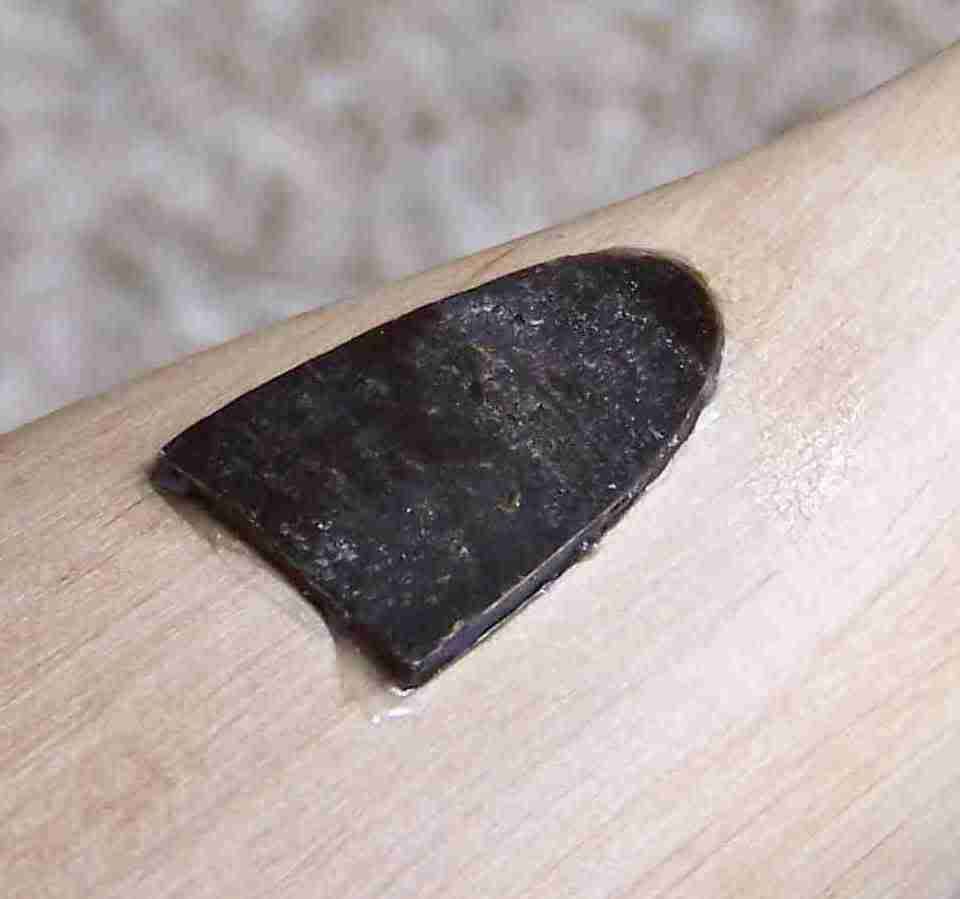
Another tip is to have the edges of the horn very slightly tapered like a cork so it gets tighter as you press it in to give a good fit.
Hope this is some help
Del


