Sandy has given me some time to make a mini guide.
First to make this you need
56" piece of 3/4 pvc ($2 for 10 feet,
Home depot)
Four 4" pieces of 1 inch PVC
Some
polypropylene twine (bowstring material)
Tools:
Saw
Heat source (stove, heat gun)
File
Power Drill (optional)
Ok, so this guide is totally experimental. It makes a Takedown pvc bow that can either be 56" or 44" with interchangeable limbs, shorter = higher poundage.
I have made plenty of takedown pvc bows top-down, but never bottom up. That means I make the bow first, then cut it down to pieces. This guide makes the pieces and joins them up. Should work fine though, maybe even better, since the flattening will be a much smoother process.
Cut as shown, finer tooth saw = better
MAKE SURE TO HAVE STRAIGHT CUT THROUGH, NO SLANTED.
You'll end up with a handle section, 2 identical extension pieces, and 2 identical limbs.

Now you need TWO piece of something about 1/4 to 3/8 in thick, flat. Wood, metal, doesn't matter as long as it's solid, you could even use a taped, tightly folded piece of paper. I'm gonna call them blocks. we'll use them whenever flattening the pieces.
To flatten them, you'll need to heat them. If you're using a stove, take some aluminum foil and make a cone to concentrate heat, while keeping the fire away. Hold with tongs and pot holders mitts. Move across, rotate 90. Squeeze the entire section with tongs every once in a while. Once the
whole piece is squishy, its done.
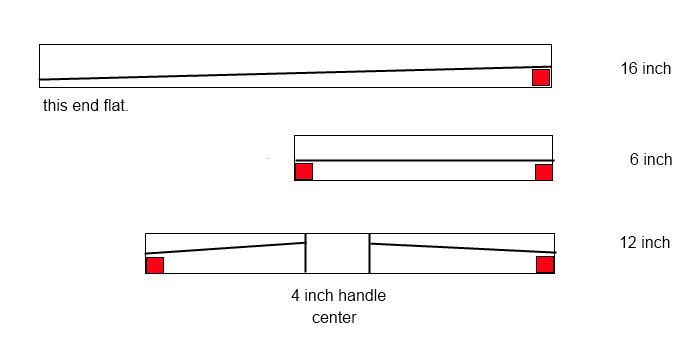
Put the block in and use your weight to squish it under a piece of wood board, or textbook. Something that doesn't bend under your weight.
Make sure the block doesn't get stuck inside.
The handle section is trickier. Mark the 4 inch center with sharpie. Now
HEAT one side 5 inches, but squish it only up to the 4 inch mark. Do the other side next. Then heat up the center. Using oven mitts, squish the center in a
perpendicular way. I hope that makes sense.
Make sure the 5 pieces are still straight. Then use a file to round the outer edge of the pieces. Now to taper the limbs.
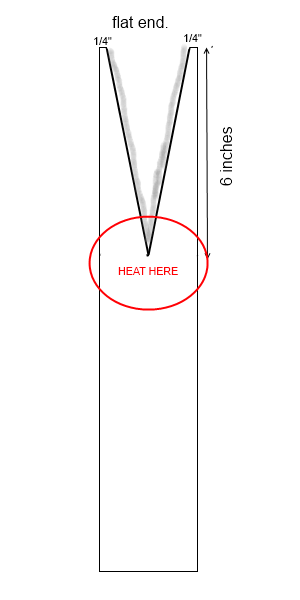
Take the 16 inch limbs, mark 6 inches down, and the center of that mark . Mark 1/4" on edges of the tips. Then connect to draw a V.
Using a decent saw, don't mess up here. Cut out a V on the limbs. Heat a piece of hot glue then smear on the insides. Then, using a stove/heat gun, lightly pass over the glue, and then concentrate heat at the shown point. rotating. Shouldn't be long, before you can clasp them together. Hold them together with pot holders till everything cools. Careful with the glue. If there is any gaps left, wood filler or epoxy paste.
Cut nocks with a rod saw blade on a hack saw. Then paint over. You can choose to either use heat shrink, duct tape, or cloth wrap to protect that area.
Something like this.
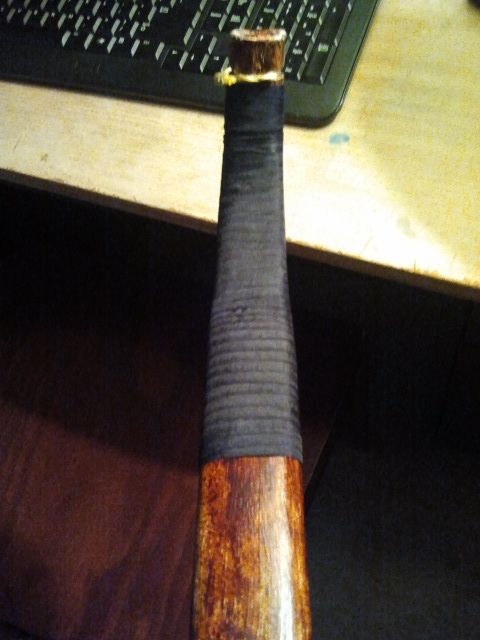
You should have something like this now. All you need to do is join them. You should have already filed the edges of the bow round. Now bevel the edges (inside and outside)of the four pieces of 4" of 1 inch pvc.
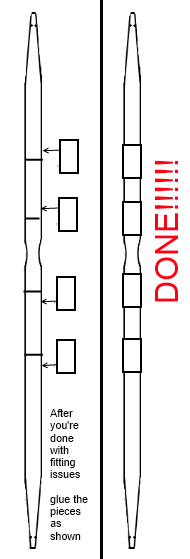
Now heat the connector till squishy, stick one piece in halfway. Stick the other end in. Continue for everything.
It'll probably be a bit tight, but you can yank it out. Now if you've done it right, the limbs should work with or without the extension pieces. If you've got fitting issues, file it a bit. It should fit snugly, but you shouldn't pop a vessel trying to pull it out. Use wax if necessary. Also
make sure the bow is straight. The thing is, with PVC, if you make a mistake, you can usually fix it. Reheat and rebend. NEVER BEND WITHOUT HEATING.
Now, you can just braid the twine with your fingers. OR you can do it quick and dirty with a power drill. Stick a hex key in the drill, and wrap a rubber band many times on the tip.
STRING HOWTO: (or you can buy one)
Take two pieces of twine, a 1'6" longer than your bow itself, and tie them, together. Secure the tied end on something solid, I just tie a circle with another small piece of twine on a door knob.
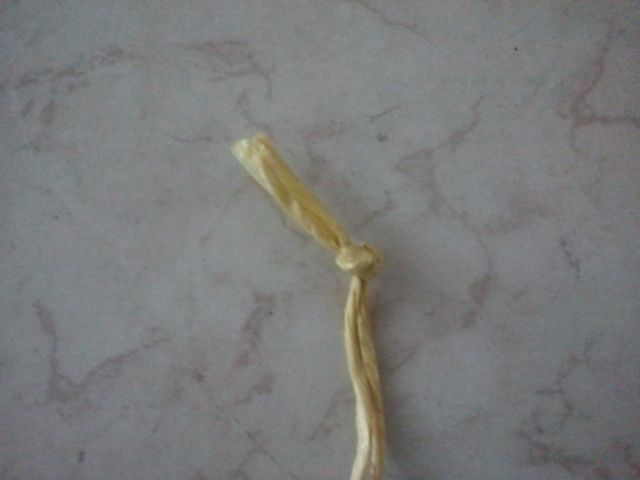
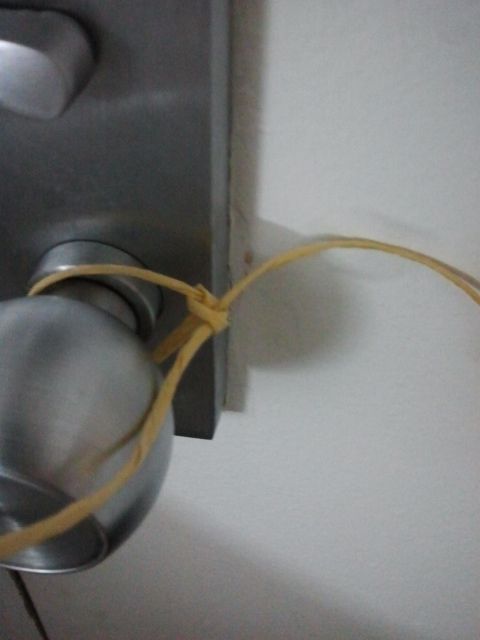
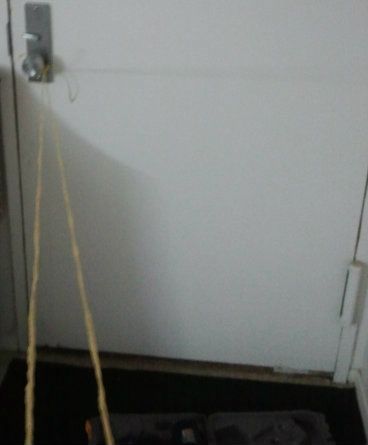
Tie a loop on the ends. Give each a LONG counterclockwise turn with the drill, until VERY tight. Then put both on and give them a LONG clockwise turn. Remove and tie it off. Cut off the loops.
You can make another bowstring for the shorter bow (easier) or adjust the knots everytime. I use bowline knots for the bowstring since they're easy to adjust. String the bow (actually overstring it, as in 8-10" brace height), and
LEAVE IT OVERNIGHT TO STRETCH OUT. By morning it should have stretched, and the brace height should be at a comfortable 6-7".
YOU ARE DONE!!!!!!Anything confusing, reply and I'll try to answer it, best I can.
This design is very portable and efficient, just break apart and tie up with the string. No curves, no awkward bumps. The extension pieces makes a longer, weaker bow, perfect for beginners.