Osage is rare and expensive here, so nothing to be wasted. I'll take any stick, no matter how twisted. By now I am very well set up for aligning sticks. A number of home-made tools complement clamps and a hot air gun. Two homemade dampers with different attachments allow damping either an arm or just part of it. The alignment itself is done under controlled conditions, i.e. first we analyze how much movement in which direction is necessary. The process itself should then deliver exactly this desired result.
Several guys asked me to explain how I do string alignment, heat corrections, recurve bending and so on.
Here I will show some of my methods on a very special stave. This specimen is very fine ringed (some about 1 mm) and it was already hard work getting the ring chased. And this stick has a lot of imperfections (at least nobody wanted to buy that stave, hahaha).
But, in fact, it is a character stave, it's osage (best bow wood ever) -- so let's make a nice character recurve ...
What I did so far:
- the final ring is chased
- the handle section is determined, using a grain wiggle from a dead branch for arrow pass (being a righty this wiggle also determines upper and lower limb)
- the stave is cut to length, design will be asymmetric
- the handle is roughly worked out, very little wood here and at the fades (dangerous narrow)
- width and depth of the limbs are roughly worked out, this shows much better the imperfections of this stave
- sides and belly are cleaned with the scraper for a better view
- the fades are already symmetrical worked out (front profile), the wiggle caused the serious fragile looking front
letís do the analysis:
1. There is a twist in/near the handle of about 45į. little chance to bring that out completely by heating (dry heat) or steaming. For better comfort I will build up the handle with cork or leather
2. Upper limb leaves the handle reflexed, lower limb deflexed, both with an opposing twist. I will try to steam handle and fade section to equalize deflex and reflex and hopefully get out some of the twist.
3. Both limbs are more or less a saber (front profile), the lower more and with a definite kink.
Steaming the limb and flexing on a caul and induce a continuous and symmetrical (balanced) reflex or flip (side view).
4. The stave has an uneven, inhomogeneous crown, I will react on the belly side. Whereís a mountain on the back, there has to be a valley on the belly. In other words an even thickness.
5. At arrow pass (Iím a righty) is a torn out grain / splinter, coming from splitting around the formerly branch. I can not rasp down more, itís already extreme thin (narrow) there. So the only thing which came in my mind was to glue on a piece of horn or bone as arrow pass to hide that failure and get a pleasing surface. Maybe I just try to glue that thing with super glue or epoxi.
6. The stave has a twist of about 80į from tip to tip.
Maybe a good amount of corrections could already be done with No.3.
If not, I will do additional sessions with the heatgun.
7. The stave has, as already said, very fine rings. Those fine ringed specimen get a really great look when fumed.
I will do a fuming session of about a week or so.
Hard to show all the wonky up and downs, sideway bends and so on in pics, in reality it looks much more dramatic
Here is stave/blank before corrections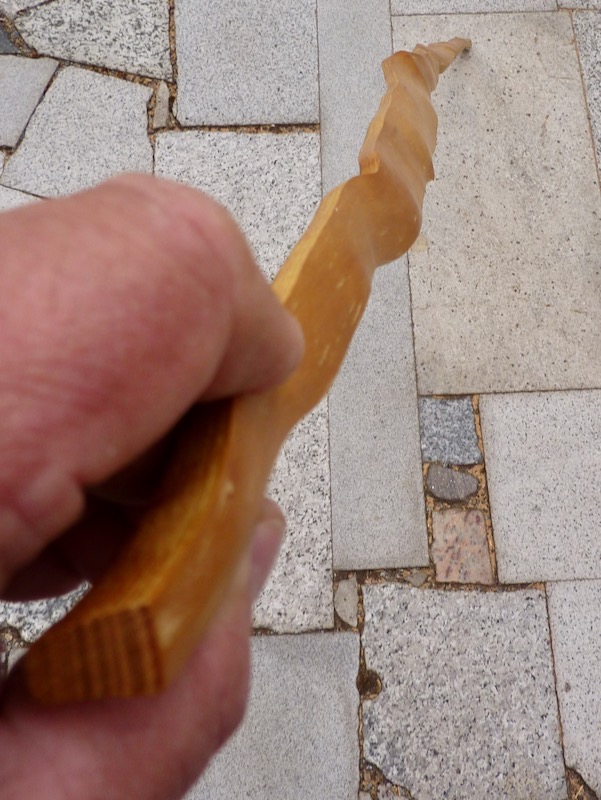
looking down from lower limb
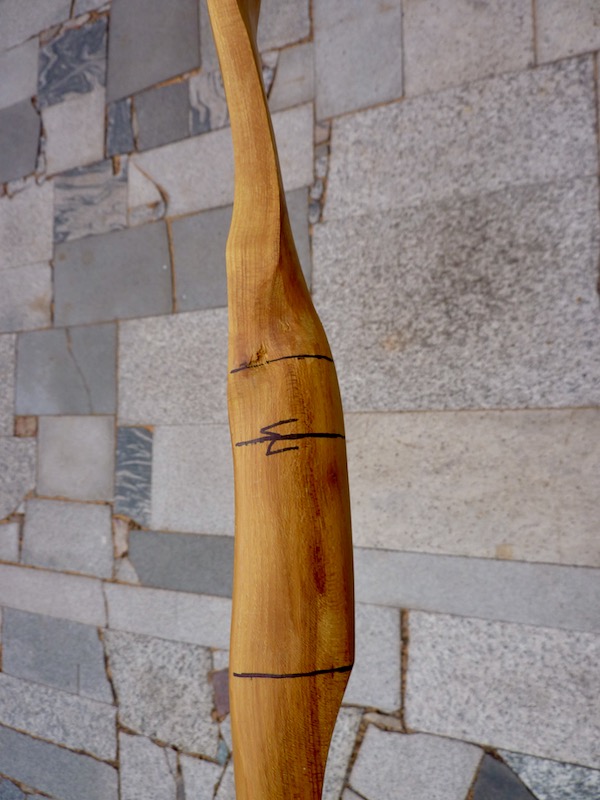
the wiggle determines handle position and what is upper and lower limb, the stave is very narrow here; I leave the splinter first; bow will be asymmetrical
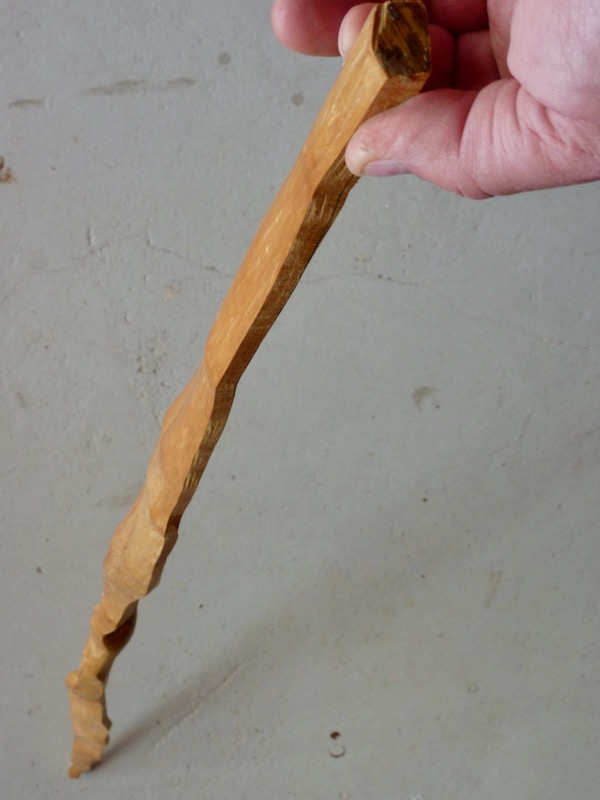
looking down from upper limb
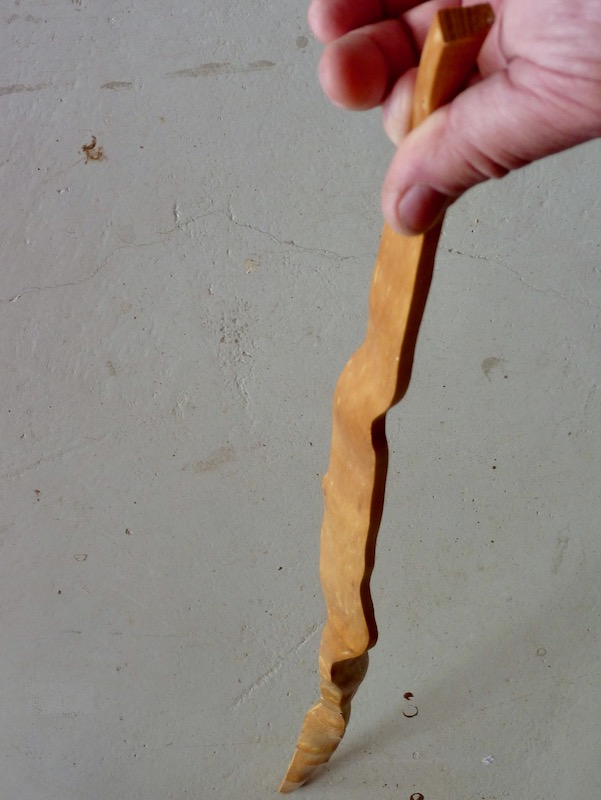
looking down from lower limb, this tip is mighty curved sideways
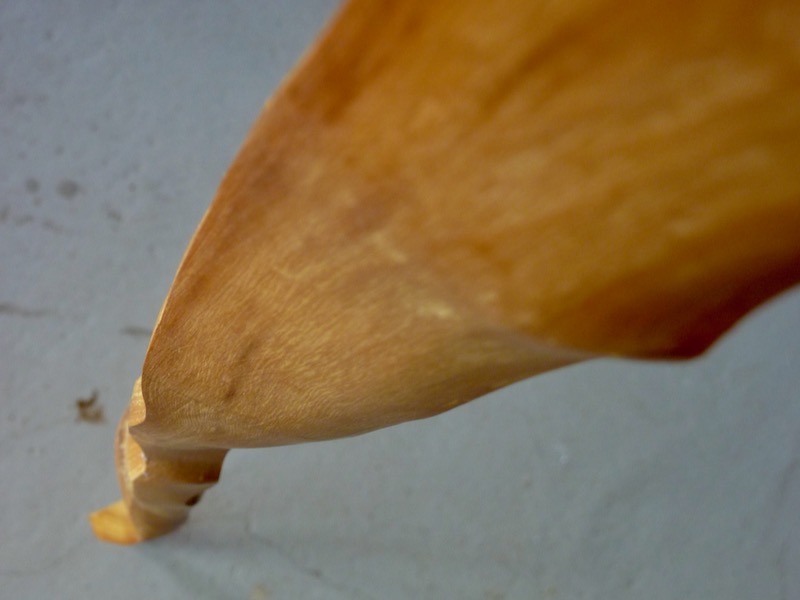
humps and uneven crown
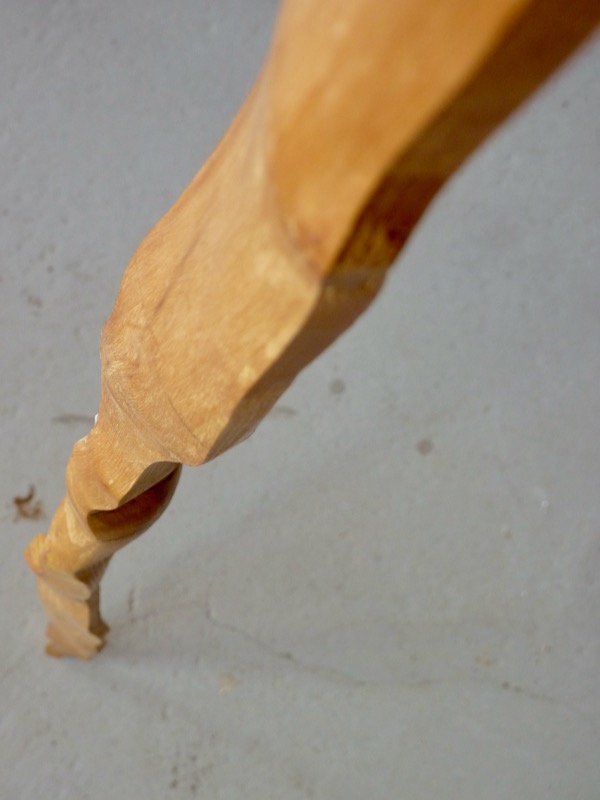
looking down from upper limb, twisted and misaligned

twisted and misaligned, upper limb is right

deflex on lower, reflex on upper fade: both twisted

upper limb is right; the back shows the arrow pass (wiggle); the back at the handle has a sideway angle about 25į (I will build it up to an O-shape with cork)

Also a view of the handle section, pencil marks (at the right half) shows the handle position
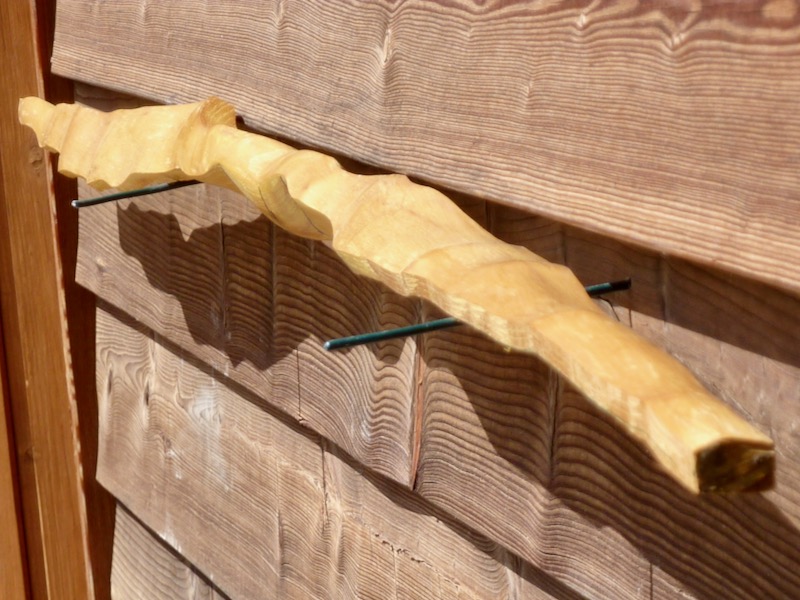
good view of the total twist of 80į
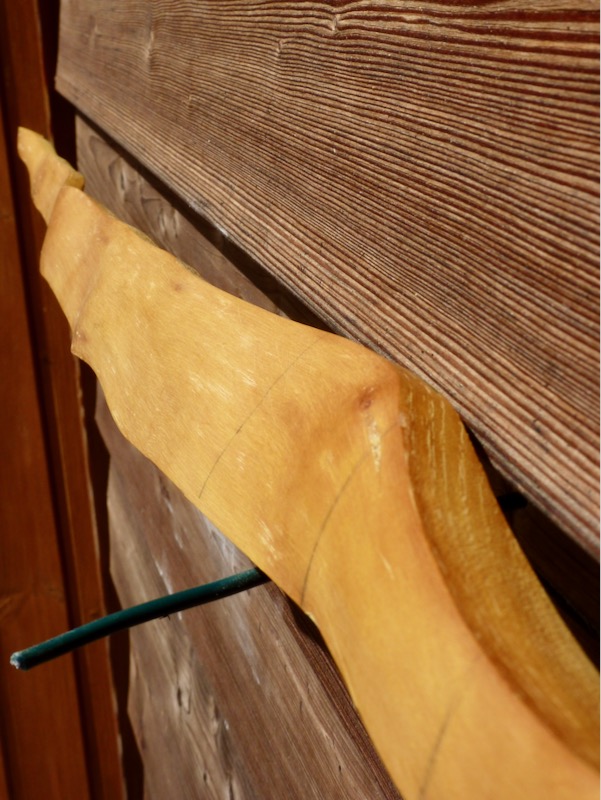
Lower fade and limb, the grain makes a side curve due the knot; the pencil marks are position marks for comparing lower and upper limb width
TO BE CONTINUED SOON ...