Before traders came along, you're well aware that the native Americans used stone and knapped their arrowheads. However, in places such as the Northern Plains, there was no suitable rock to be found. Instead, they crafted their arrowheads and spearpoints from elk, antelope, or buffalo bone.
The points I will be showing how to make are crafted from cow bone, as it is the most readily available to me. I call these bone points "anyone can make" because I'm a college kid with limited resources and a limited budget, so if I can make them, chances are, you should be able to as well. I'm using a Dremel tool for most of the shaping (primitive, I know) because it's the best tool I have for the job. You could just as easily (though perhaps not as quickly) use a coping saw and hand files and rasps to do the same thing I'm doing.
A word of warning: bone dust is SMELLY. Unless your shop has fantastic ventilation (I'm talking chem lab fume hood here), you're doing your work right next to a running shop vac, or you just really love funky smelling things...DO IT OUTSIDE. Your wife will thank you, your roommates will thank you, your nose will thank you. If it's breezy and you can get it so the wind is blowing everything away from you, more's the better.
Okay, so, here we go.
Supplies:
- Beef bone, clean as possible, or bone from any other critter that's at least 1/4" thick
- Pocket knife
- Dremel tool, with cutoff wheels and sanding cylinders
- Small hand files
- Safety glasses (you only have one set of eyeballs!!!)
- Particulate filter mask (so youíre not snorking bone dust)
It was suggested that I try a pet store to find beef bones. I did, at Wally World, for under $4. It was double wrapped and labeled something like "Beef Ribeye Chew". I wouldn't try using the knob ends of the bones, since they don't provide a good flat blank.
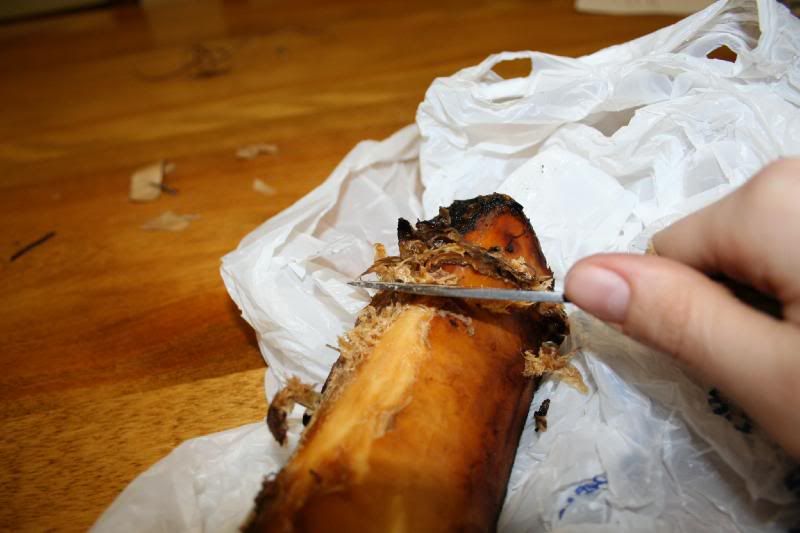
It still had gristle on it. If you can avoid getting gristly bone, do so. The gristle is great for your dog but you're trying to make a bone head here, not a meat head

. I boiled it for a bit to soften up the gristle, which created a rather interesting smell, and may or may not have actually done anything important. I then used my trusty pocket knife to scrape away the gristle and membrane as best I could. Donít worry about getting it super duper clean; the gristle is likely to get ground completely off in shaping. The only annoying part is that pencil doesnít really write on it.

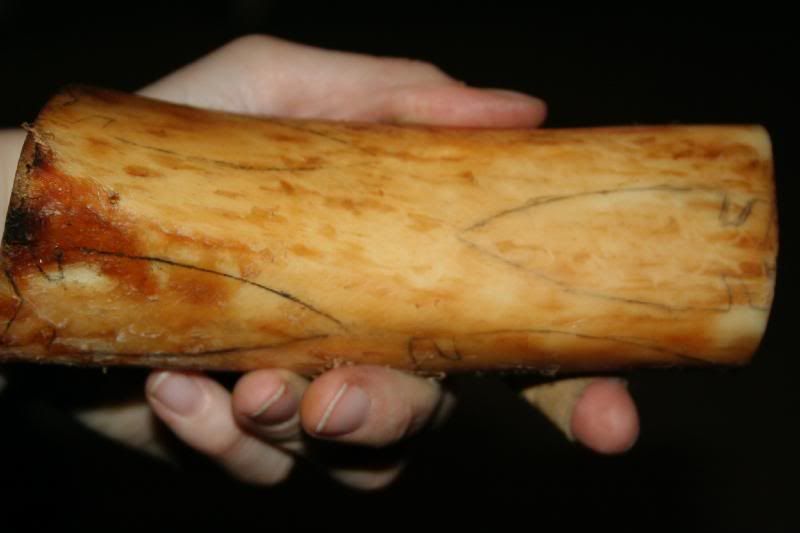
So then, we have a nice clean bone:

Now, you should look the bone piece over for cracks. Mark them out with a red pen so you don't accidentally try to make an arrowhead out of the cracked section.

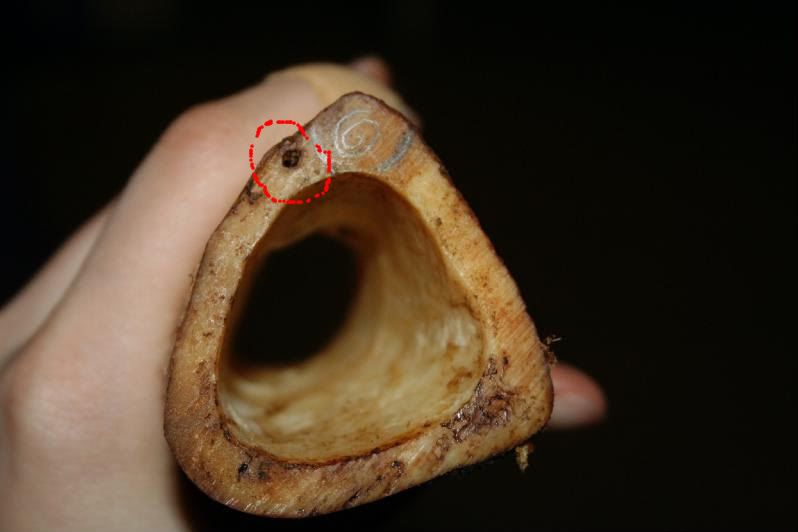
Also, these bones often have a large vein cavity running through them. You can find them by looking for a large hole in the end of the bone, then following the slightly raised section across the surface. I'm not 100% sure if using this portion is entirely detrimental, but I'm not going to try finding out the hard way. Mark where the vein runs with a red pen, same as the cracks.

After some consideration, I decided on two different sizes for my arrowheads. Making some wide and some thin arrowheads is probably the best way to maximize space usage on a bone. I made paper templates and traced the outlines of the arrowheads in appropriate places on the bone with pencil.
