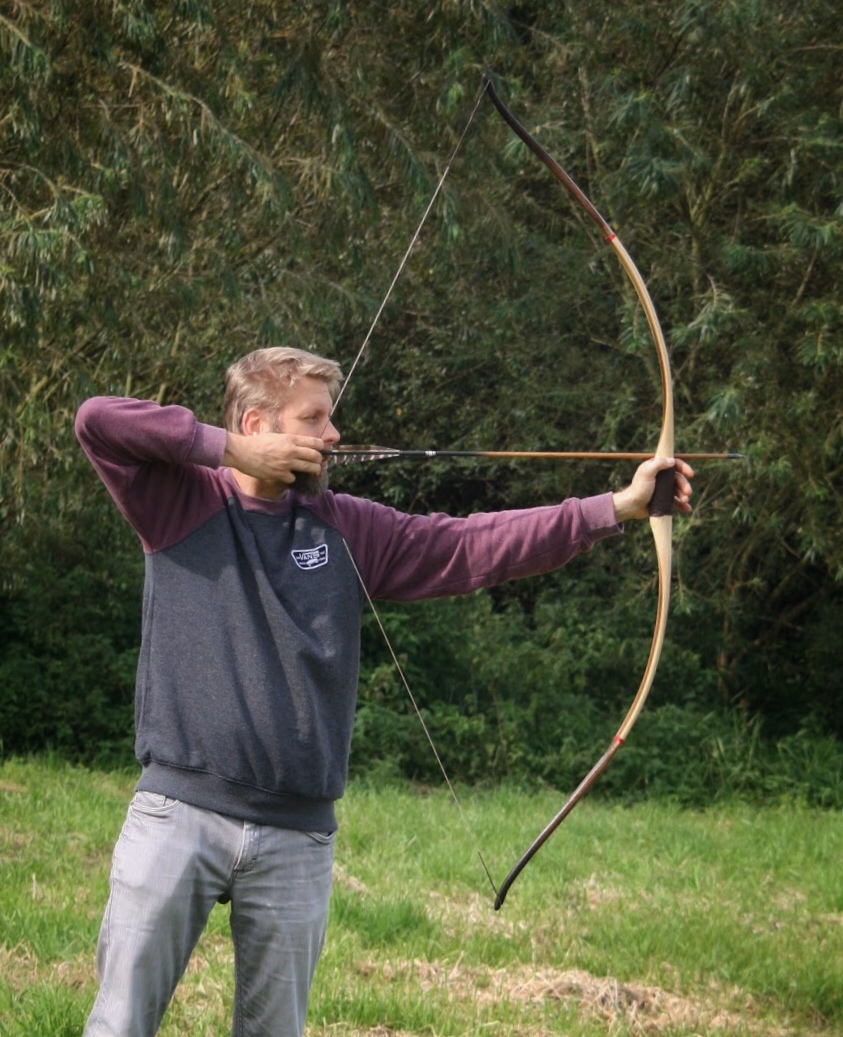
This is my first elm stave and my first self bow mollegabet. (Did make a couple of laminated mollegabets) It was a bit of a wonky stave (see rough out pic below) but since it is elm I decided on a molly design anyways.
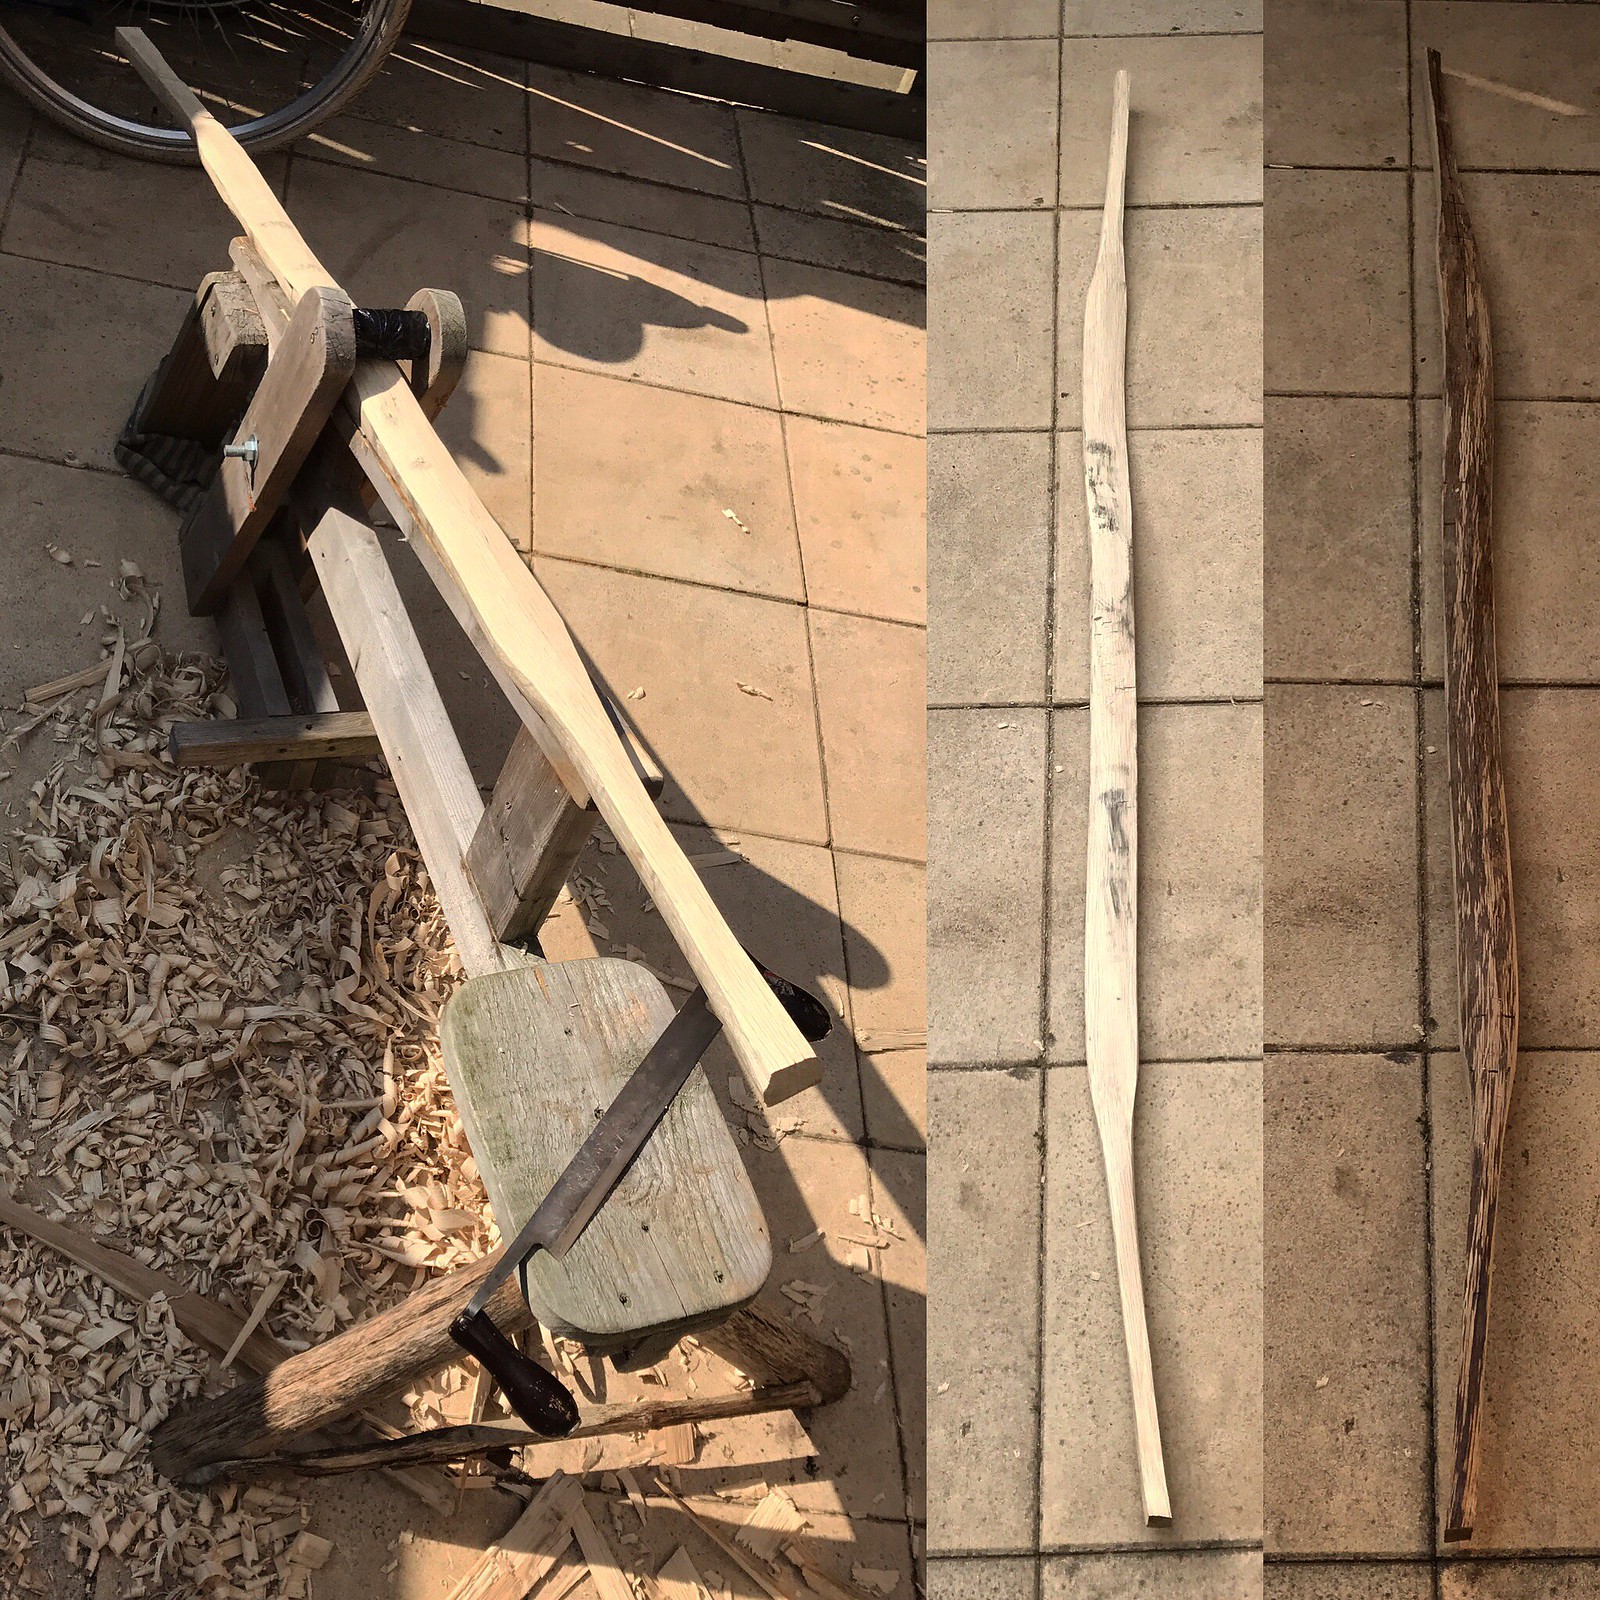
The stave, although waxed on the back, was full of drying cracks. But after building my mulberry bows with huge cracks held up fine I decided to ignore it and continue the build.
Roughed it out with the drawknife and straightened the tips with dry heat. (See rough out pic below why this was needed)
Tillered the bow to brace and flipped the tips a bit for looks.
Then I heat treated the belly for 40 minutes per limb and let cool overnight. The next morning when I took it off the form I was shocked that the previous corrected bends had returned! Guess I heated a little too far into the levers. So I had to clamp the tips up and correct them again. (Sounds bad but is actually really easy with a heat gun and some clamps)
After heat treating and straightening the tips again I tillered it to 25” and started shooting it at a low drawlength. After a few shots a weak spot next to the handle showed up (despite being 3 mm thicker then the other side!) and I lost about 12 lbs trying to correct that.
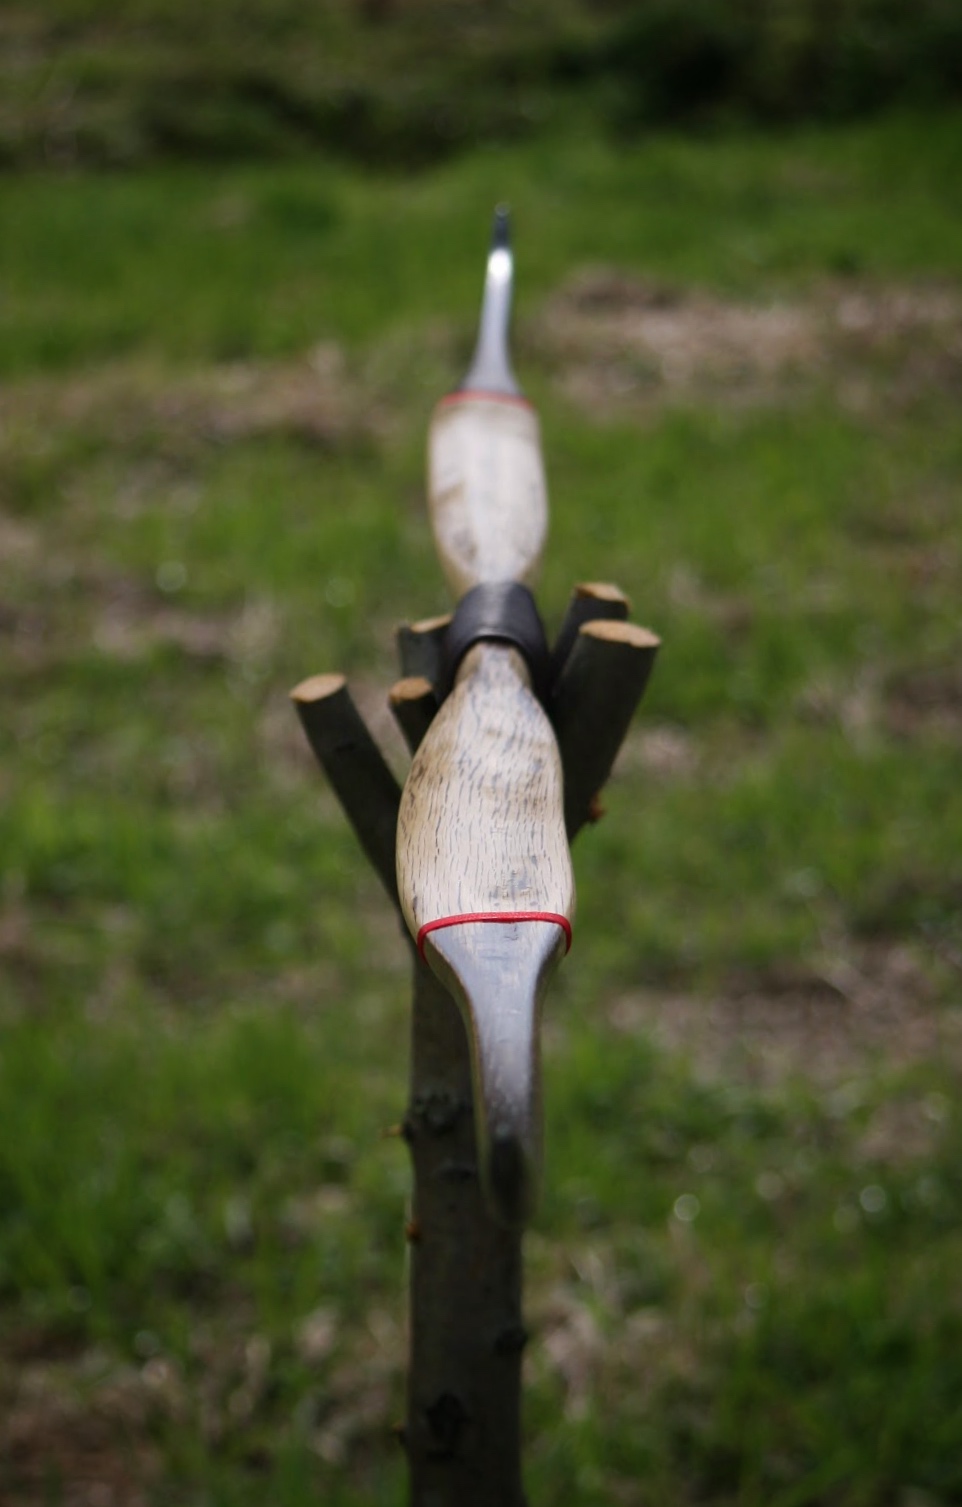
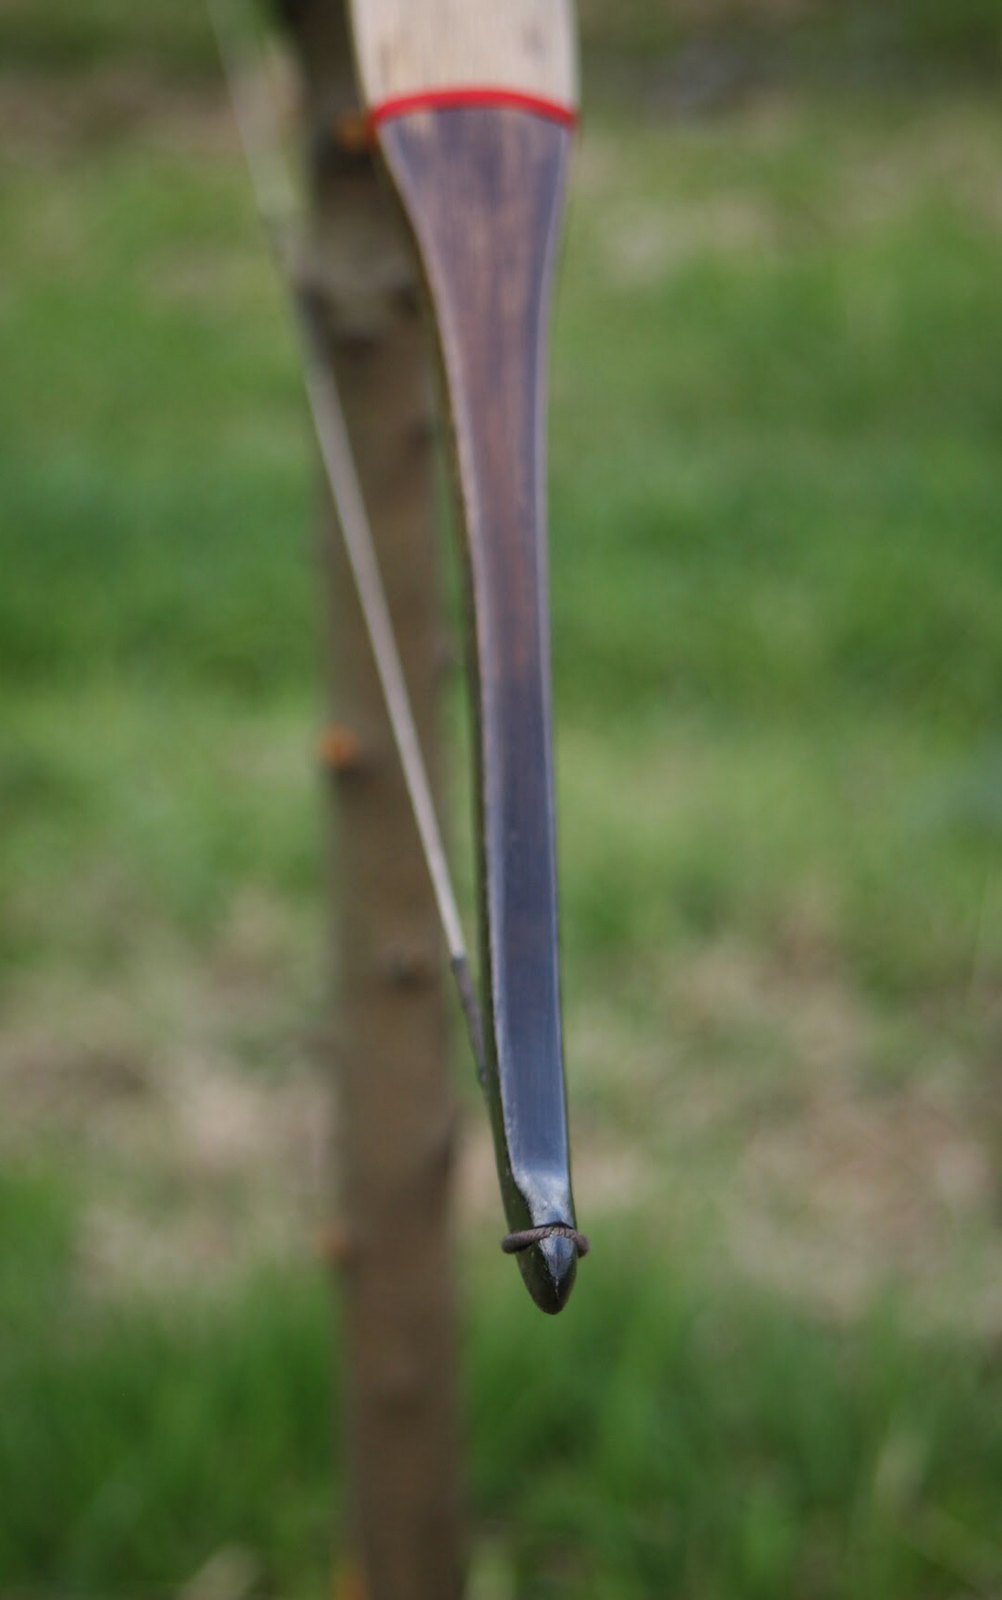
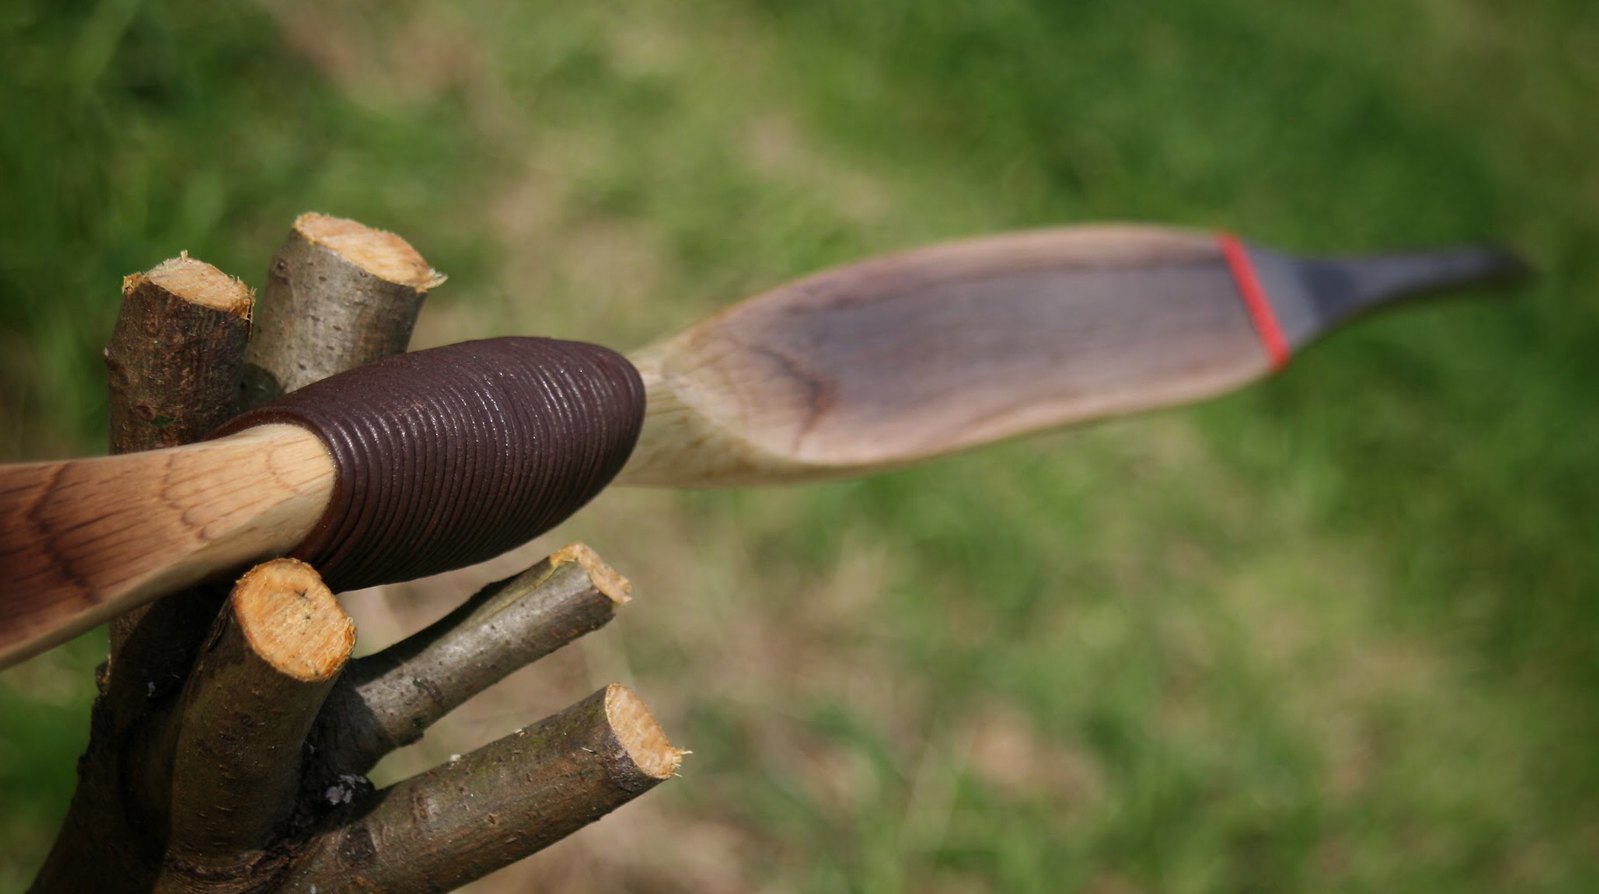
Since the elm looked a little boring besides the brown streaking and cracks on the back I added some paint to the tips and some red serving thread to divide the color and the wood. (thread and super glue are also extra security for some drying cracks that run out where the levers begin) Sanded the paint a bit to “age” it and put some leather on for a handle.
All in all a project which was full of mistakes and problems but came out as a super smooth shooter.
Specs:
length: 64 ntn
widest part: 1.9 inch
tips width: 6 mm (0.25 inch)
draw weight: 48@28
handle: rounded leather cord
working area (minus the fades) and levers are the same length
// roughed out
// side profile unbraced
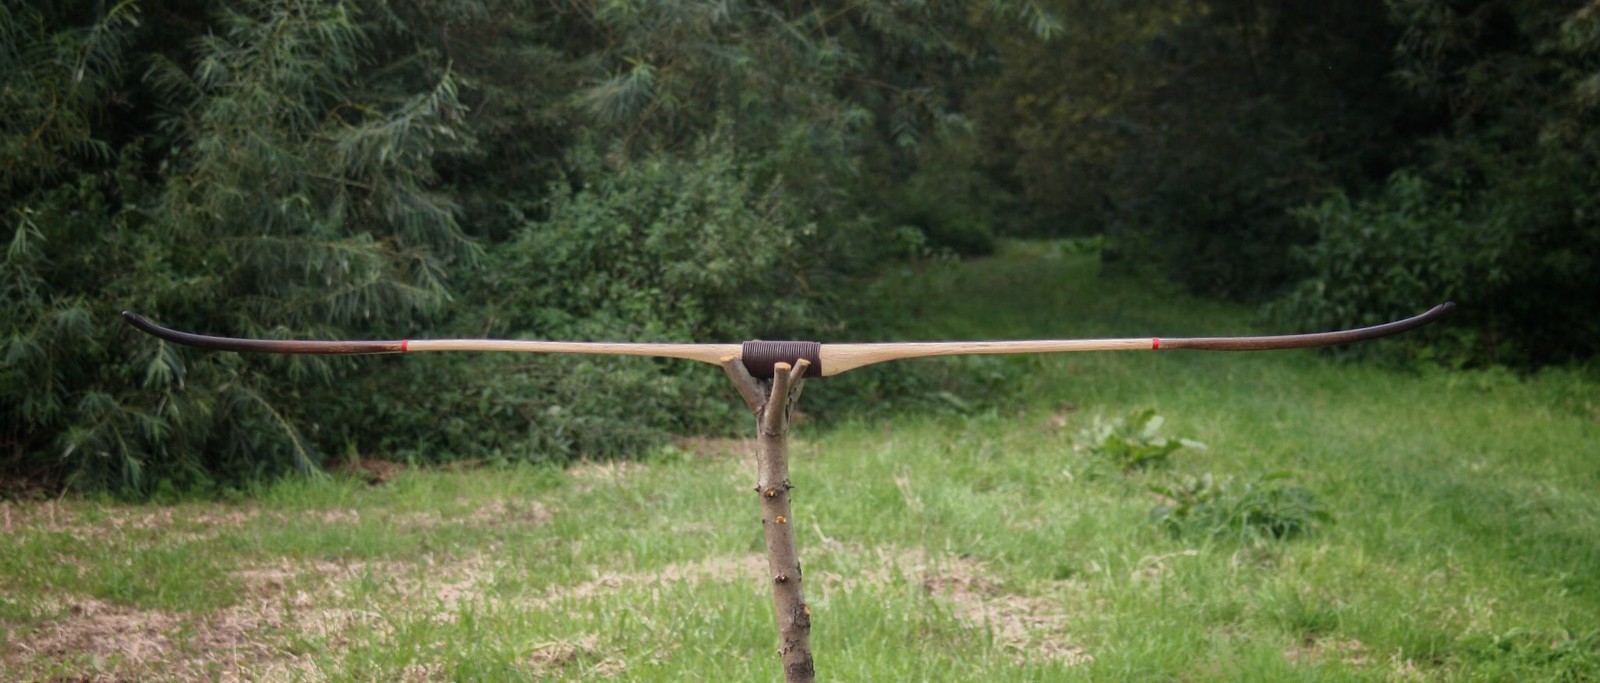
// top profile
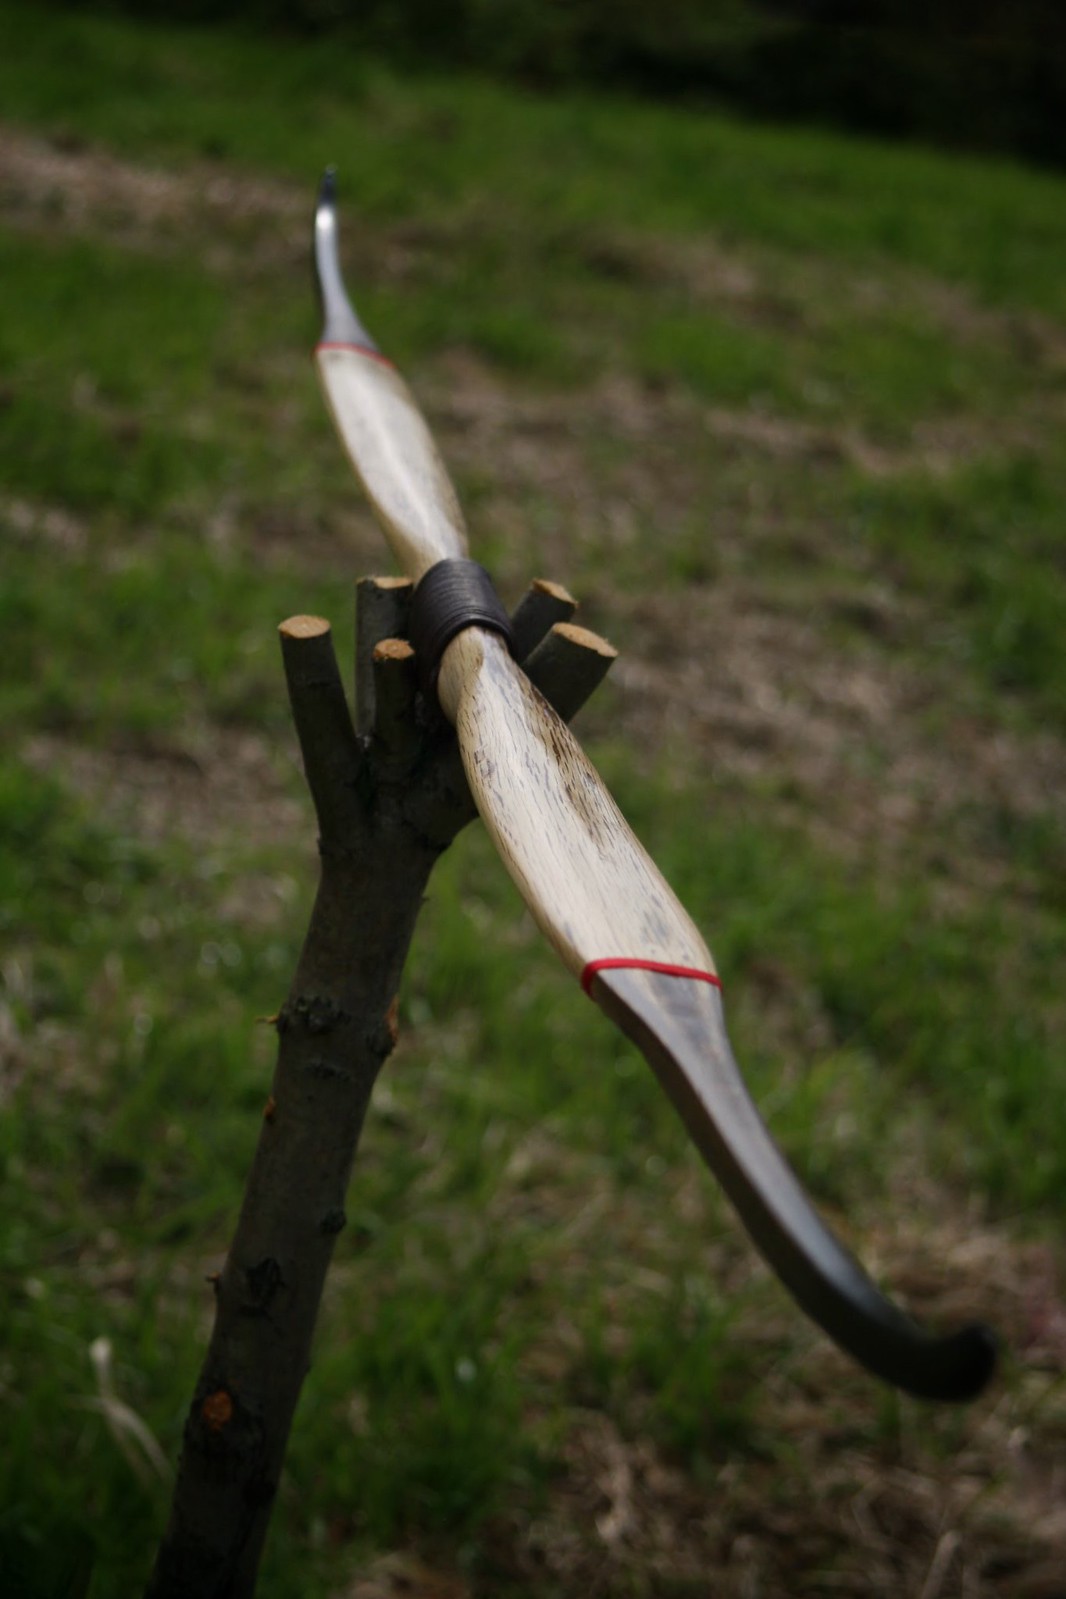
// braced
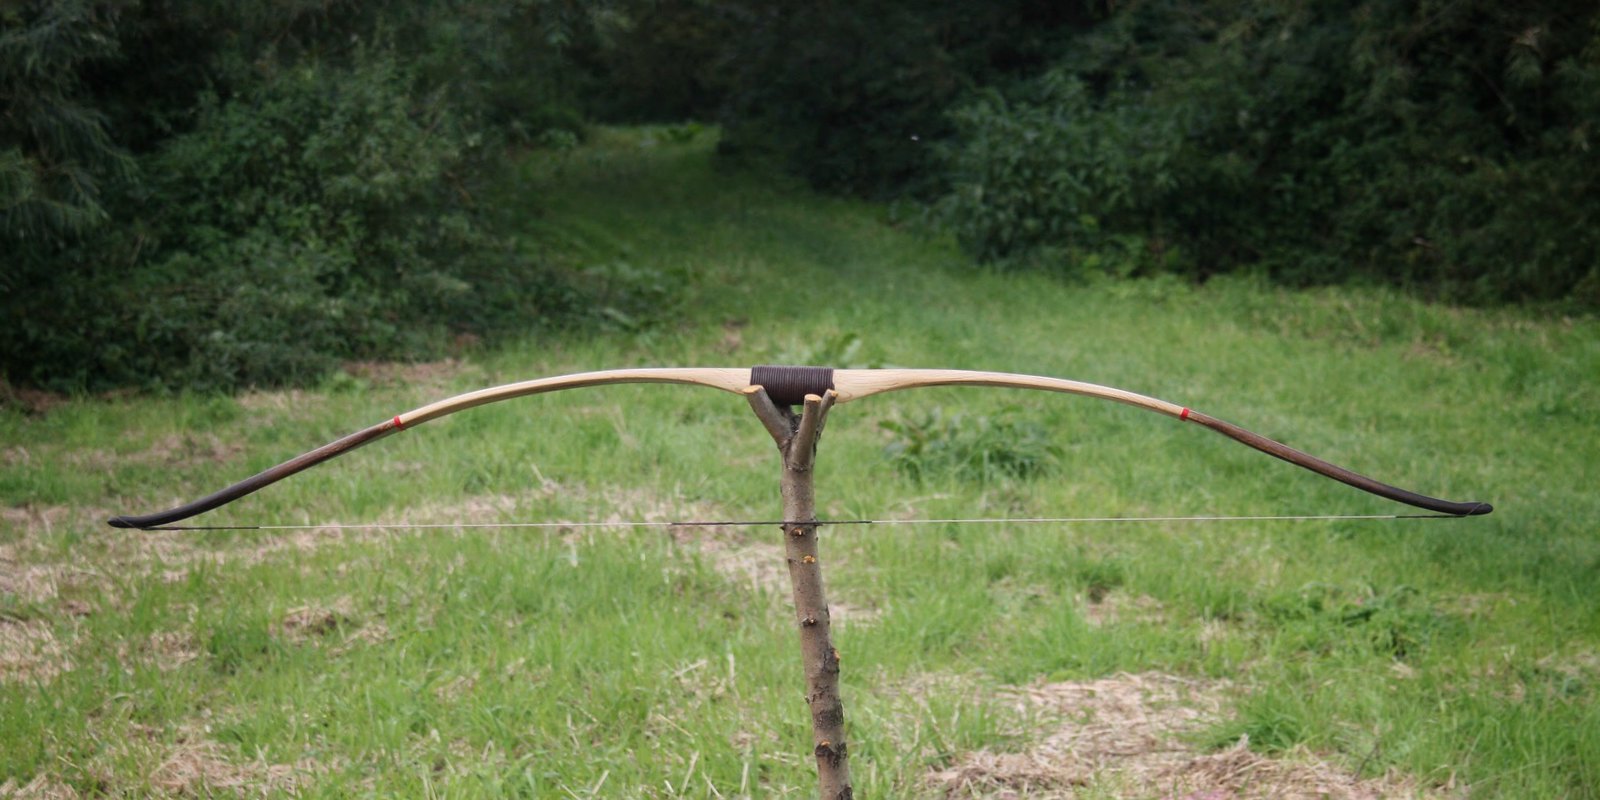
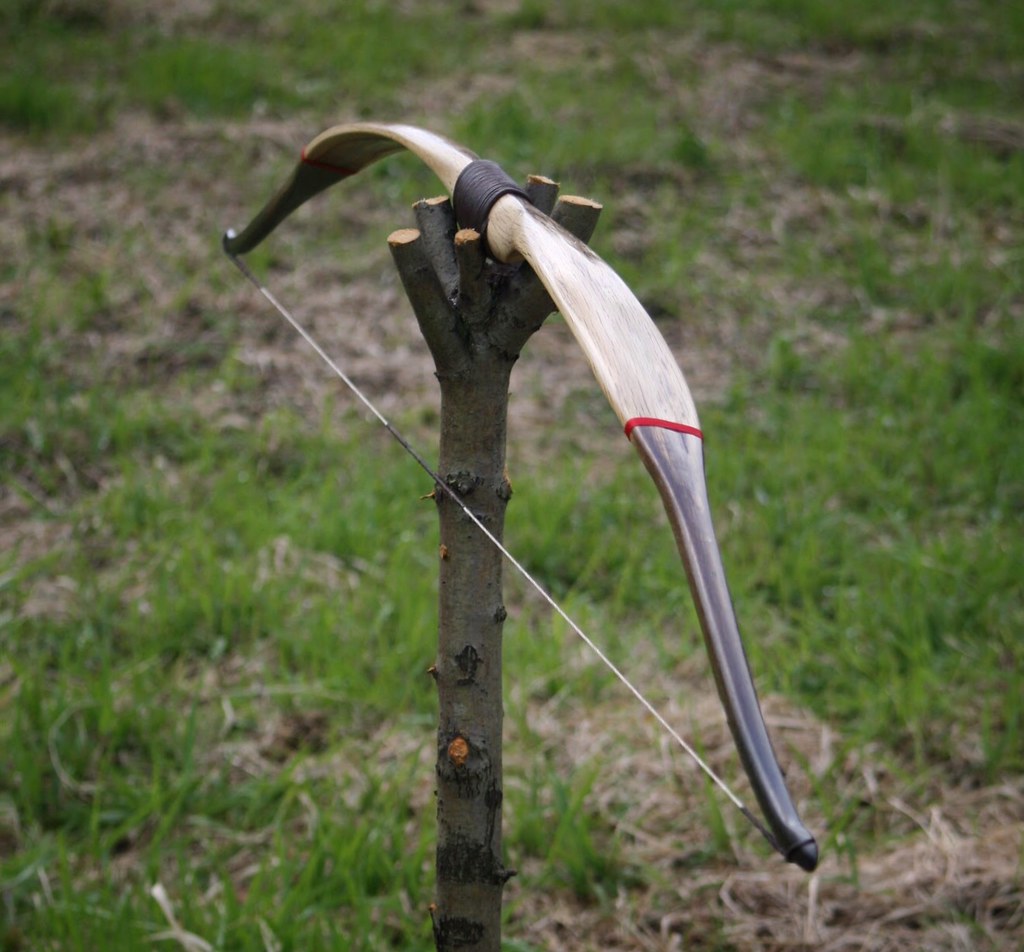
// tip detail
// handle belly
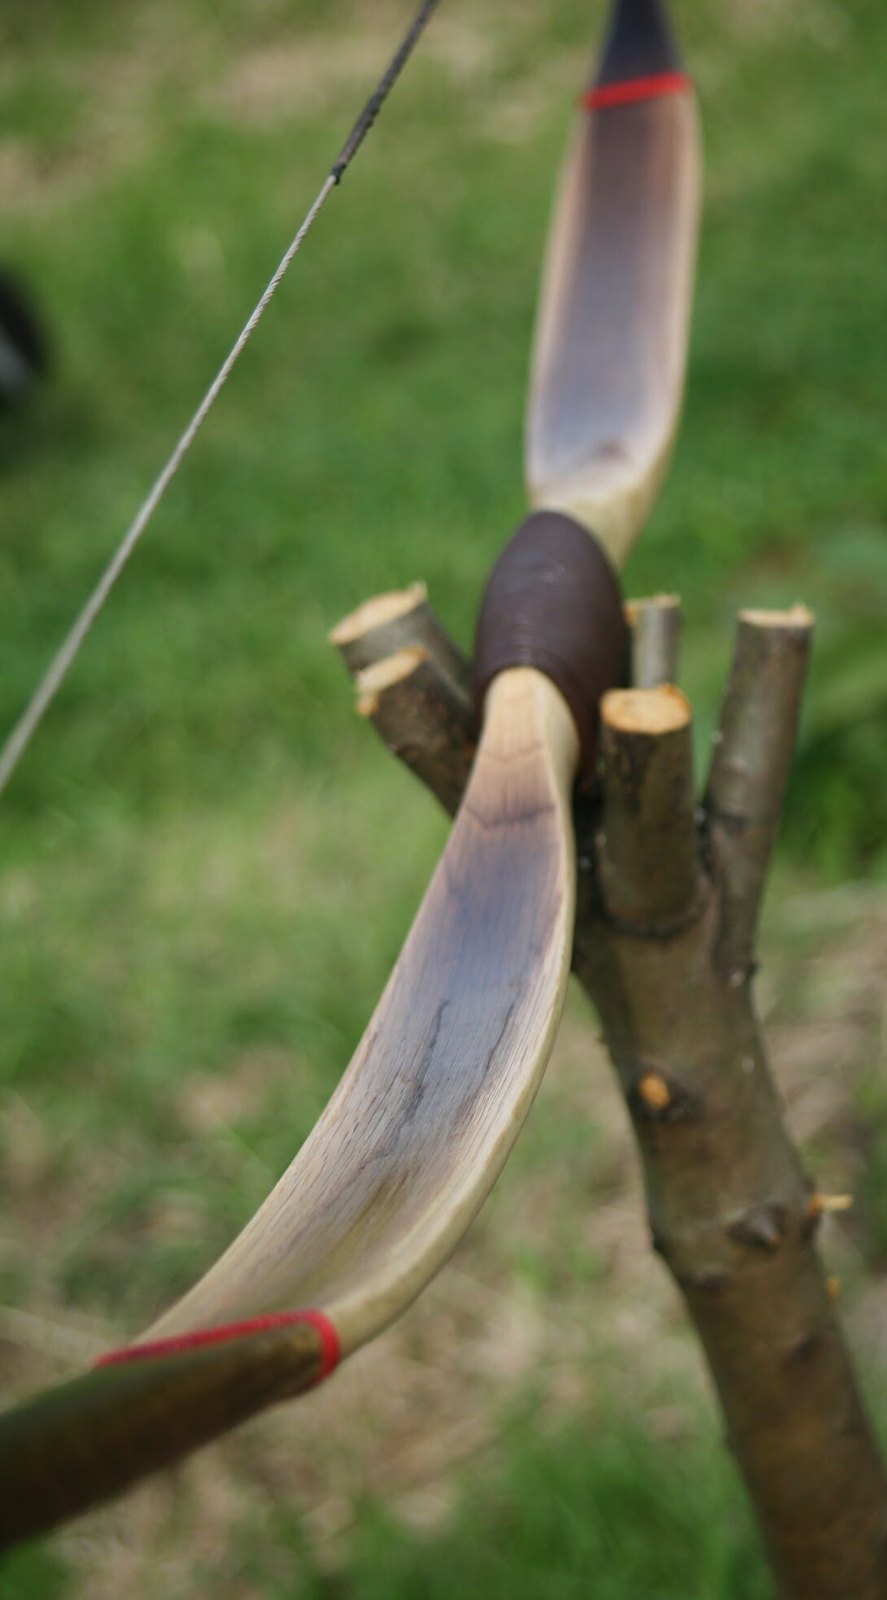
// drying cracks filled with ca
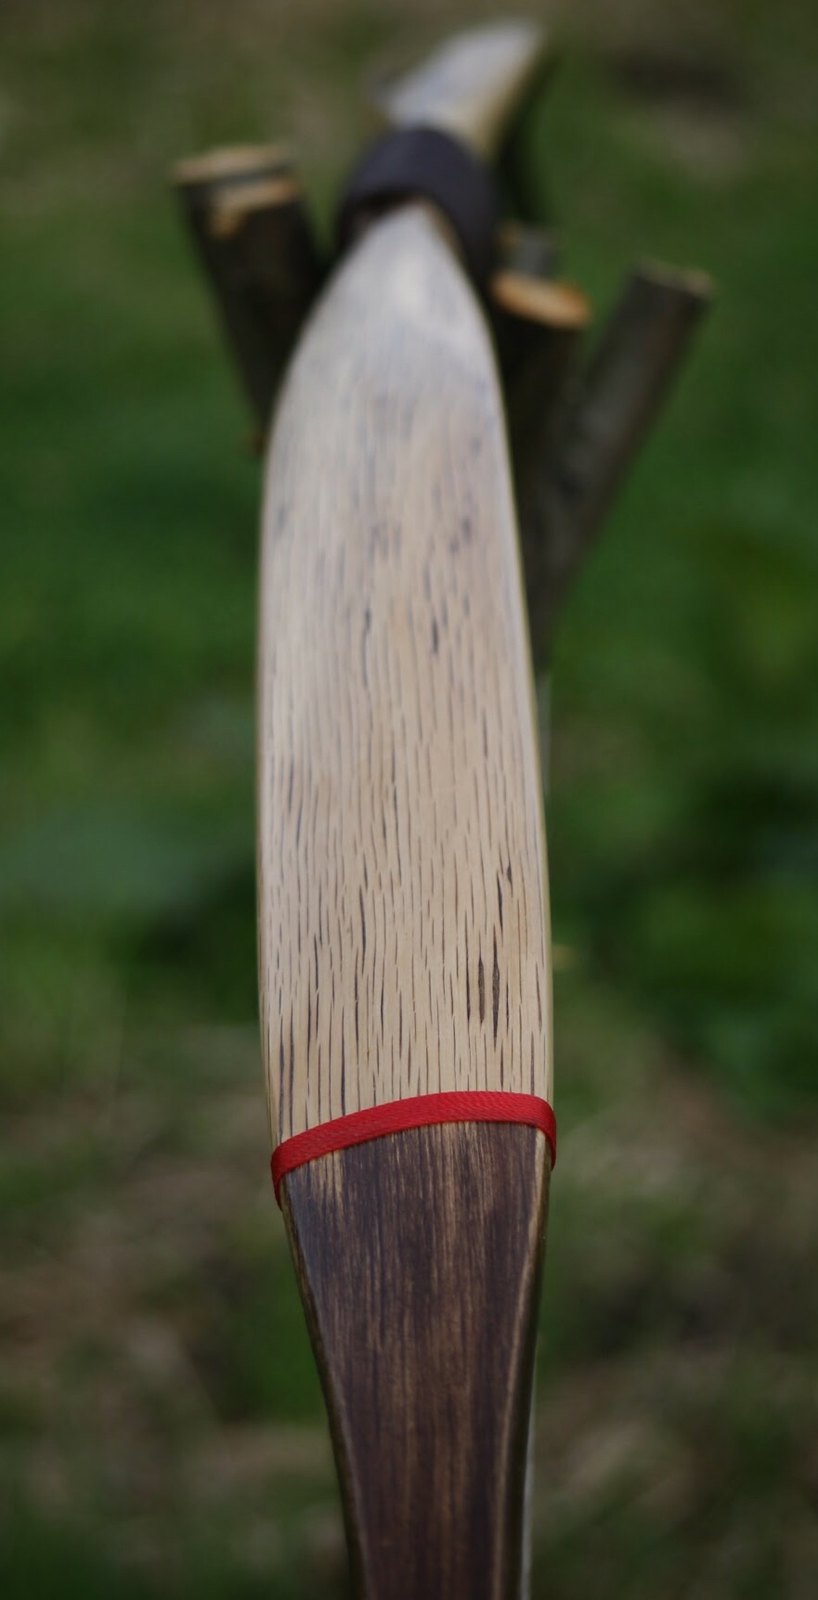
// fd
