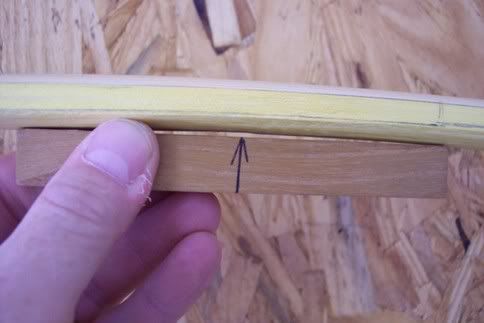
Here is what I do; I start at the end of the fades and make a dot 1/2" from the back. I move down the limbs and make a dot every 6", 1/16" lower than the last one until I get to 1/4" and hold this measurement to the tips. I make these marks on both sides of both limbs. With my thumbnail on the back of the bow I draw lines connecting the dots from fade to tip. Your thumbnail will follow all the dips and bends to give you an accurate taper. These lines keeps you even side to side and you will very rarely have a limb that doglegs to the side when you string the bow.
I rasp the belly to my lines making a peak in the center of the limbs belly. I start out with excess wood and flatten the peak out as I floor tiller. For long, high poundage bows I may make my first dot at 5/8". Most of the time I will end up dropping my dot at the fades to 7/16" and redrawing my lines to drop poundage. I call these lines the road map of a bow, pay attention to them when you are rasping and don't violate them.
With the 1/4" line at the tips and rounded to the belly my tips will be about 1/2" thick which is plenty of wood for less than 1/2" wide tips.
On wide bows like hickory the belly will end up flat after tillering, on narrow osage bows there will be a slightly rounded belly. I call this method "Eric's goof proof method of making a bow", stay within your lines, use a gizmo, go slow and you can't goof up a bow.
Here is an old pre gizmo picture that shows my layout lines;
