OK - time to catch up on this "learn-along". I have been very remiss about posting lately but I have been working on the bow and taking pictures right along. I also have been busy with other postings and springtime "outside chores" - (you too, huh? - LOL).
You will be happy to know, though not as happy as I am, chances are, that I am very close to finished with "It". In fact all that remains at this point is some decorations I plan, and final finish. The best part is that I now have a very nice little shooter that looks and acts pretty darned good, in my opinion. However it was not without a scary moment or two and a couple set-backs or at least slow-downs. I will take you patient folks along with me, from where I left off above.
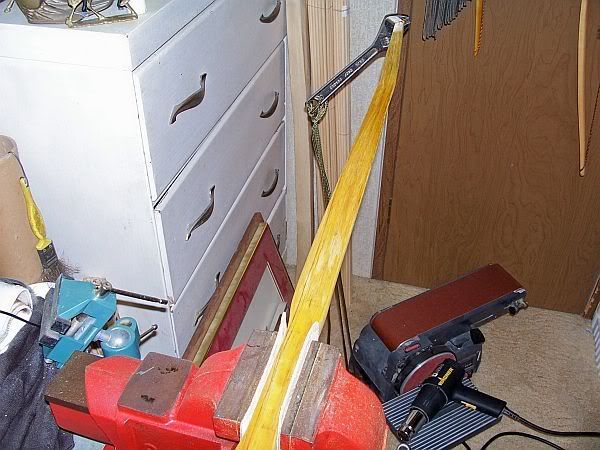
The next step was to heat and twist (or untwist) the tips. They were twisted in opposite directions, which ment I had to twist each of them clockwise a tad to align them with the limbs and centerline better. I did that by dry heating and twisting with a cresent wrench, tied down to the handle of my (heavy) belt sander, while cooling took place:
The next day turned out to be a hectic day, at least for a beginner like me. Well, I twisted the tips that Thursday night, with no real problem. I did still have that weak spot (blue tape - to say, "Stay away!") to deal with. I did a little work on the inner portions of the limbs (to get the area close to the fades working more) and blended the scraping into that weak spot better. I put it on the long string once more to see how she looked. Looking pretty darned good - but still "strong". So I went to work on her. Looked something like this - at the end of my hectic day:
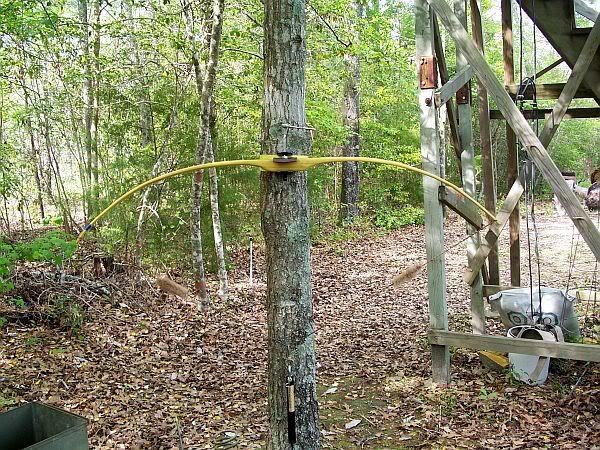
I started working a little more on the Inner Limbs and then put a short string on it. "It" still looked pretty good on the tree, discounting a few areas that could use a little touch-up work:
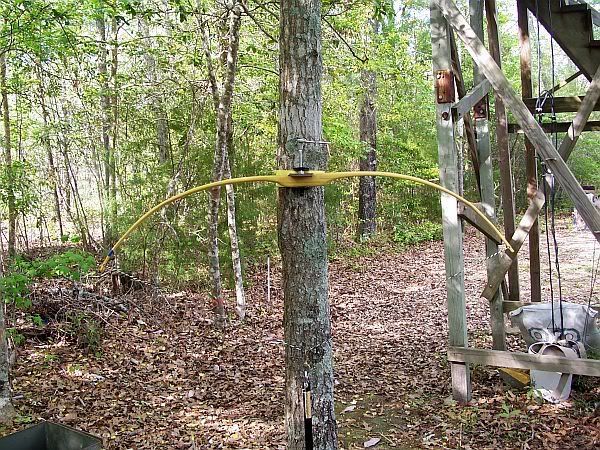
(Actually those two pics were taken at the end of that day - but it was pretty much the same all day - to different degrees as I progressed - going crazy!)
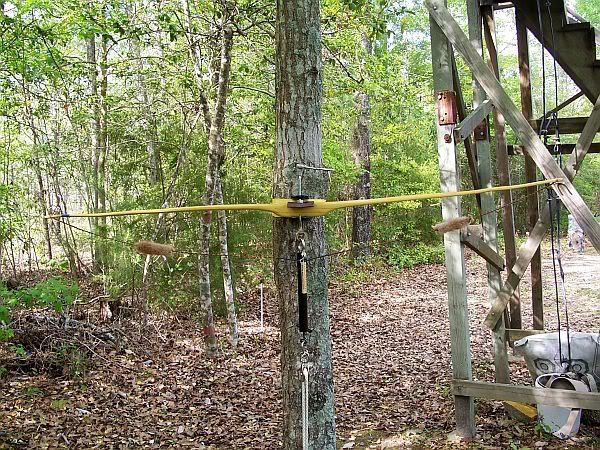
What drove me crazy was that the first time I strung "It", with her short string, one limb (the right one) wouldn't curve hardly at all. Kinda like the following picture - except that pic was also taken at the end of the day and looks a little better than it did at earlier stages:
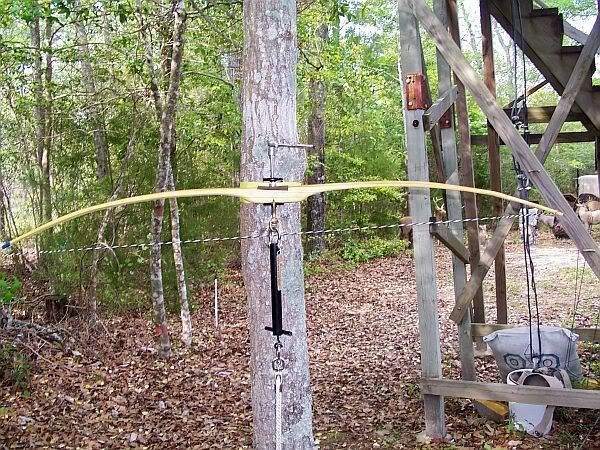
I mean, at first, the string at the flatter end (right) was only about 2" from the limb, while the other was about four inches. I did everything that I thought "It" was telling me to do - but nothing seemed to change it. Neither in just the stringing of it, or in putting it on the tree (yes, after each scrapping, I was exercising it about 20 times, each time before I strung it, and again each time when I put it on the tree.) The situation, of course, was making no sense to me - but I swear I couldn't stop myself from trying to correct it anyway. Towards the end I measured my string, and it had stretched out a little, so I twisted it back up to 57" (it probably' could be 56 1/2") and that is where it is set in the pics above. By this time I was really frustrated. Then all of the sudden I noticed, for the first time, what I thought might have been the problem, and what had been driving me to distraction all day. My beautiful reflex was just about gone from the end where it had been heat induced (left end/top limb)! Not only that - but I wasn't so sure there was not even as much on the other end (right/bottom limb) as there was originally - but there was enough there to make the difference in the tips in the "Brace" pic above, I think. That blew my mind, and I thought, "How in the world ......

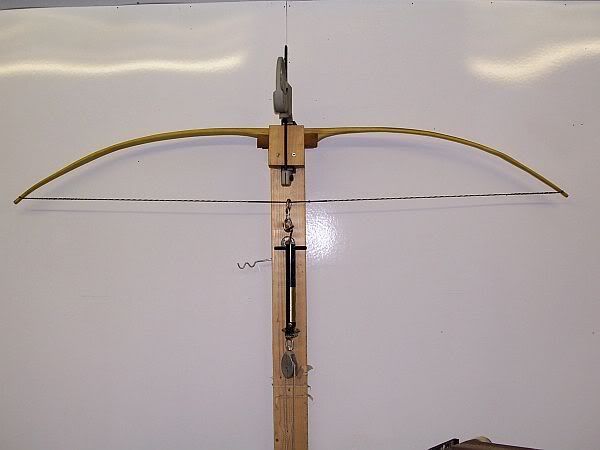
" Then it dawned on me - probably when I had heated the tips to twist them, the night before, I most likely relaxed the reflex all to blazes, especially in that one end, where it was heat induced in the first place. So here is a picture of the unstrung bow at the end of that day, so you can see the difference from what it was before a beginners mind-bending day:
I hoped all that was needed was to heat her up and induce some reflex back into it, at least the one end, and perhaps both. I had no idea what the weight was at that point (maybe a ten# bow for all I knew - I hoped not) but I never at any time went over 38#s on the tree bow scale, with either long or short string. At that point, I put it all to bed, and went out and worked up a sweat blowing, racking, and hauling leaves in the dog pens and back yard - to calm my damaged nerves and frazzeled state of mind. It only worked marginally ;^).
I aprised my mentor, Mike, of the above day in a message, with pics Saturday night. I had decided to let "It" rest Saturday, as I knew Mike was out of town, and take her over to his place Sunday to let him help me make sense of it all - and maybe take the scare out of me.
As soon as we strung "It" Sunday AM, and subsequently put her on the tillering tree, Mike was sure that I had worked on it after the message - and I wasn't so sure myself that I hadn't "sleep-worked" on it during the night. It looked pretty "normal", and darned good, except for fine tuning areas, as noted above. I think the bow has got a little magic in it, or just wants to be a good bow, very badly - LOL Mike had thought about it some, after reading my message, and felt that the weak spot in the one limb had made the string look closer, and thus the limb look/act flatter, at the other end of the bow. As I got the stronger tip closer to the weaker one in my work Sat, it had got better - but it evidently needed time for the wood to compleatly take it's new shape - it got that time Saturday. much to my shock and pleasure Sunday:
So - I had a bow with weaker tips than planned for perhaps - but at least, my beautiful, slightly magic, bow was safe, and looking good:
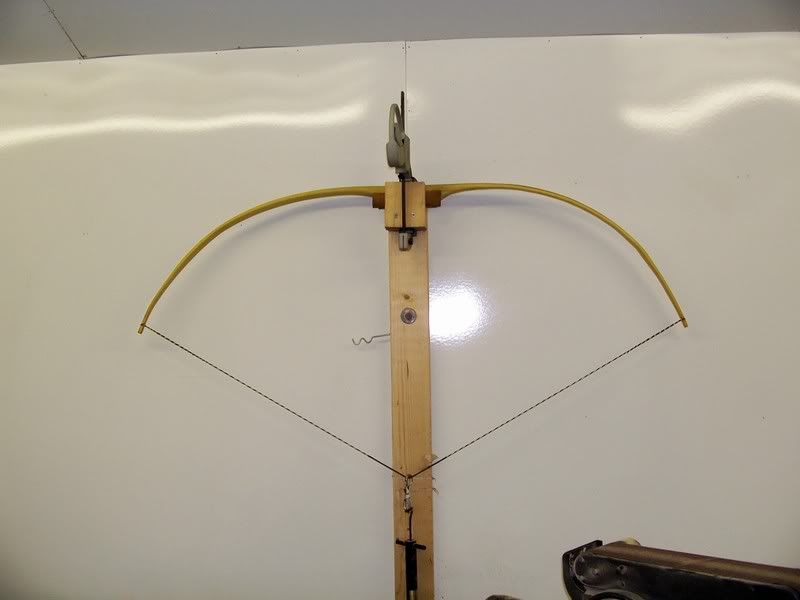
Yowza!!!
After some very minimal fine-tune scraping and sanding, Mike said it was time to shoot her in and see how she would do:
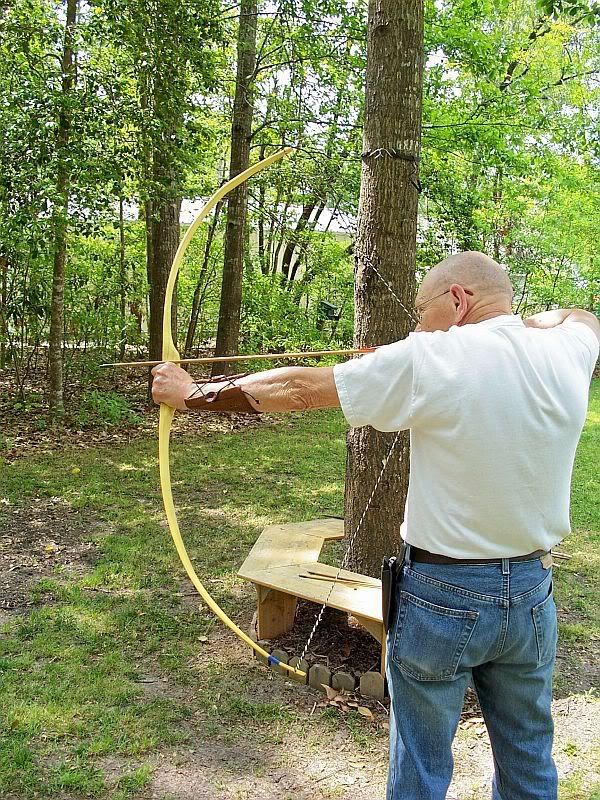
I spent most of the afternoon shooting "It" and enjoying her. Mike spent most of it shaking his head and proclaiming he had no idea why a bow with those weak looking tips would shoot so fast. We decided that perhaps the crown ridge that runs down most of the back may have something to do with it's surprising performance. We did wind up swaping ends and uping the brace height about 1/2" I found "It" to be, not only quick but accurate, well behaved in hand, consistant. and packing punch with plenty of arrow penetration. "It" was checking out as 41# @ 25" Both Mike and I were hugely pleased and satisfied. Mike also shot about 18 arrows through "It", with the same findings on his part. I shot somewhere around 150- 200 arrows. I was a tired but happy student when I left for home.
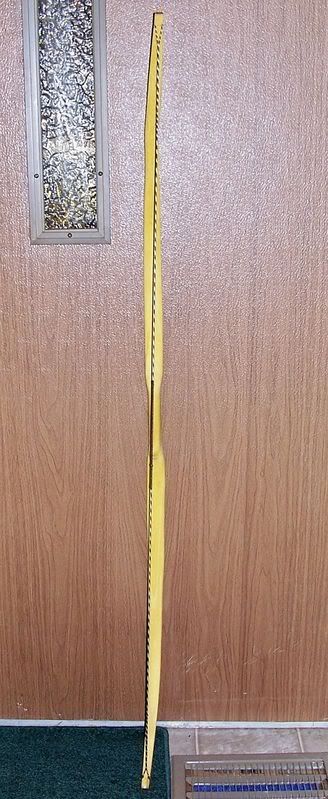
That evening at home, I took a couple pics to show how the string, while the limbs go both ways from center, still follows the center line of the handle:
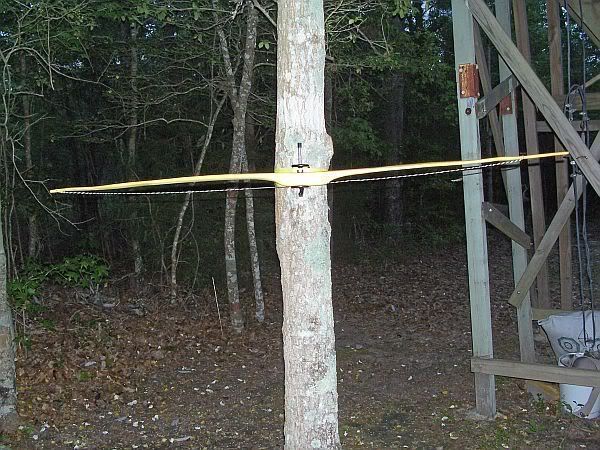
and to show the loss of the heat induced reflex, which I would try to remedy in the final steps (although it didn't appear to be really needed for "It" to be the bow it had promised to be):
The next day I proceeded with progressive grit sanding and at the same time preshaped some Purpleheart tip overlays, affixed them (with epoxy), and finished shaping them. The following day I would try to heat my reflex back into the tips. I found my work-bench wasn't long enough, so I had to commandere my wife's glass dinning table - again (she's so understanding, bless her heart):
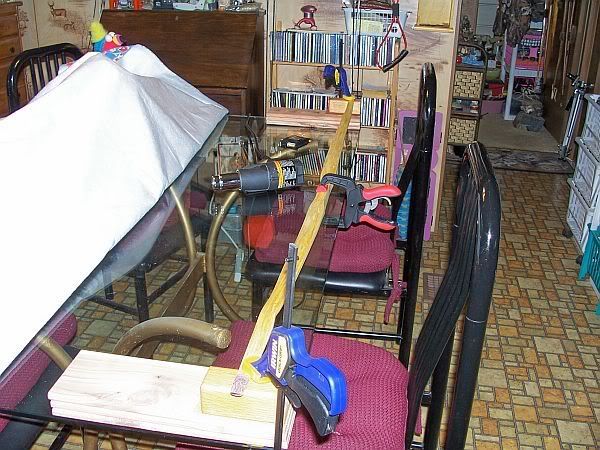
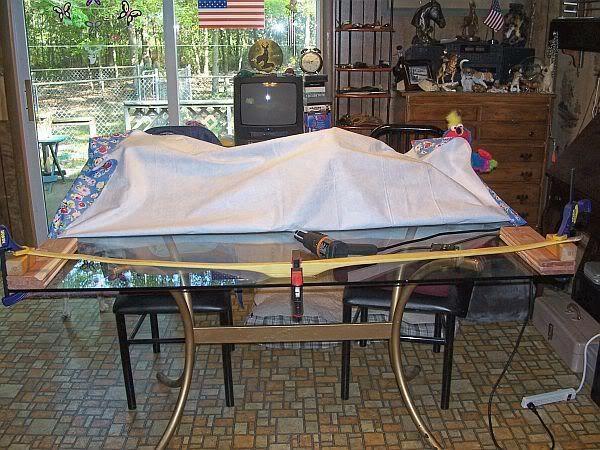
The heating/bending worked beautifully and I wound up with my 3" reflexed tips again, after cooling:
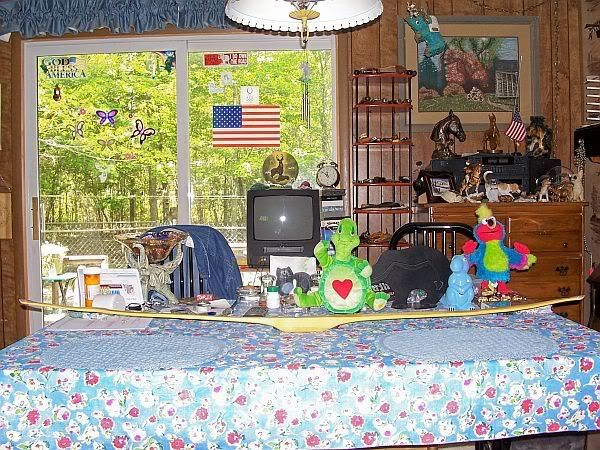
I started the burnishing process of my bow, using a glass bottle, I'll do that often in the next few days, prior to applying finish.
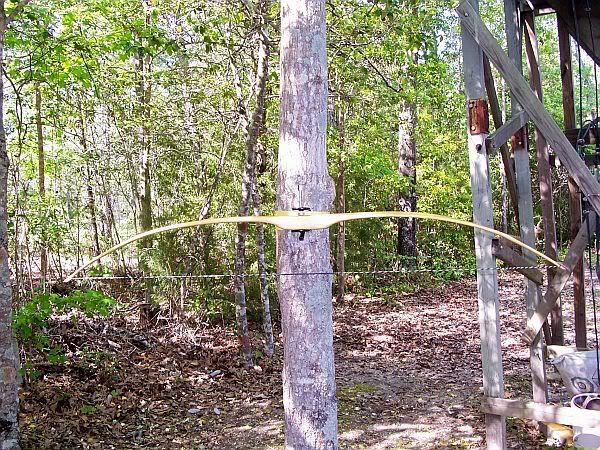
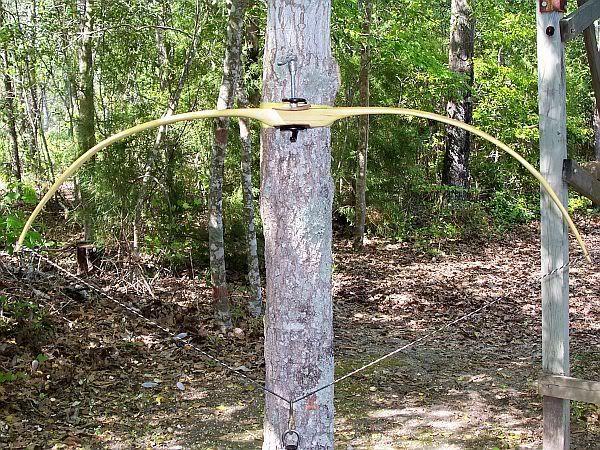
That evening I went outside to check and see how tillering stats/looks, and actual shooting had or hadn't changed.
At Brace:
and at 42# @ 25":
I then shot her on my range using my Cane arrows (she liked them) and found everything still as satisfying as it had been during the shooting on Sunday.
After shooting, I got my wife to take some Full Draw pics for me (without canting the bow), with a light background (my neighbor's garage/house) and a dark one (one of our bushes):
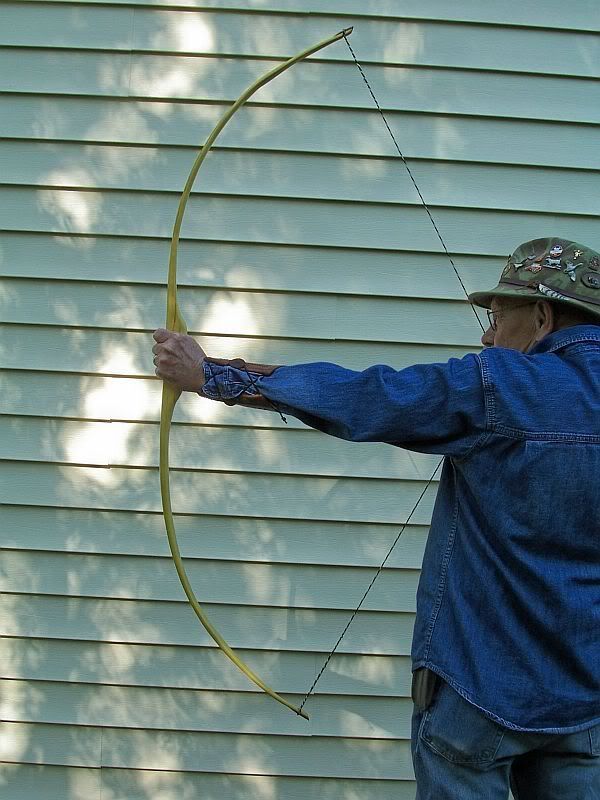
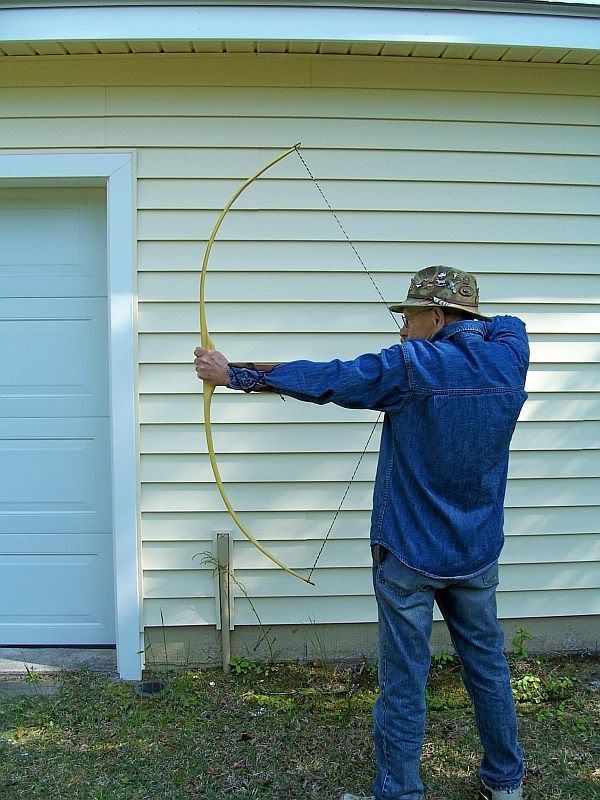
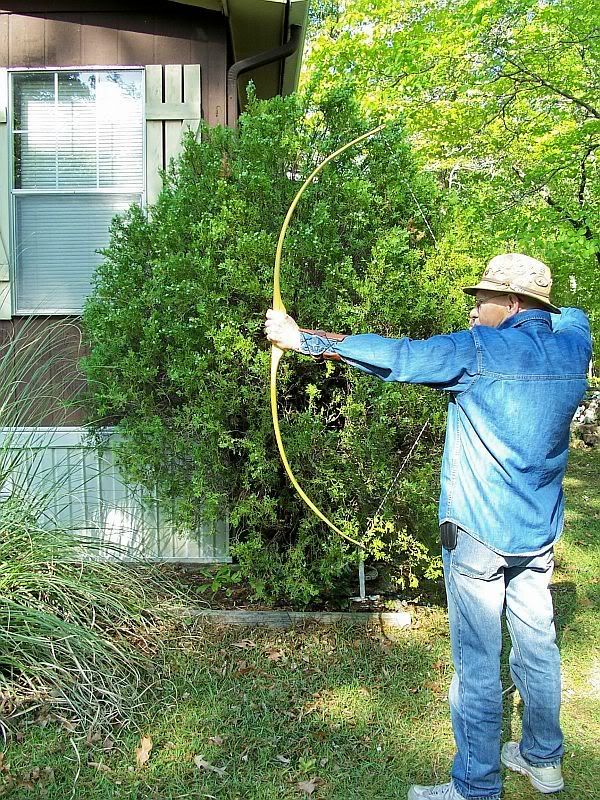
I have labled and signed the bow, "It", I am still burnishing her, and will do a small amount of decoration, dressing, plus finish in the next few days, and will be back with the final pics. This one should (finally) be ready for May - LOL. Today "It" is taking a well earned rest, while I play catch-up here - LOL.
_________________