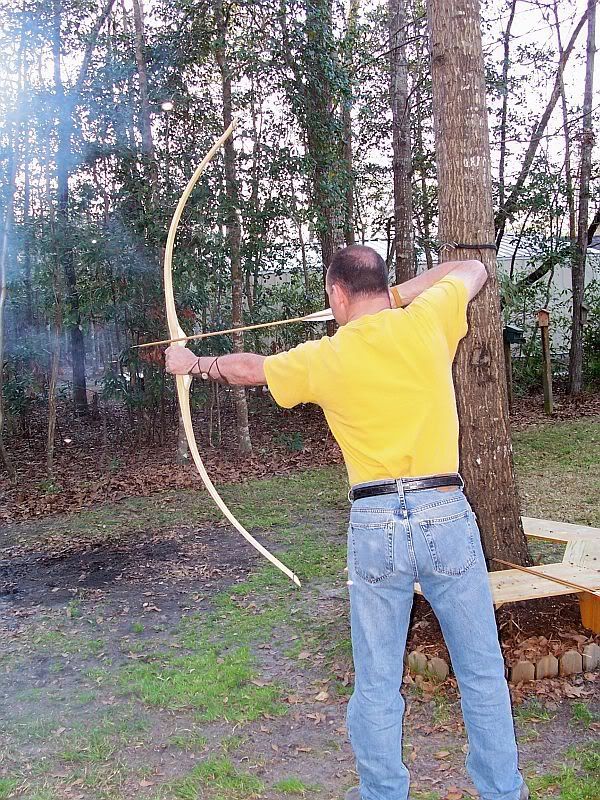
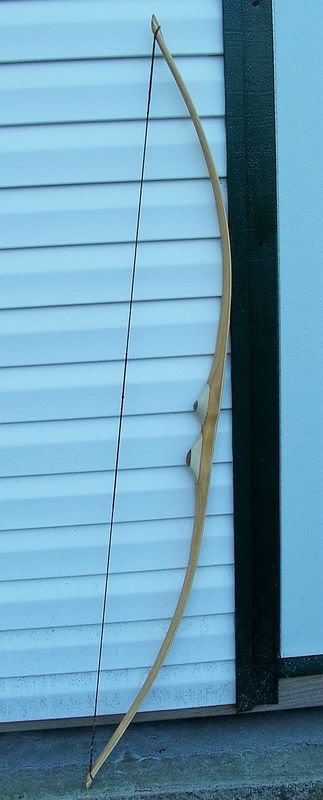
OK, Got to do some more Osage bending this past weekend, and I'll update, as promised. However, first I want to show you a little bonus of another new bow Mike is working on. I got to help him "shoot it in" some, while waiting for my bend work to cool on my stave. The new one is a sweet little Bamboo Backed Osage, Osage Tip overlays, Poplar and Massandruba handle, 51# @ 27" (it was about 44# at my 25 1/2 or so). Mike says it still shows some extra stiffness in the bottom limb (he wanted it a little stiffer than the top limb) but we both felt it behaves and shoots so well, and comfortably that he may not do much more than sanding work now. I really loved the bow's feel, quickness, and accuracy, and he liked the chance to see it shot by someone other than just him, so he could stand back and eyeball it in action.
Mike at Full Draw:
New Bow at Brace:
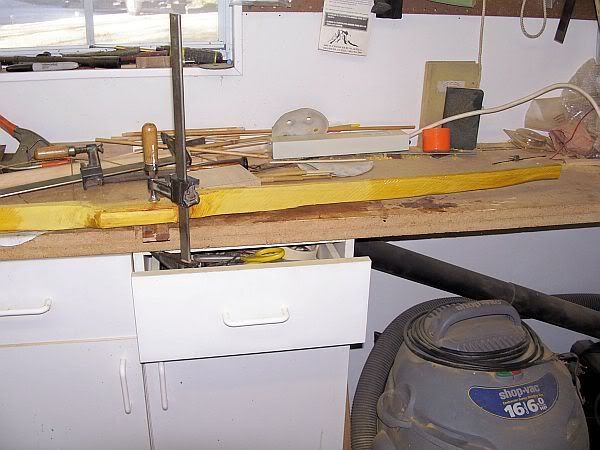
Now, on with my Osage Self bow. You'll recall, we moved the handle over to make for less bending of the limbs (hopefully). Next step is to move one limb over (laterally) in line with the handle. The vice holds the other tip within it's handle area, and we shimmed and clamped near the bow's handle. We'll grease and heat the mid portin of the limb (to The right) and then clamp it a little further over than we hope it will settle after cooling:
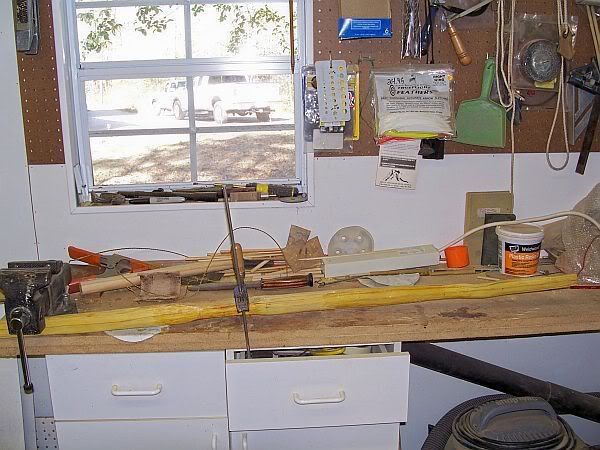
Now greased, heated, and clamped:
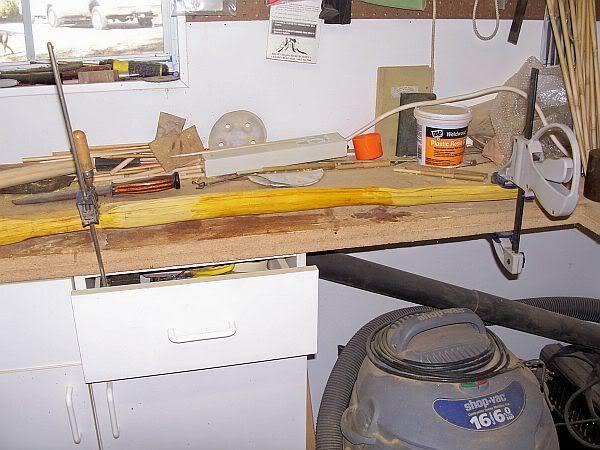
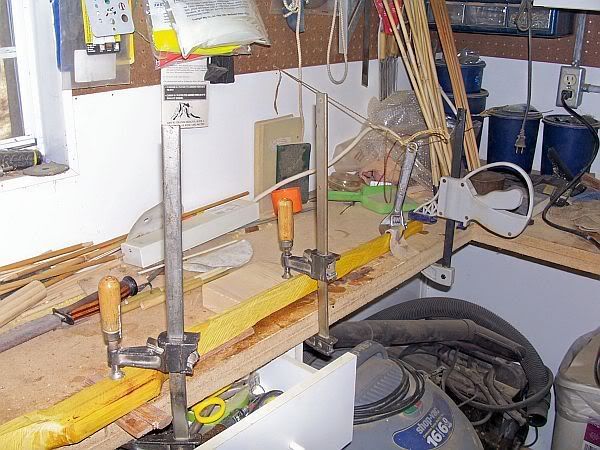
That having worked out very well, we set up to work on the opposite limb. This one needs the tip moved over laterally (like the other one) but we also hope to reflex the end some (to match the natural reflex in the opposite limb) and twist (with a padded cresent wrench) the outter portion of the limb a little - all at the same time, after heating and greasing. This time I will be heating The outter portion of the limb rather than the center. A little trickier moves, and we can only hope for the best results:
Fancier (more convoluted - LOL) clamping and bracing on this limb/tip:
Again I was blessed (and well guided by Mike's previous experience), although a little more reflex might have been nice - we'll see about that later. After cooling period and unclamping, we ran a center line (using a Chalk line string), and you can see (in the the pic below) we now have a pretty pleasing center line, on a fairly straight stave, (with some "whooptie" character places - LOL) Both Mike and I were very pleased:
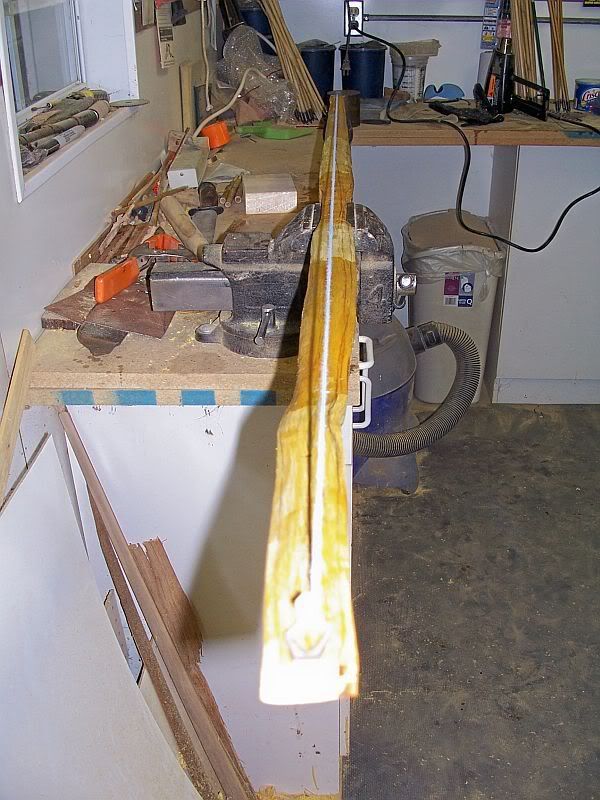
Next session I'll take the sides of the bow in to the layout lines, pretty much to where I would like them to be in the end.