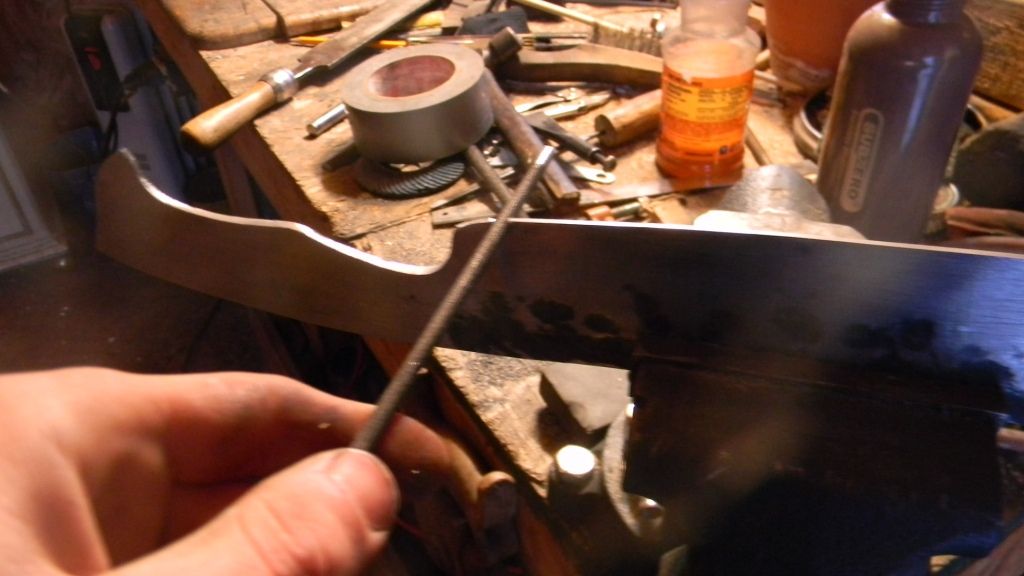
Hey guys, I started working on this knife about a week ago. It was 1/4" x 2" x 16" 5160 bar stock originally before I started forging it. After a few days and probably about 12 hrs of forging it has grown into a 19" monster, definitely the biggest knife I've tried to make. I regret not taking pics of the forging process, I didn't think about it then.
This build along starts kinda in the middle since I start with most of the filing and grinding, the forging took some work but that's a whole different process.
Here I start filing the tang from it's rough forged shape to something flatter. This is going to be a tapered tang. I already did most of the 'thinning' on the forge, so I just need to remove the irregularities.
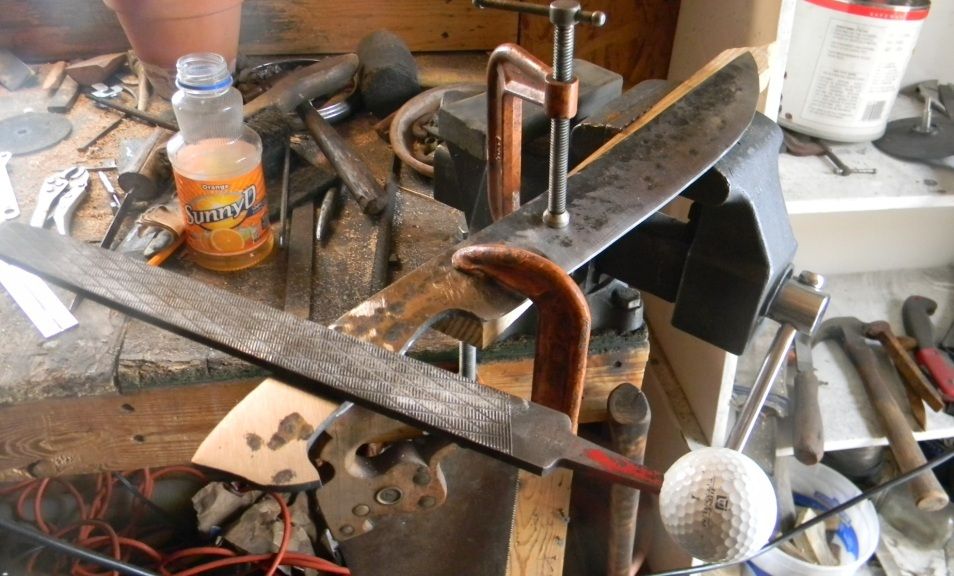
Here it is after filing with a course file for a few minutes.
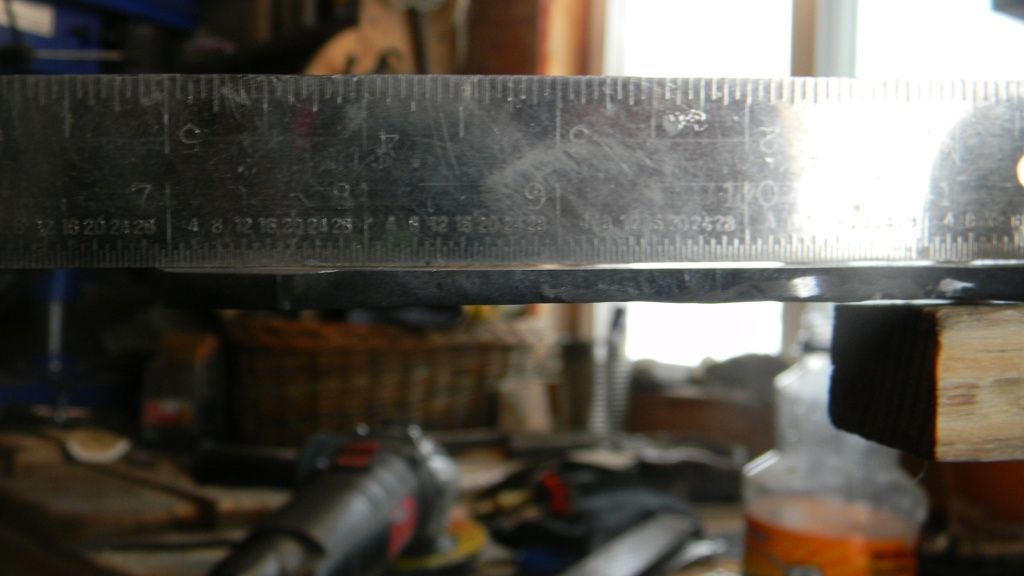
You wan't to check the flatness by using a square edge in the light. It allows you to see where the high/low spots are.
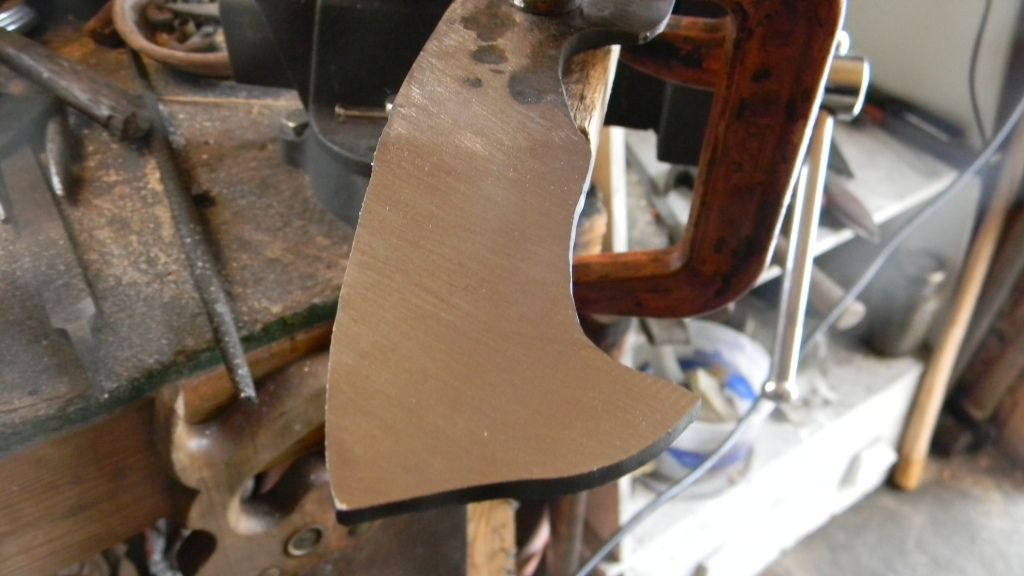
When I get most of the big bumps out of the way I switch to draw-filing, which allows me to see where the more gradual changes are.
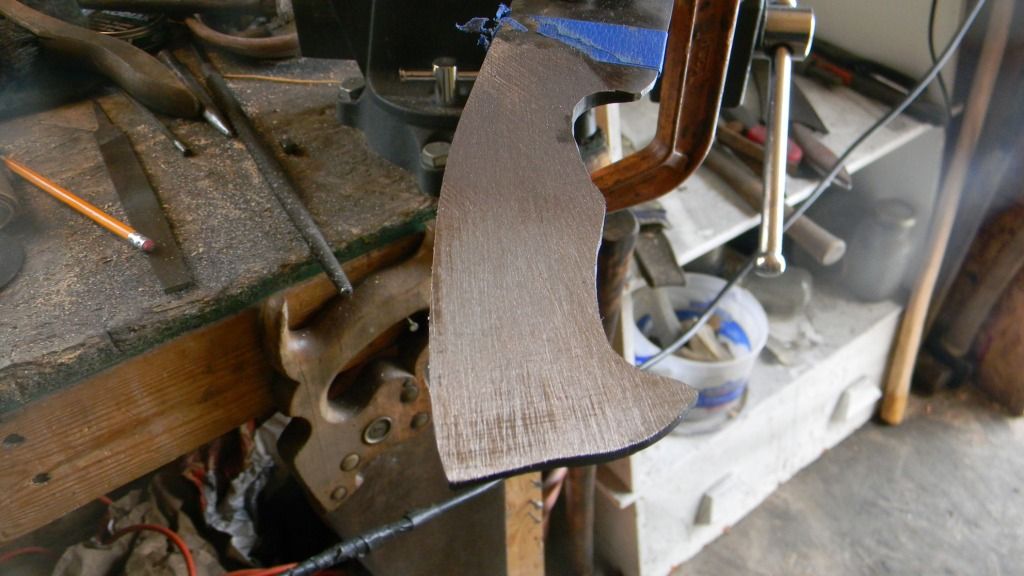
This get's me to here. You can see much less light and progress from now on is very slow and careful.
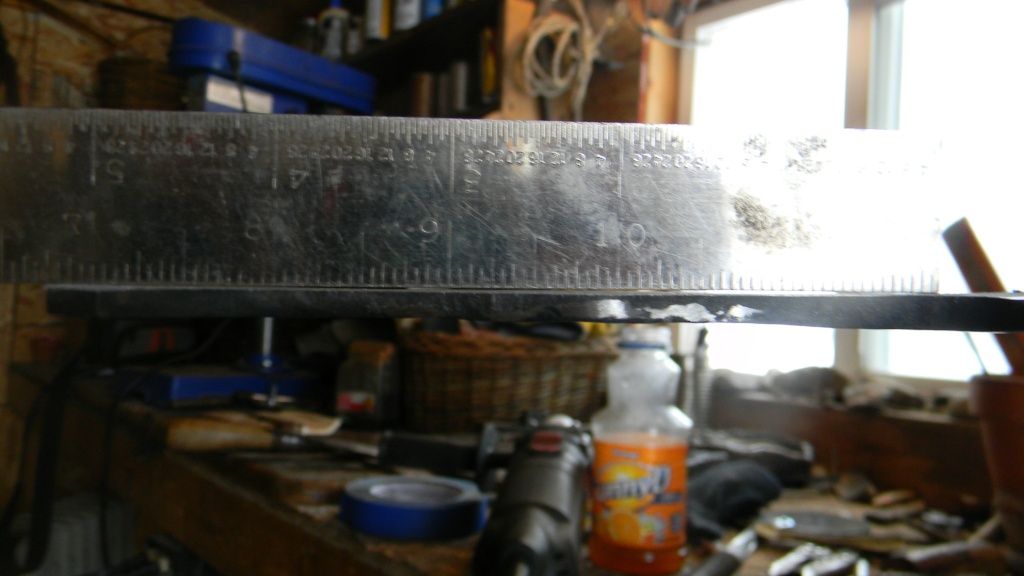
I swith to rough sandpaper wrapped around a piece of flat barstock.
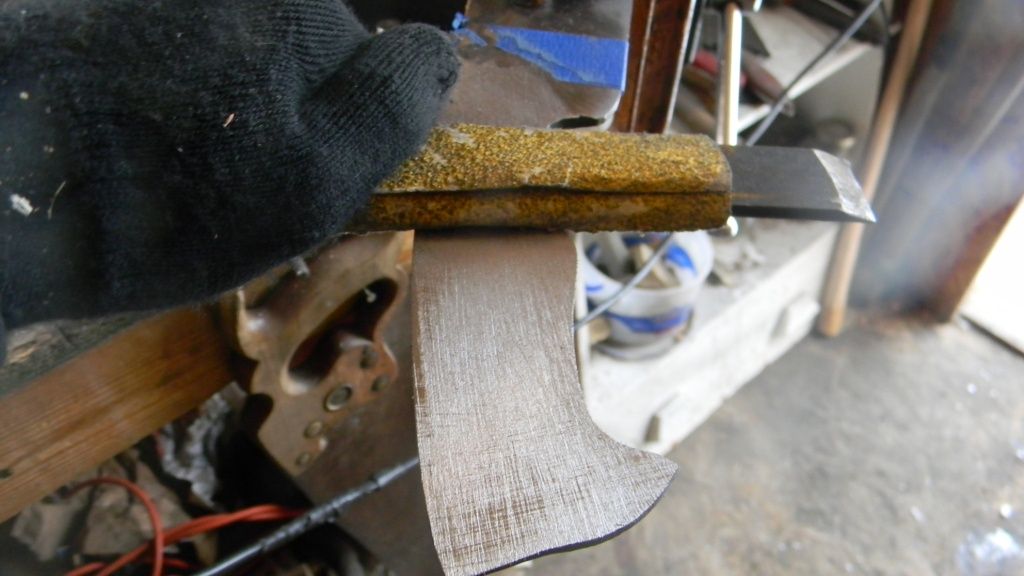
At this point it is relatively flat both length-wise and width-wise.
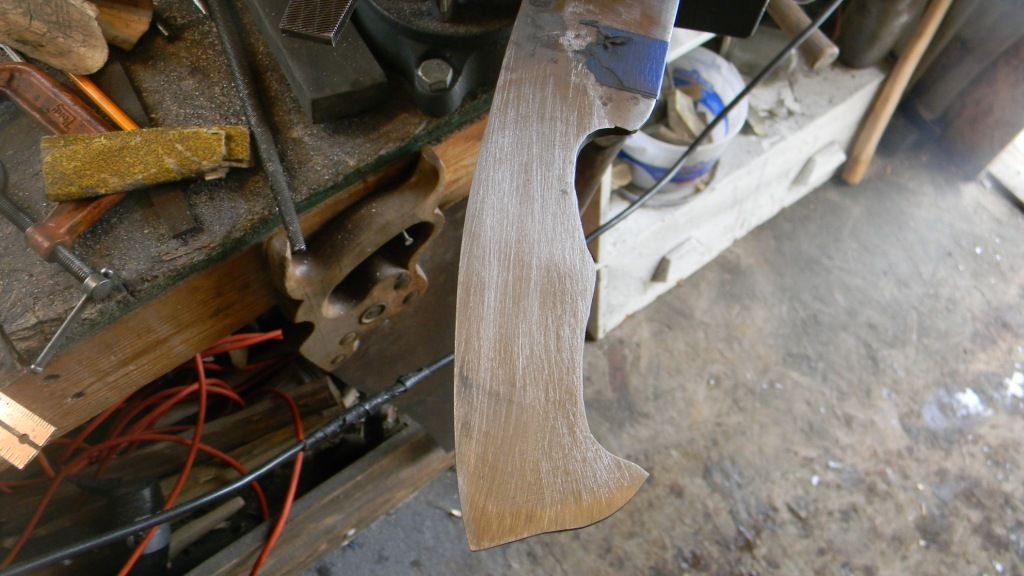
Flipping it over, you can see how rough it is right off the forge. I use the fine side of a farrier's rasp to hog off metal. The steel is completely annealed right now so it really doesn't damage the rasp.
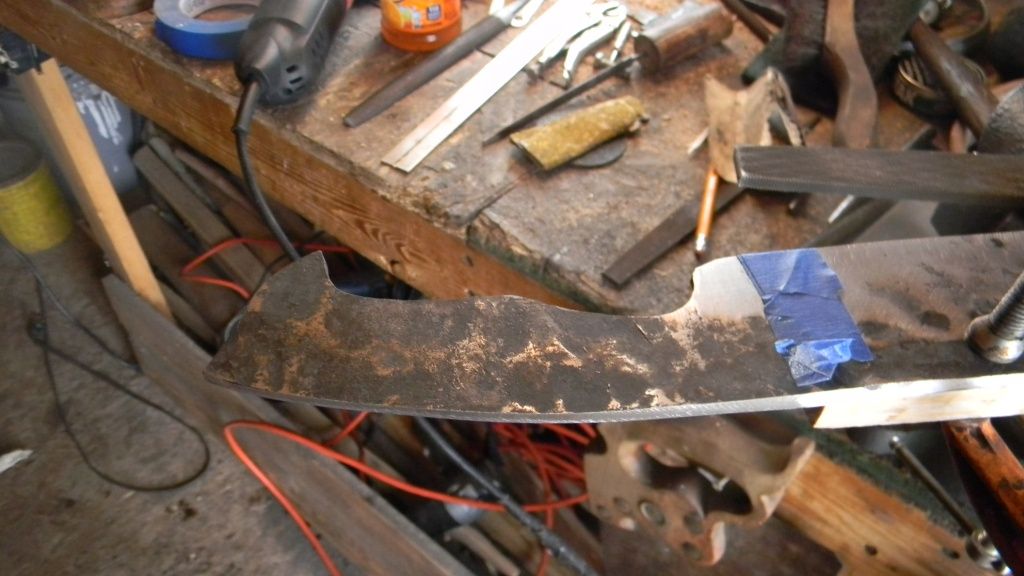
After doing both sides, we derive this result. The picture was taken at a bad angle so it looks a lot worse than it is, but it still needs more refining. Eventually I'll tape some sandpaper to a piece of flat marble and run it back and forth until it's dead flat, but for now it's fine.
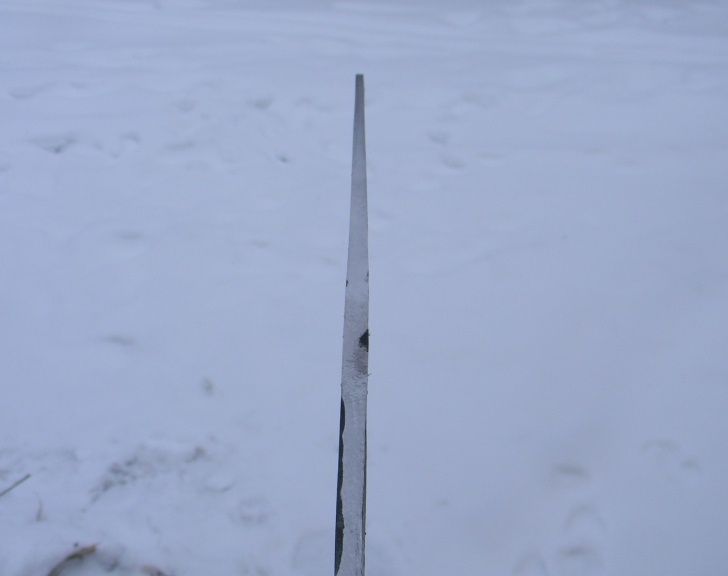
Moving to the business end, you can see I already did some grinding on the blade's bevels. I find this the most tedious process which is why I had decided to forge the knife, so that I could hammer out most of the bevel's without having to use stock removal. This is an enjoyable process and really utilizes the full piece of steel, and I ended up about a quarter inch wider along the whole blade after forging. I forged the bevels down to about 1/8" thickness initially so all I had to do was run the angle grinder over it a few times to get this finish.
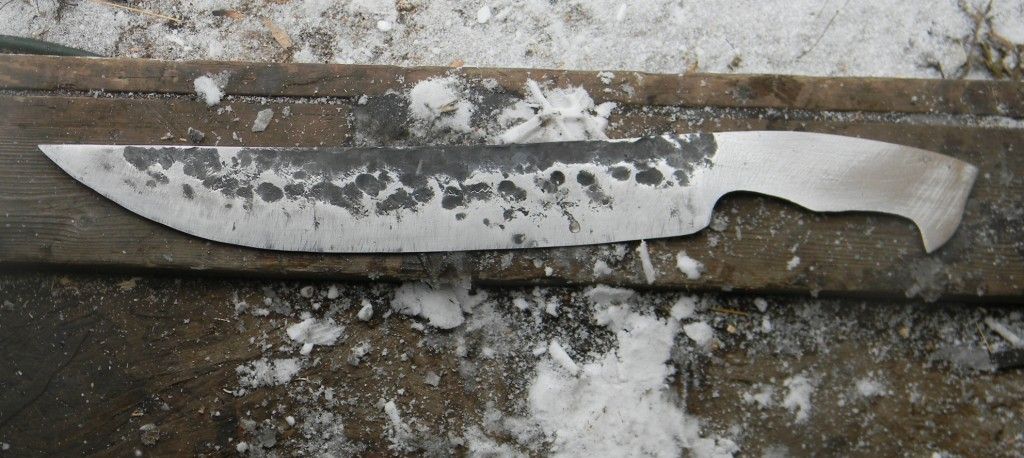
Here I start filing the plunge lines. I just decided what kind of angle I wanted relative to the blade and drew a pencil line which I then filed.
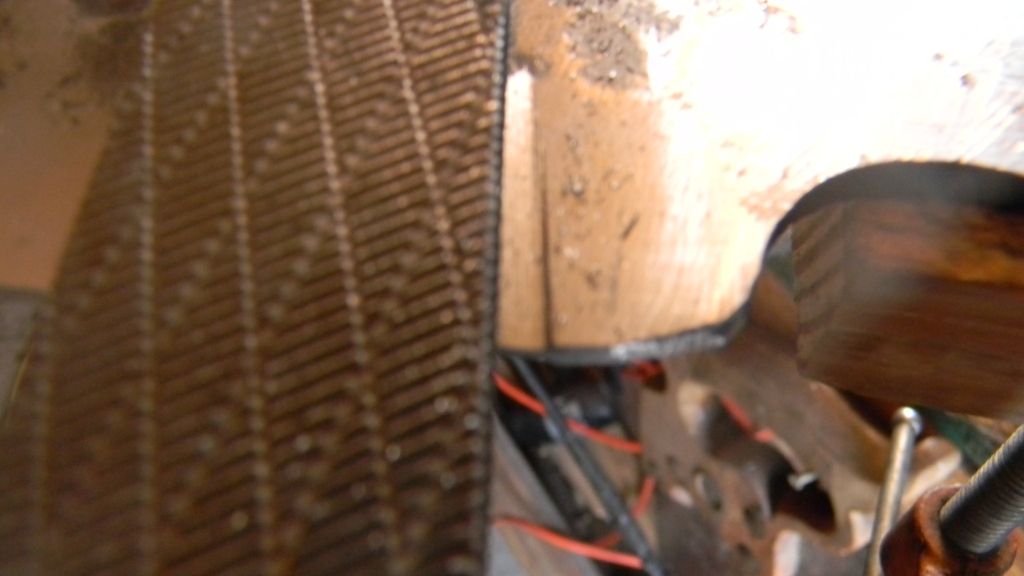
I then moved up the blade gradually, keeping the angle consistent and removing the same amount of material up and down the blade. Again I use the fine side of a farrier's rasp, It's pretty crazy how aggressive it is.
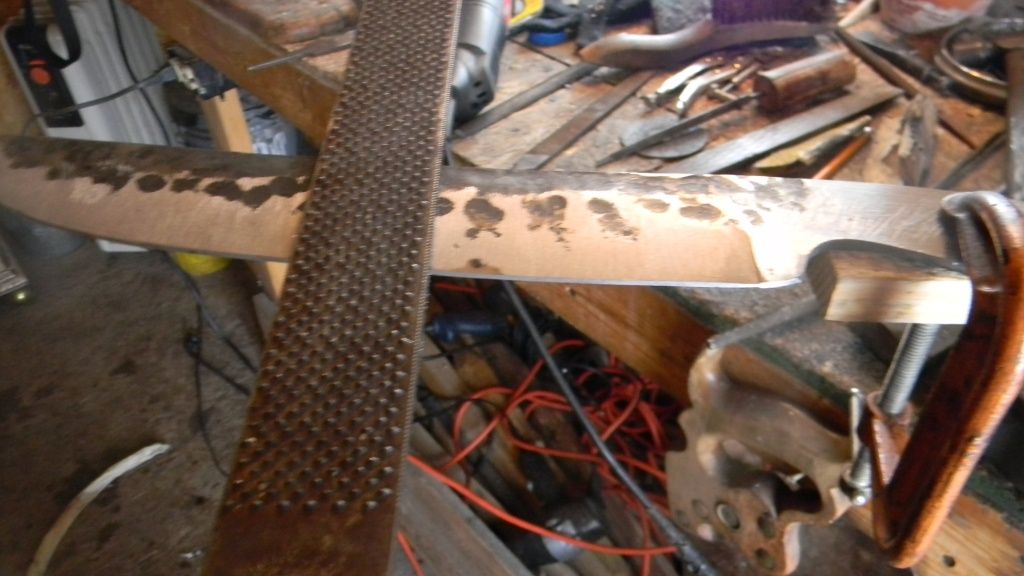
I then move to a finer file and draw file. The change of direction in the scratches left by the file let you see where you need remove material.
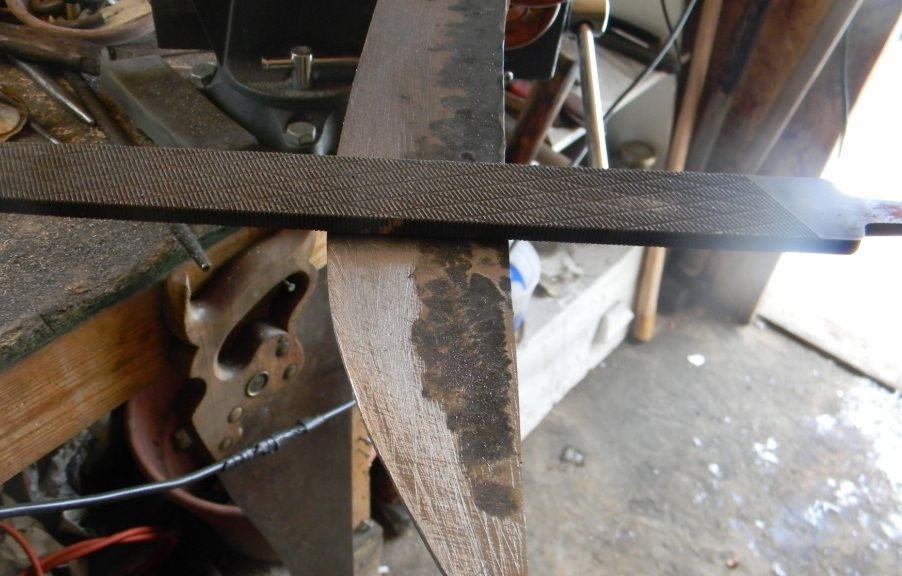
Once both bevels are evened up I file in the choil. I just use a sharp chainsaw file. You can vary the size of the choi lbut I thought a smaller one looked better on this knife. I can always change it later.
