A rainy day here, good time to work on the gun.
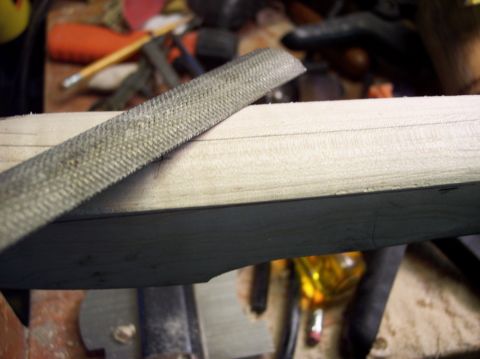
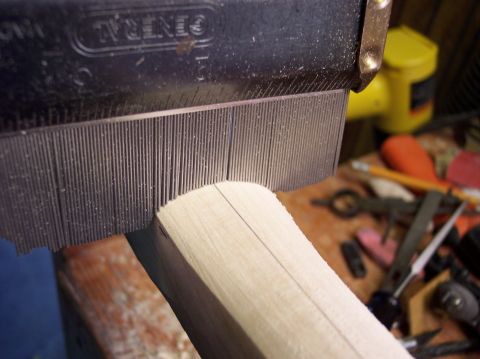
The stock is fat and will look real clunky if I don't take off some wood.

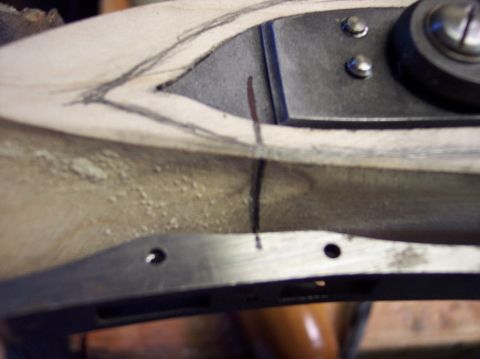
First I draw in the future lock panels, some people make them way too thick, I like them thin. You can see a lot of extra wood under the lock panel.
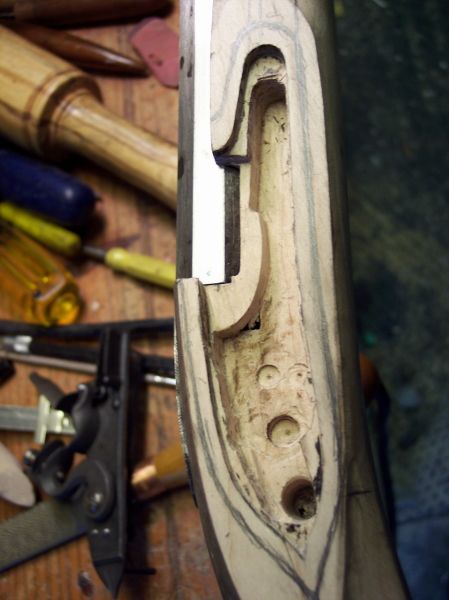
The trigger area should be rounded a little as you shape and get rid of the extra wood.
Checking for an even wood removal, I like to keep a centerline for perspective.
Locate where you want the triggers to hit the sear bar, I marked it with a dot. The adjusting screw in the plate is mid position on both trigger arms. I try to have both arms hit the sear equally. Not because I know what I am doing (first double set trigger installation). A distance of 5/6" from the front trigger pivot pin give one about a 3# trigger if you choose to fire the gun with the front trigger without setting the back trigger. I found this set of triggers to have this distance at the mid trigger strike point.
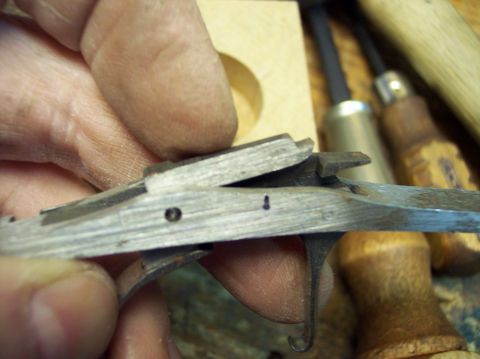
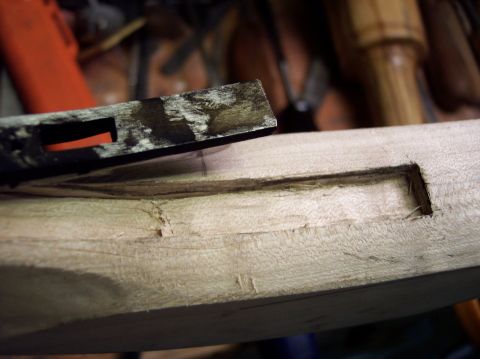
Here the sear location is marked on the lock plate, stock and trigger plate so I can line everything up. I disassemble the trigger and inlet the trigger plate first.
And down we go.