I hate paying good money for something that I know I can make myself, and often make better than I could buy it. Now this post is no reflection on the many advertisers that this company hosts that sell credible tools and resources. I have bought from them and will again if the need arrises. But if I can save money I will. This is just a short guide to making a quick copper bopper that will last thru lots of beating.
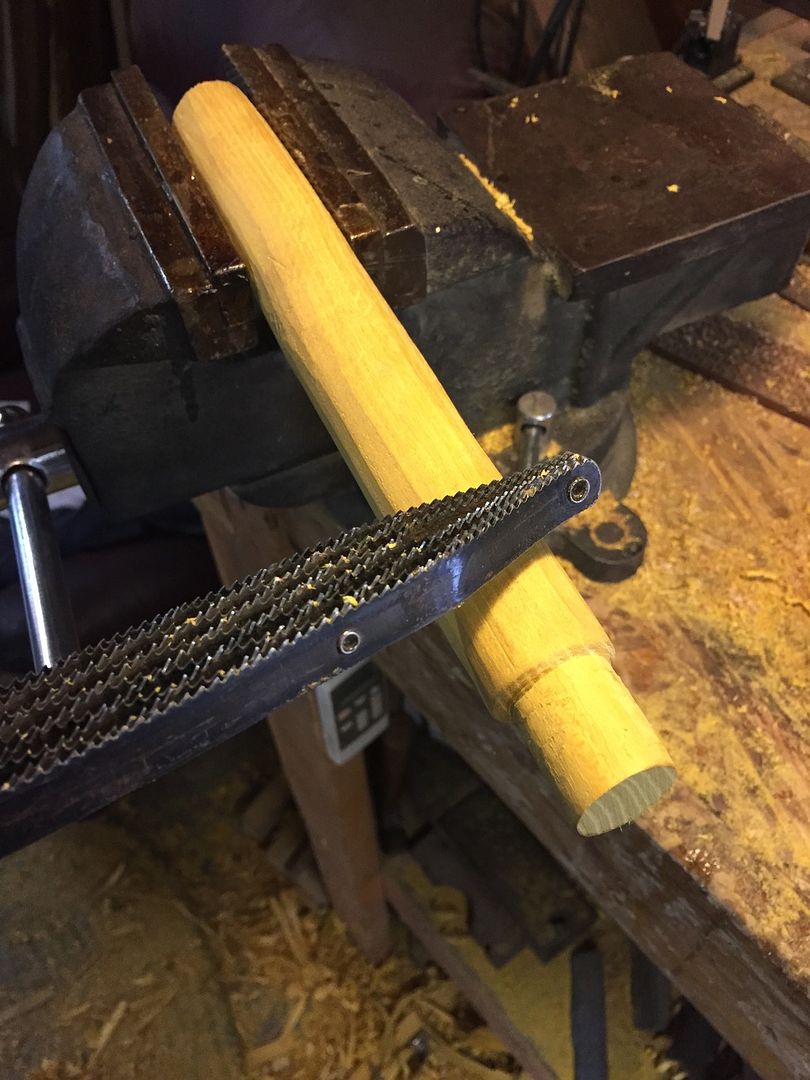
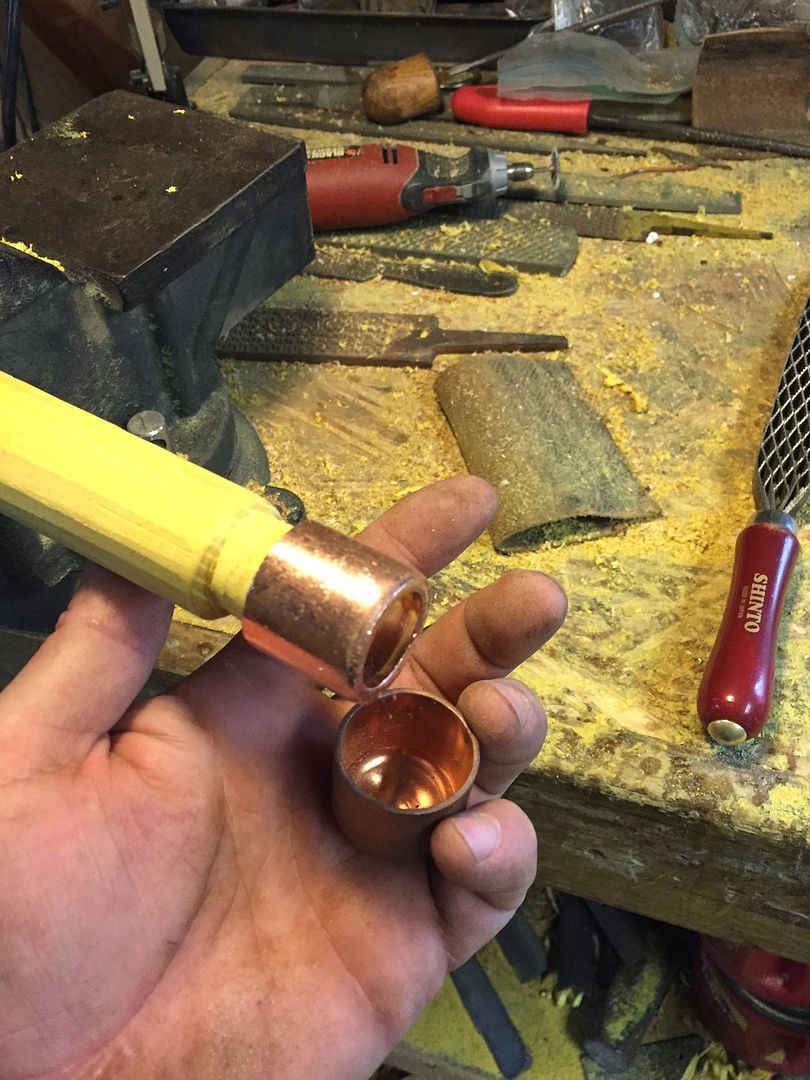
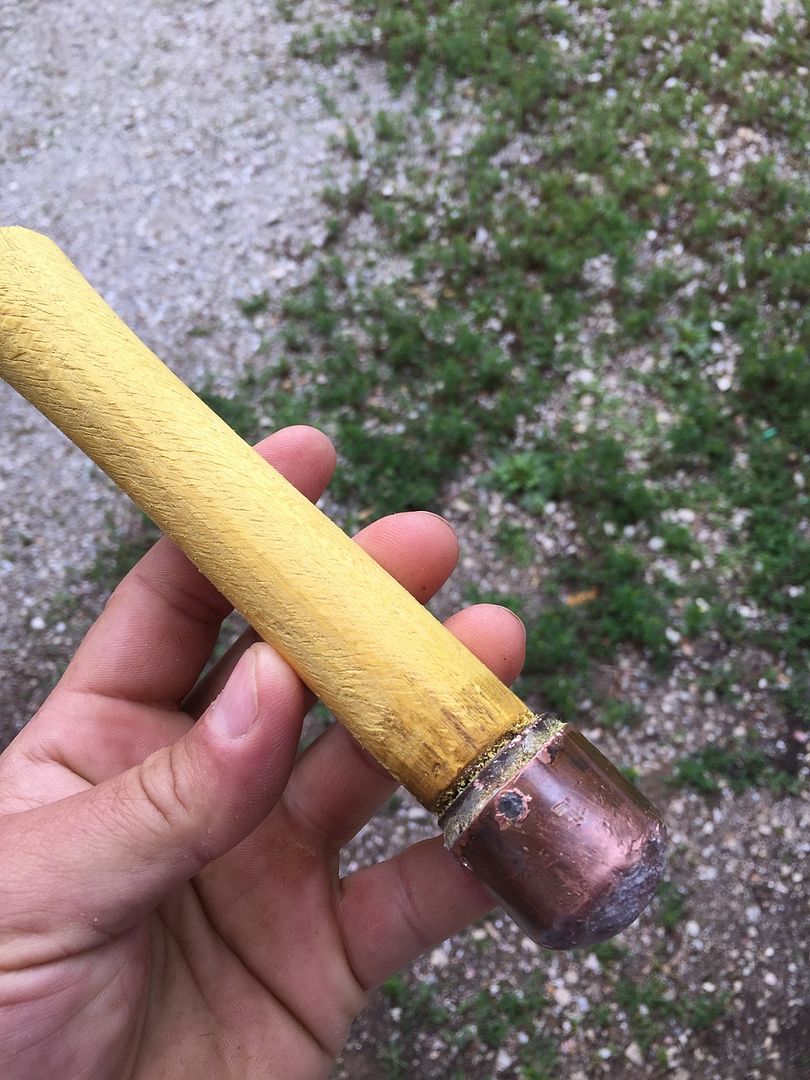
Start with a baton of your choice. I like osage for its density. Round the end to fit the copper reducer, but make sure it's snug. Don't want any wiggle room.
You can add a little dollop of lead to the cap to fill the space infront of the dowel. Just make sure to not overfill.
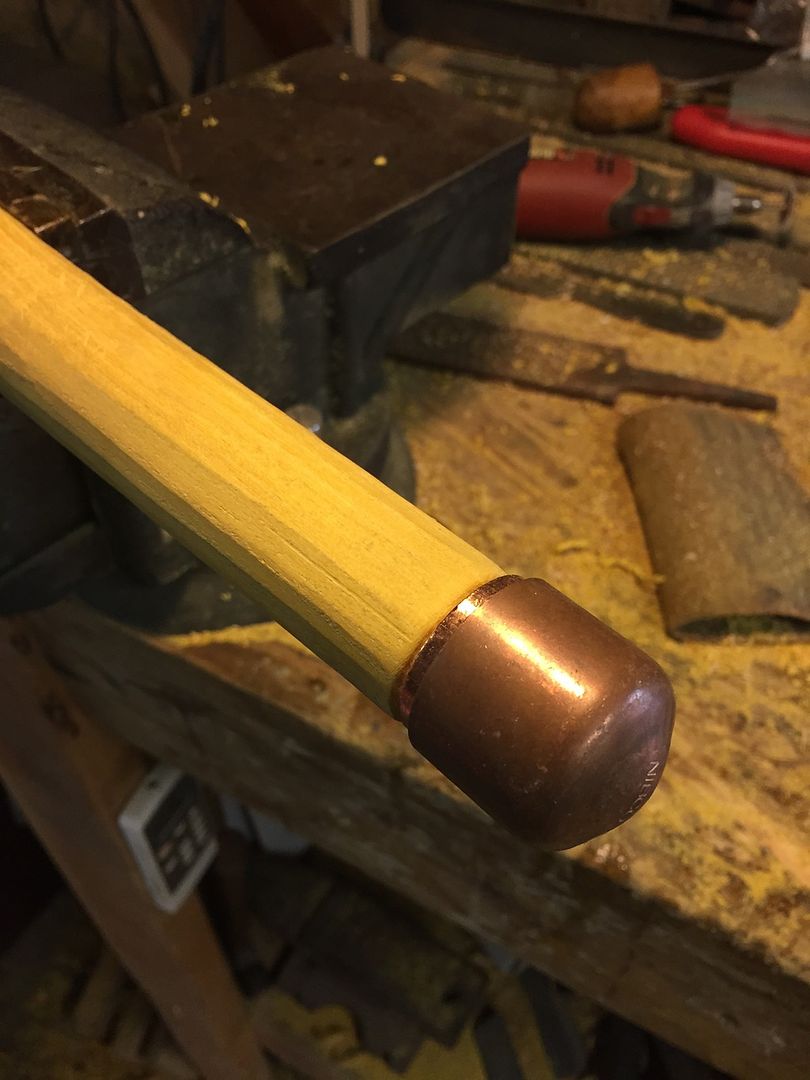
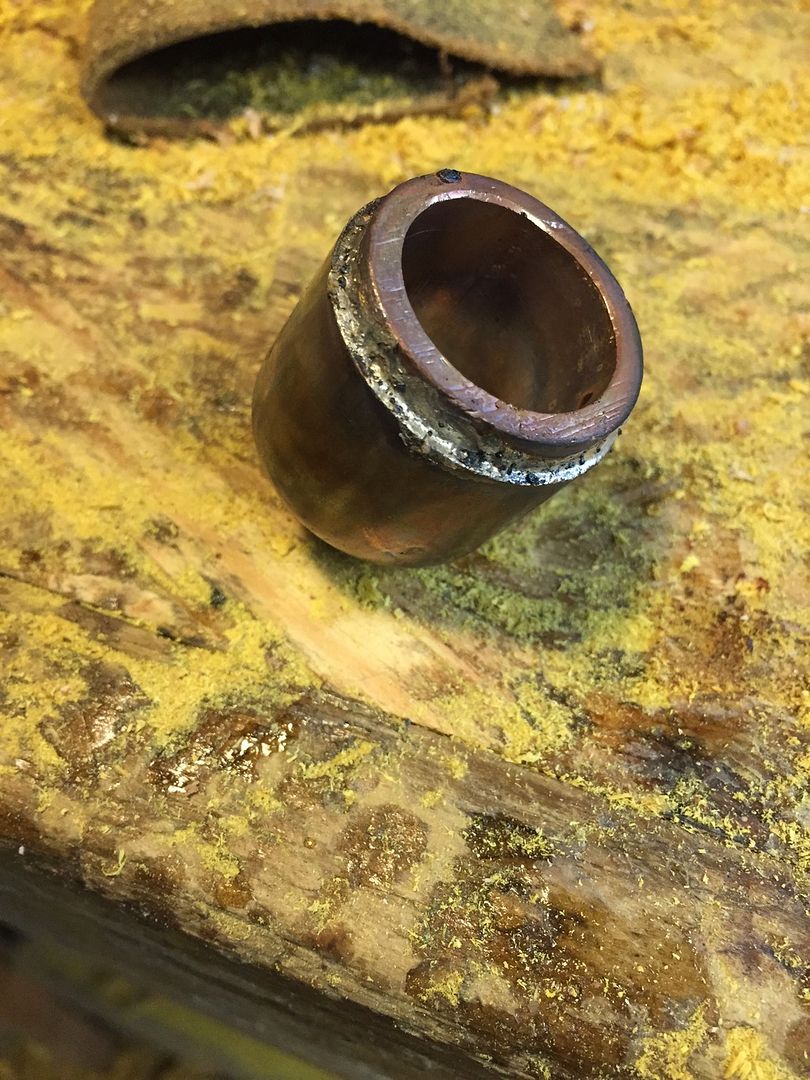
Make sure everything fits good then clean up your surfaces and get to soldering.
Once the cap cools mix up a little 2 part epoxy and slip the cap back in place to dry. Once the glue sets you can drill a hole to pin the cap in place and grind the pins off (leaving a little to pound flush.)
The whole project took less than an hour and maybe $6 in materials. KNAP ON!


