thanks,
here are some pictures of day 2 here ill show you the gluing of the acrylic knocks, inlaying the strike plate, making the boat (this is the bit that is glued onto the back of the bow to make the handle area fit the hand and also the finnished acrylic knocks, inlay and leather handle. i forgot to mention the guy at the couse gave me a snakeskin backed yew bow which appered to have some laminates of lemonwood, purplehert and ash glued onto it. he gave it to me as a repair job because he said the wood is too dry and is "dead" ill post pics in another thread, enjoy. SS
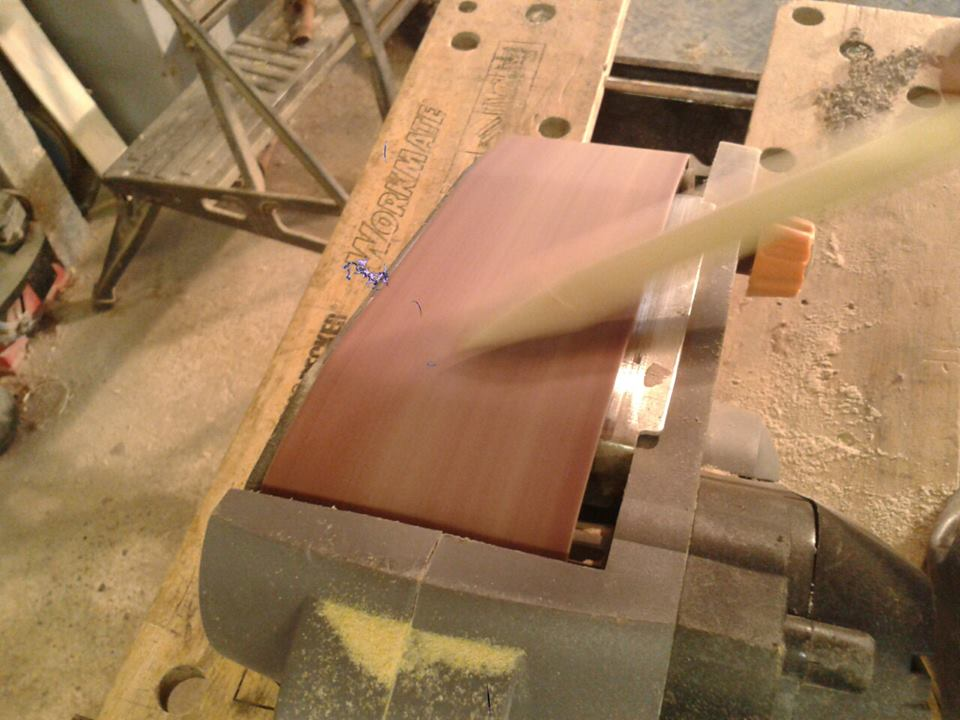
ok so i started rounding the tips of the bow to fit the hole i previously drilled in the acrylic.
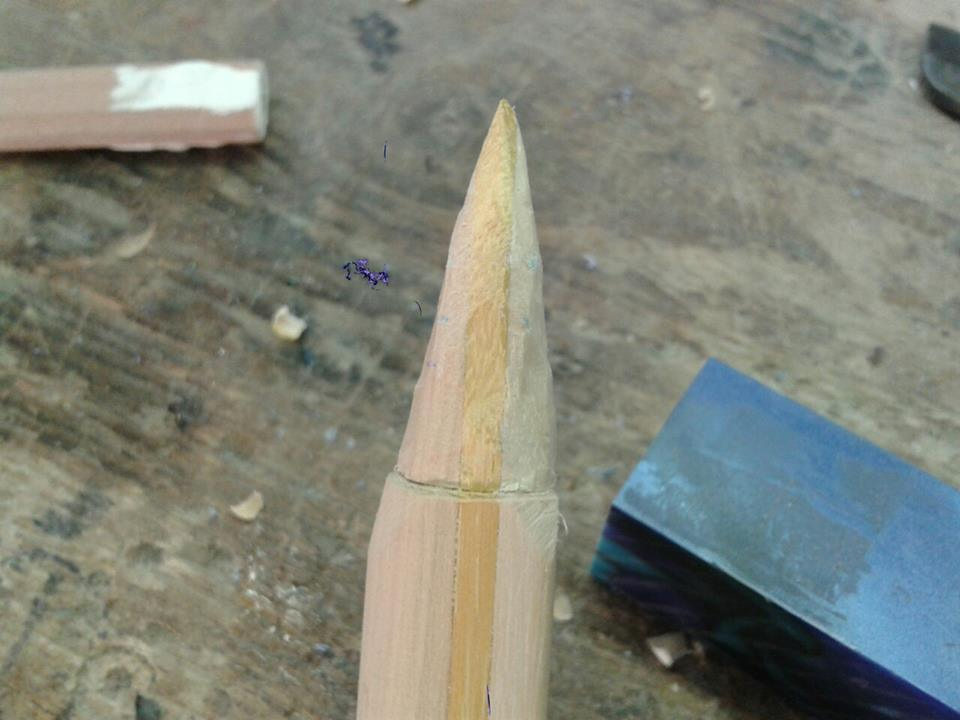
i then used a knife to rebate it for the acrylic to make it look nicer.
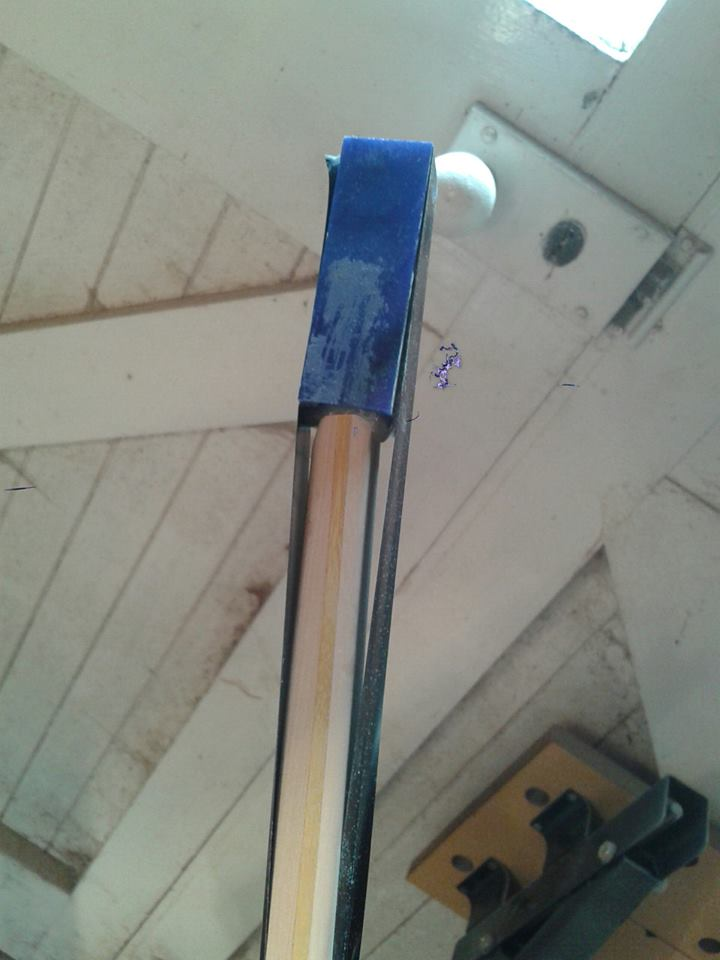
we used some 5 min epoxy to glue them on, we held it in place with some electrical tape.
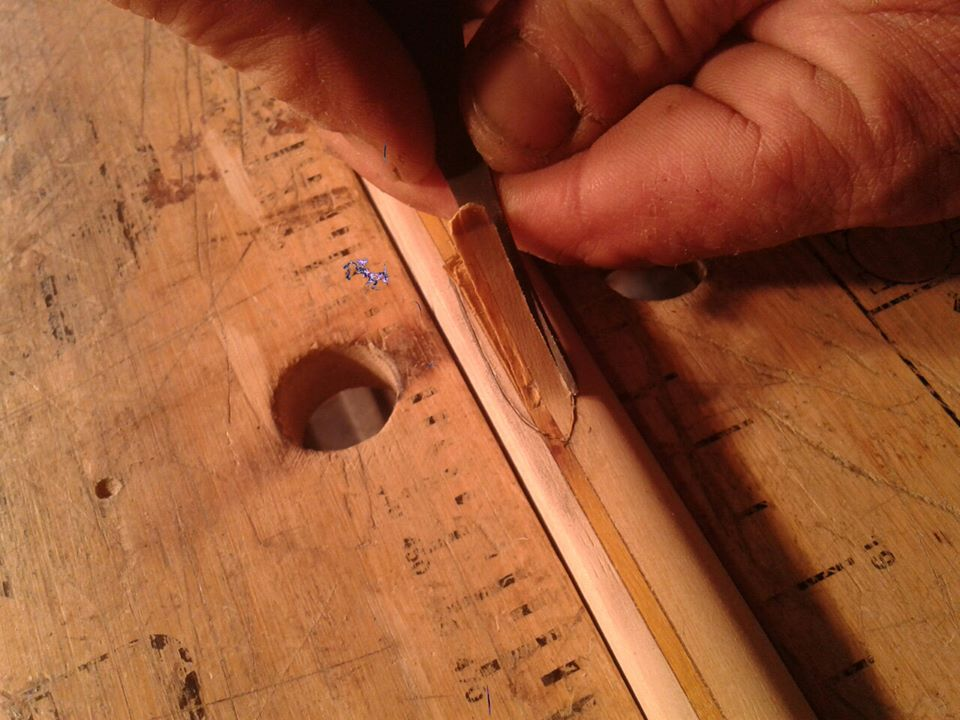
here we drew around the acrylic inlay and carfully carved out a hole for it to sit in.
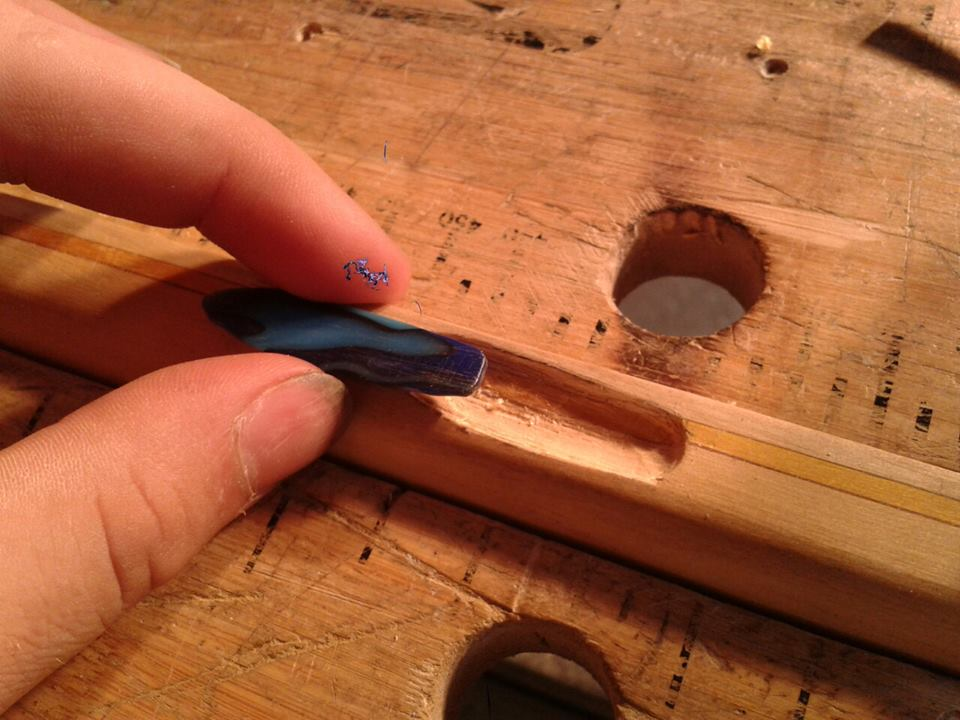
for the strike plate we used an off cut from the acrylic used for the tips. Here i am checking it for size.
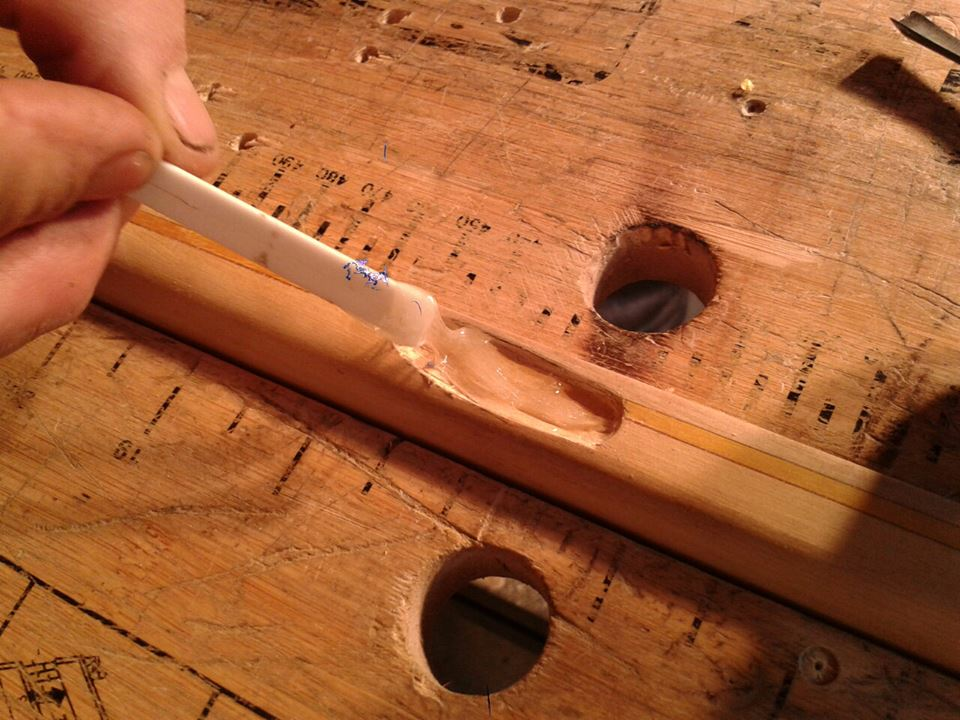
here i am filling in the hole with the same 5 min epoxy.
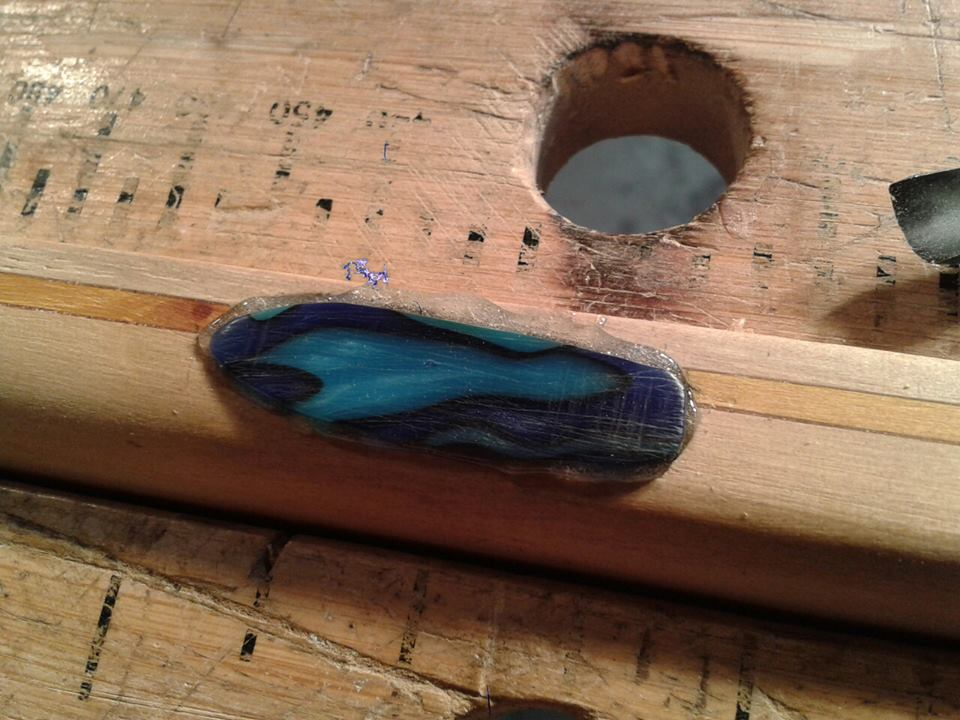
It fits! notice how the shape on the acrylic kinda looks like a warped arrow?
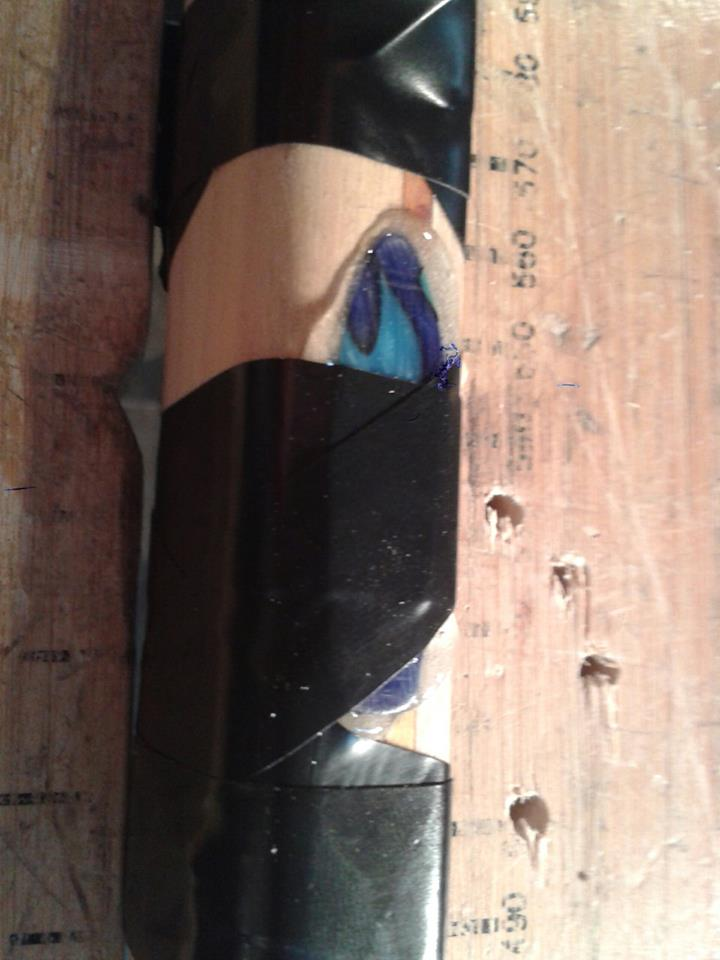
we used some more electrical tape to hold it in place.
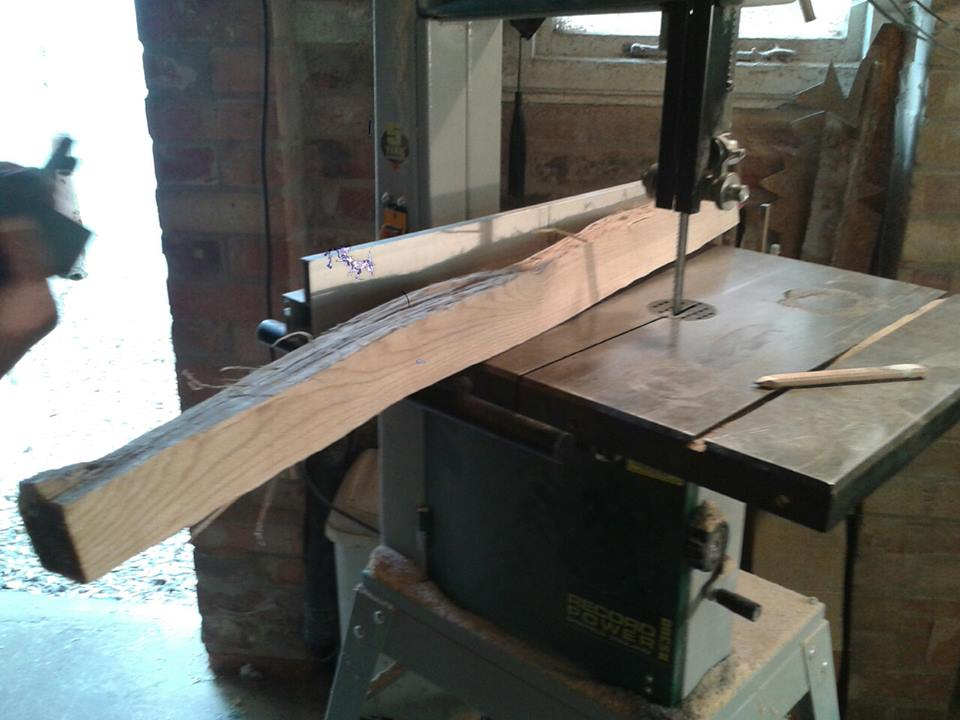
we are making the "boat" from an ash billit
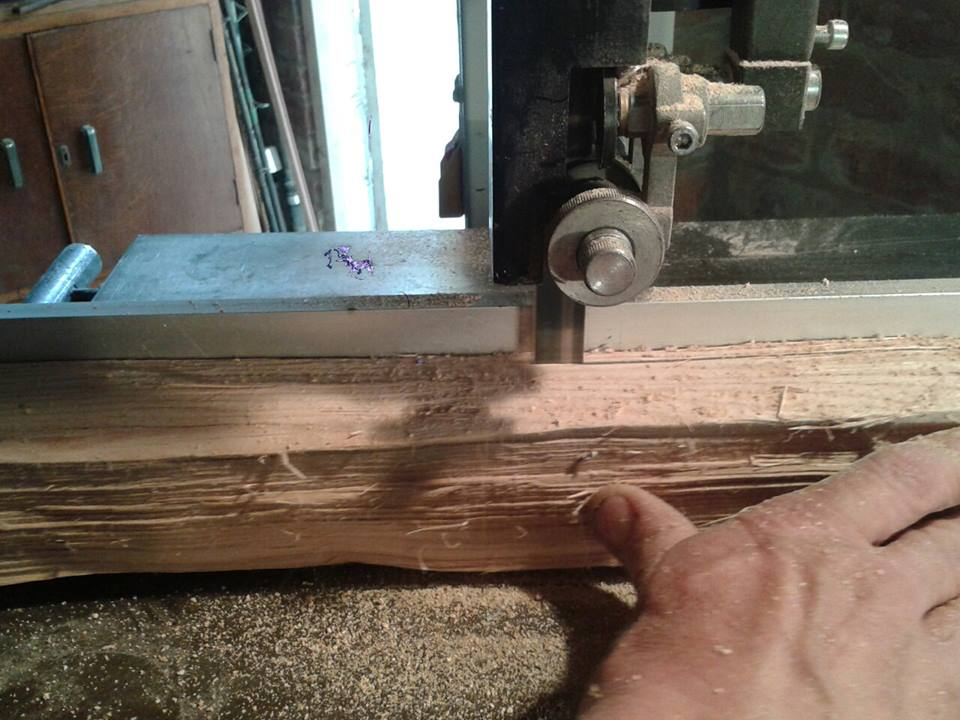
first i cut a thin strip on the bandsaw
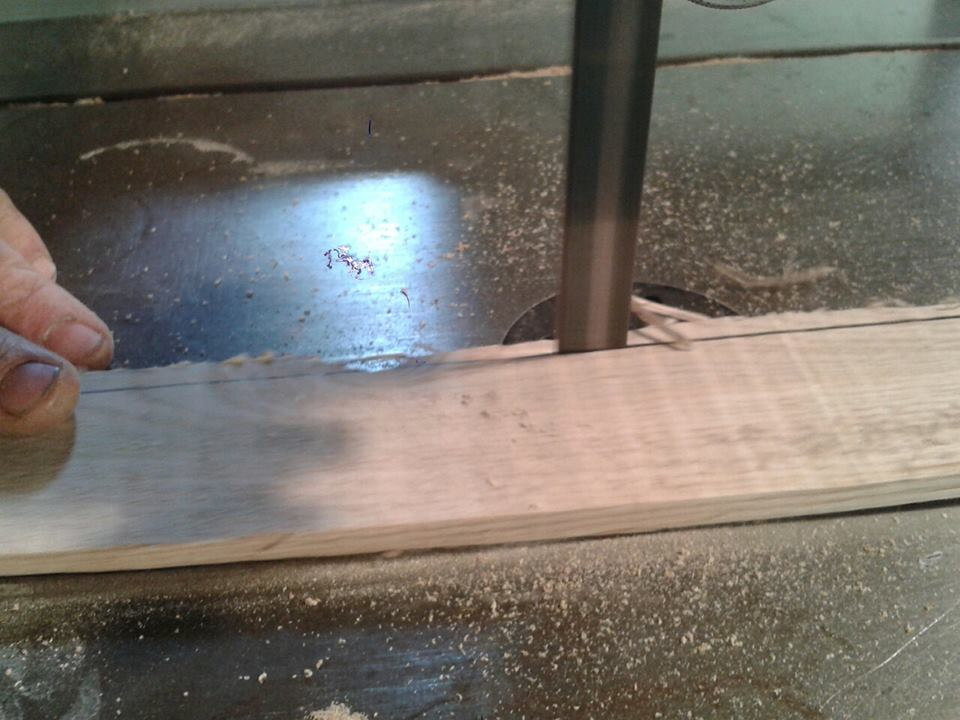
then i trimmed the edges
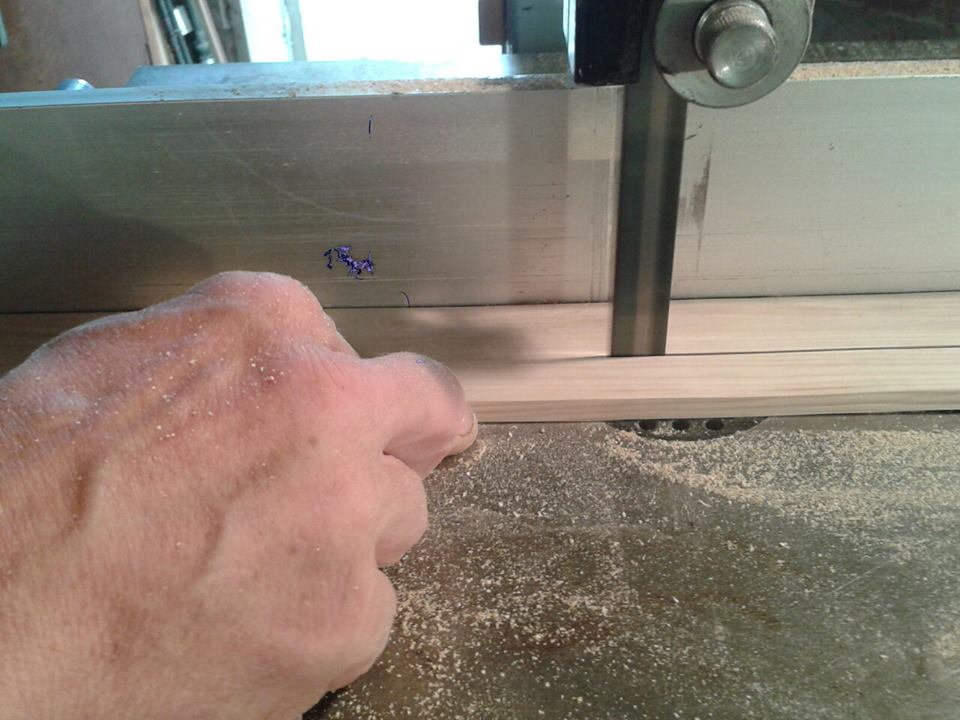
i then made it just under 1 1/4" thick
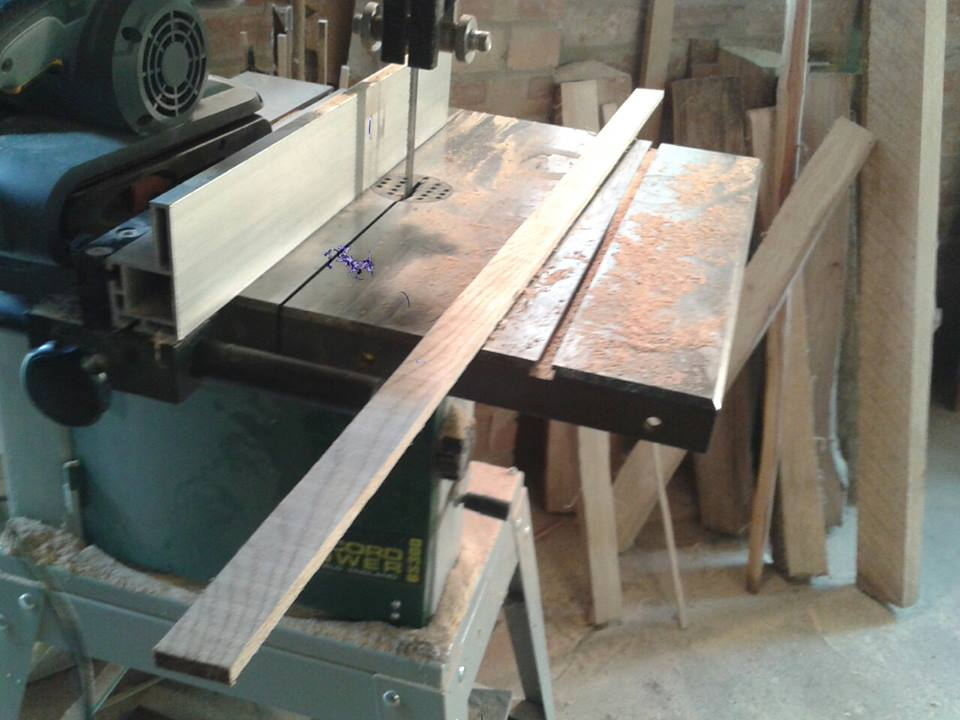

then we used the belt sander to round the edges
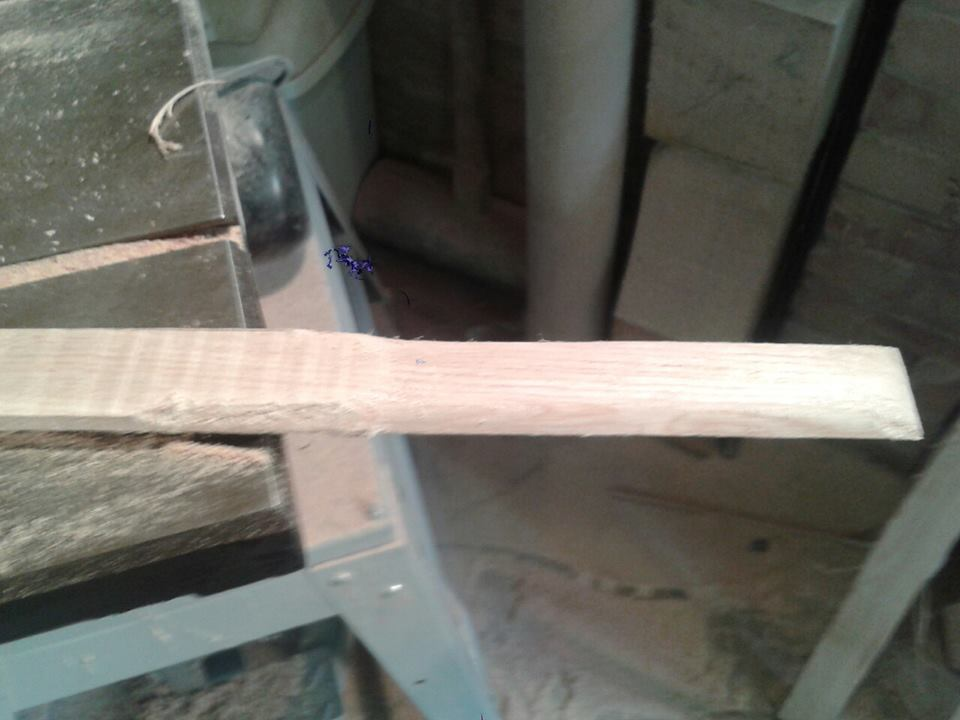
rounded edges.
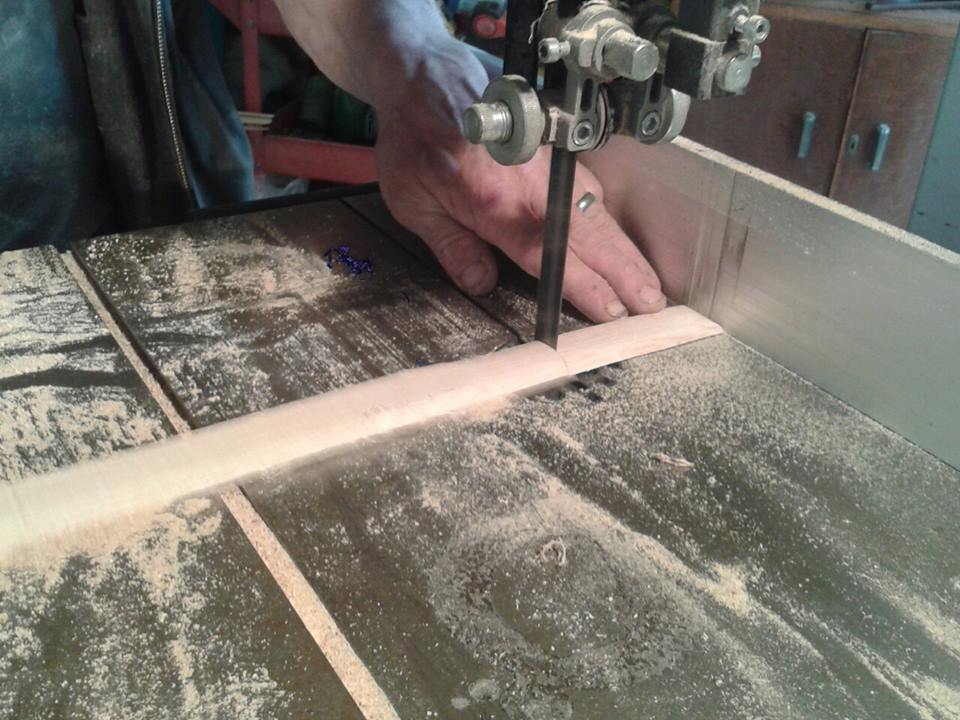
then using the bandsaw to cut it to the length of the handle
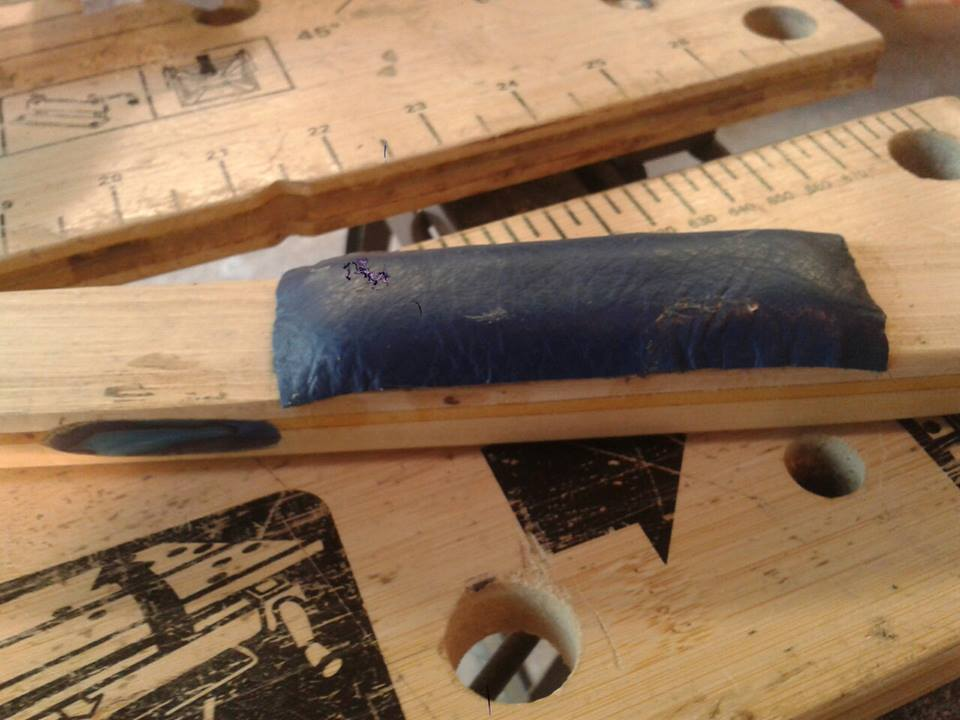
here it is stuck on the bow with some blue leather over it. you can also see the finnished inlay
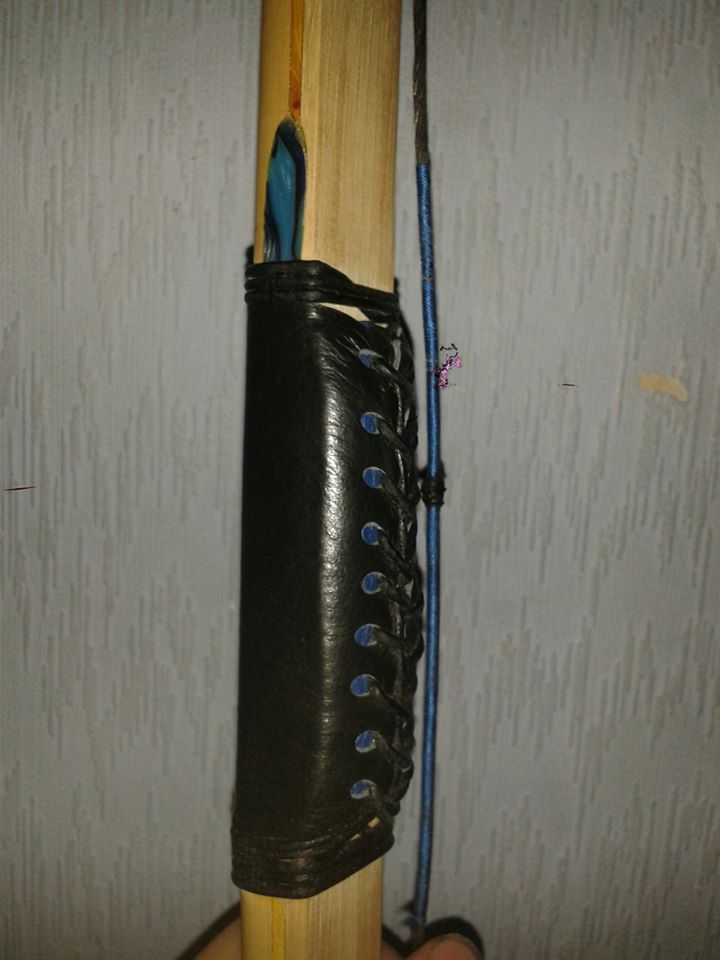
and here is the leather handle finnished. i forgot to take pictures of me making the sring

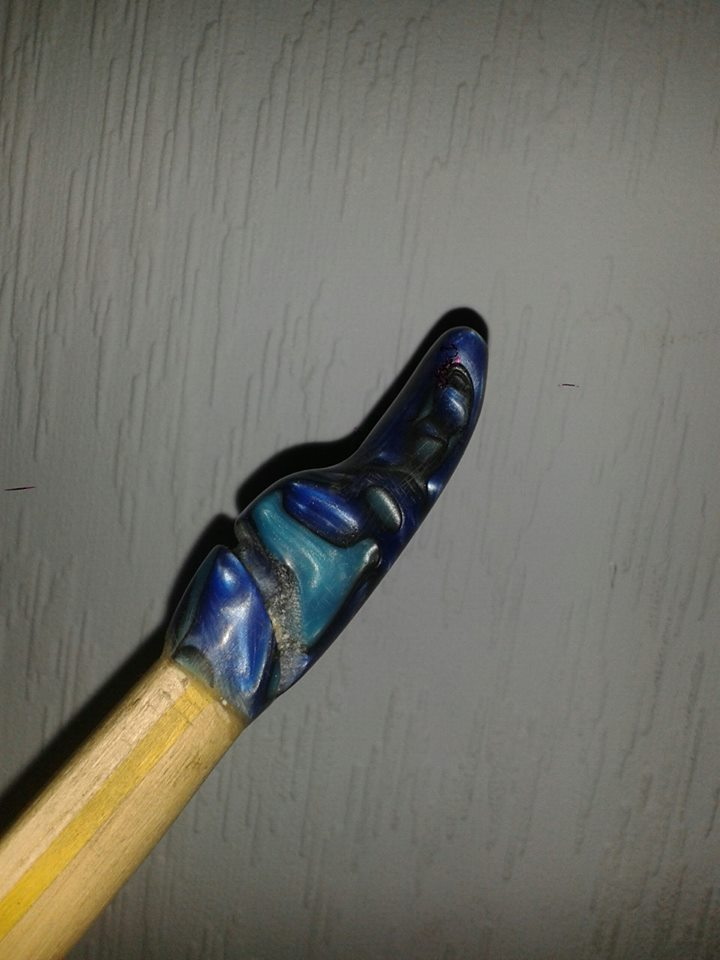
and the finnished nock. ill probably make another thread with the finnal pictures of it in the ELB section of this forum.
hope you enjoyed this thread as much as i did making it

SS