Hello everyone, ive just got back from my 2 day bow making course and i must say i learnt alot. before we arrived we had to pre-order our wood so that he could laminate it and have it ready for us when we got there. the guy running the course (will lord) is a great guy because he also does other things like hide tanning, flint knapping, bronze casting and lots of other cool things.
he even gave me a flesh scraping tool made from flint and also some un-finnished flint blades. on the way back to the B&B we found a dead rabbit so we picked it up and took it back there. supprisingly the people back at the B&B were happy for me to skin it in there garden! they also stayed to watch me. i was using the flint tools that Will gave me. it was completely diffrent to using the metal knifes that i normaly use but once i got used to it they were really easy to use and i got a decent sized pelt off the rabbit.
this morrning i brought the ribbit skin to Will and because i arrived an hour early he showed me how to stretch it out on a frame and how to use the tool he gave me to scrape off all the meat and flesh. ill try and get some pics of it being stretched out tommorow as it's getting a bit dark ATM.
anyway here are some pictures of day 1 of the course, i have finnished the bow but it's getting late and im going to do the rest of the uploading tommorow but before i go here are some pictures with some anotations. enjoy.
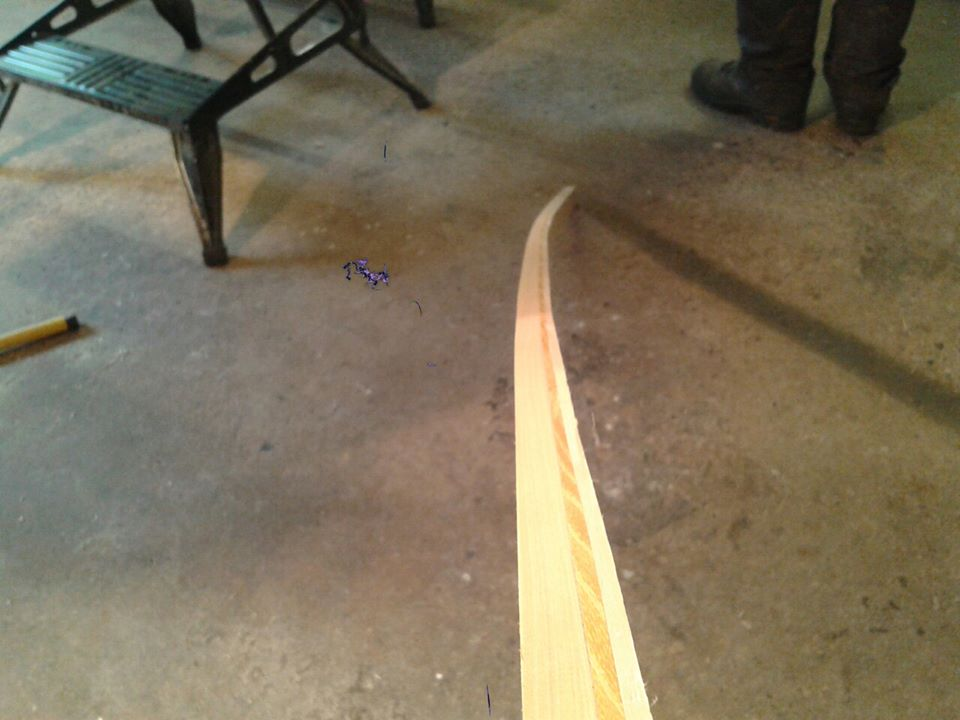
ok so here is the glued up stave we recived when we arrived, as you can see it has 2 1/2" of reflex in it. it was about 79" long at this stage.
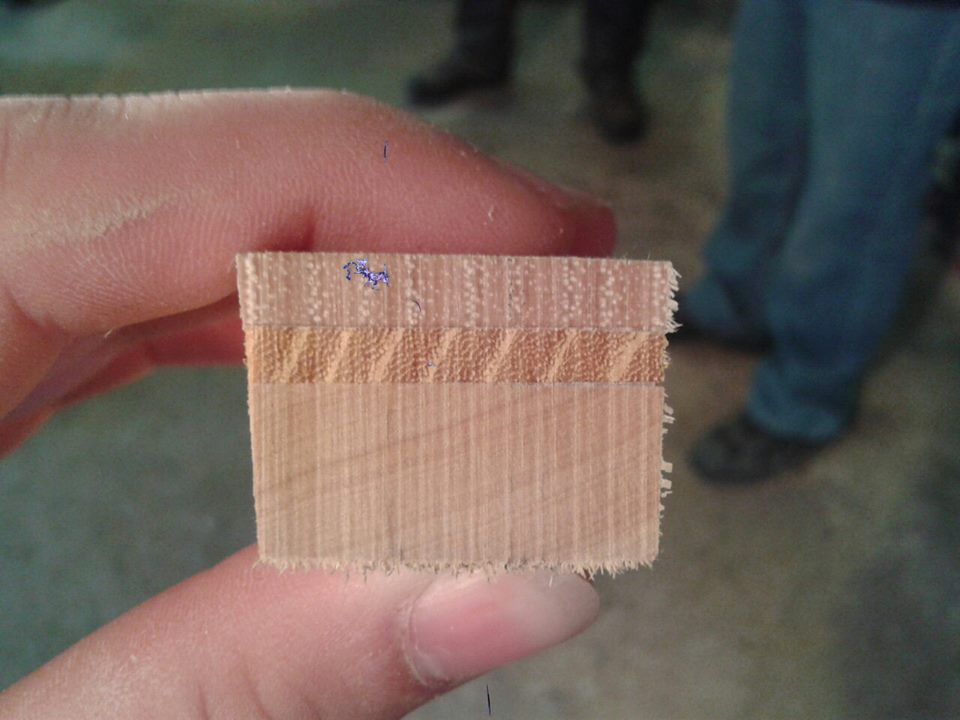
here are the laminates. it's hickory backing, an osage core and a lemonwood belly.
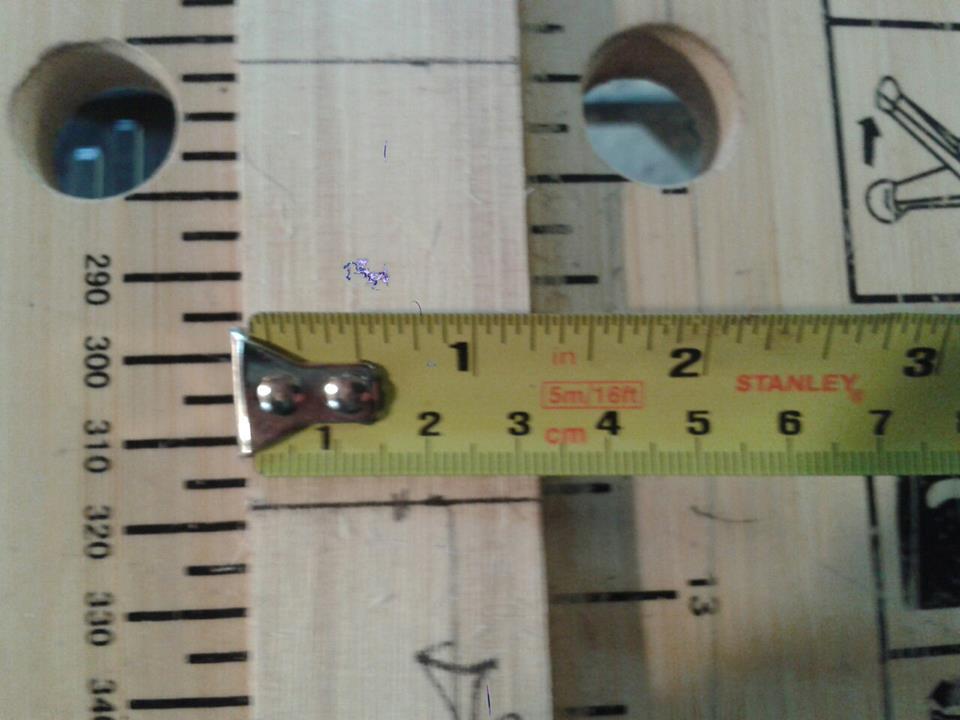
the stave was exactly 1 1/4" wide
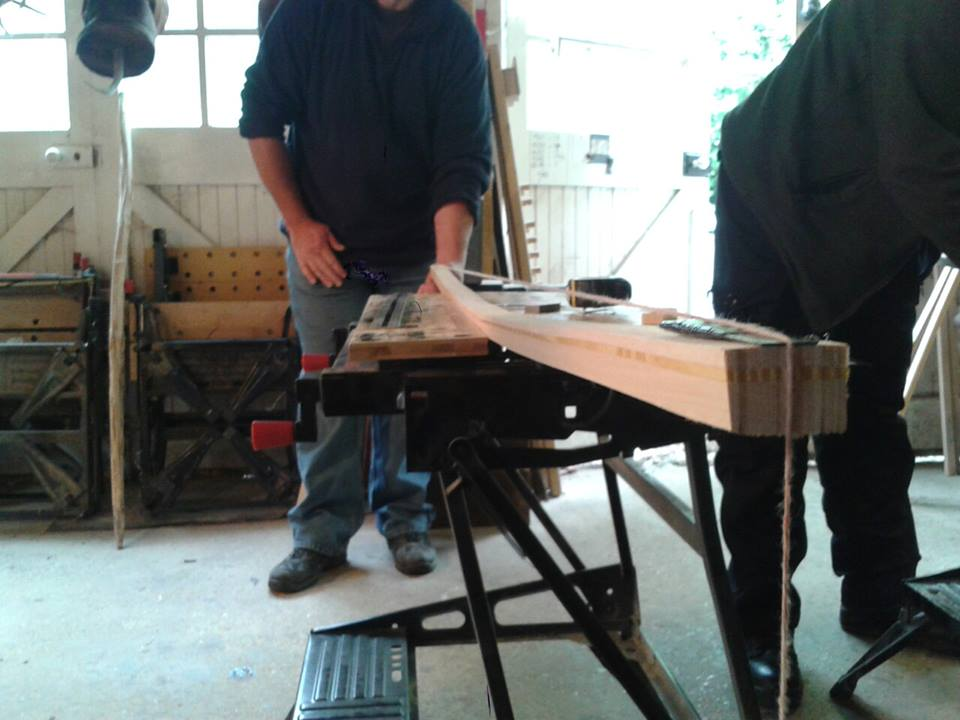
not a very good picture but we used a string to show how straight the stave was it was perfectly straight.

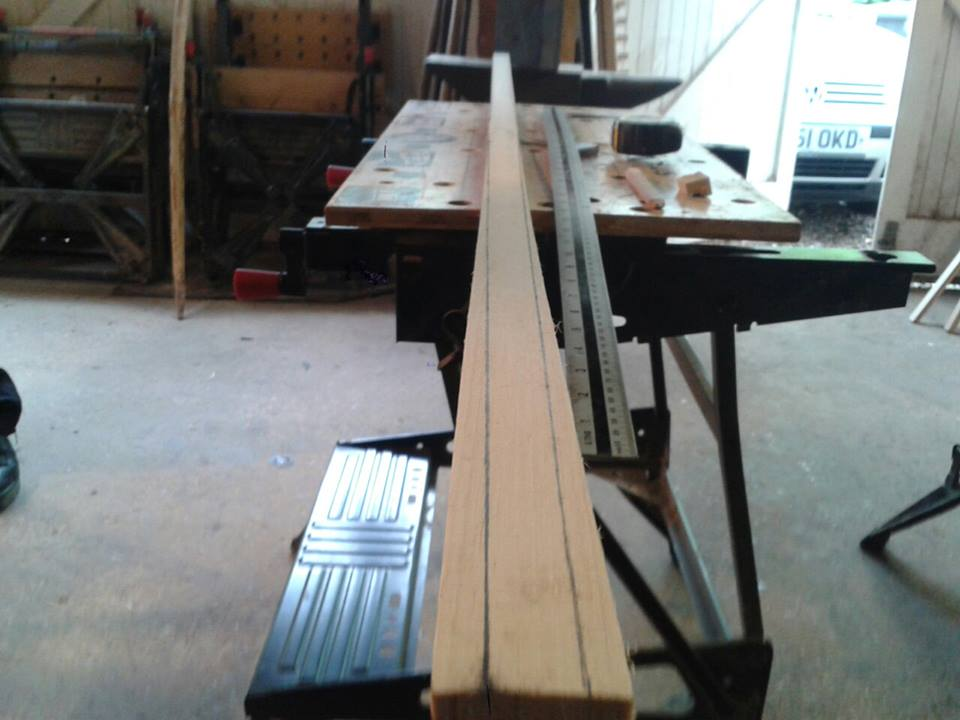
here is the tapering lines we carfully drew onto it.
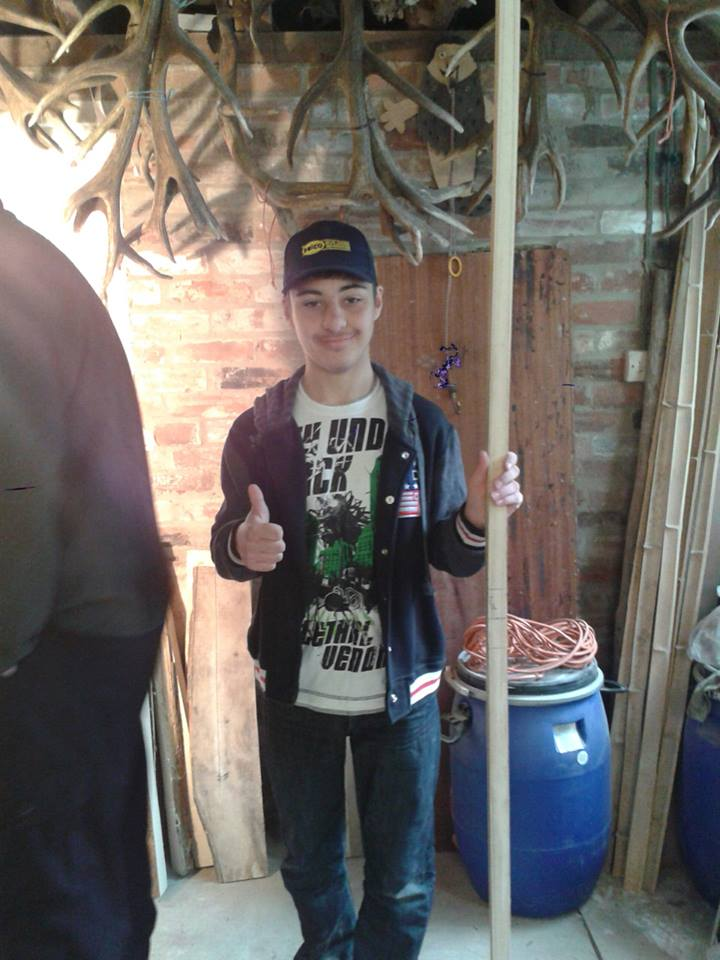
the stave was cut down to 78" it's so long it didn't even fit in the picture! notice all those cool antler things in the background!
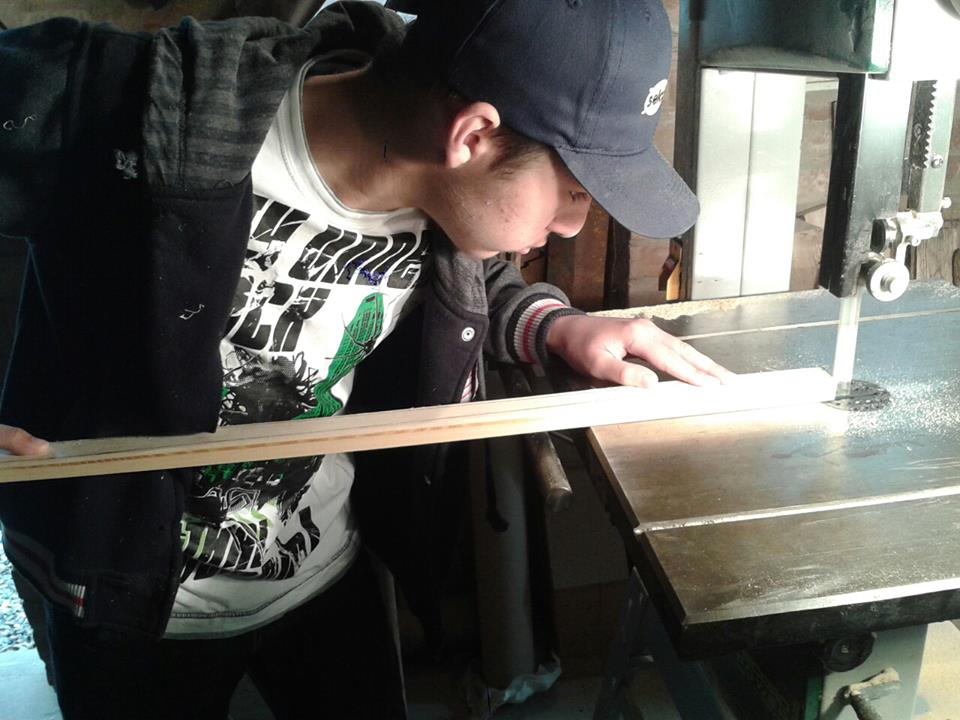
yep. they trusted a squirrel with a bandsaw

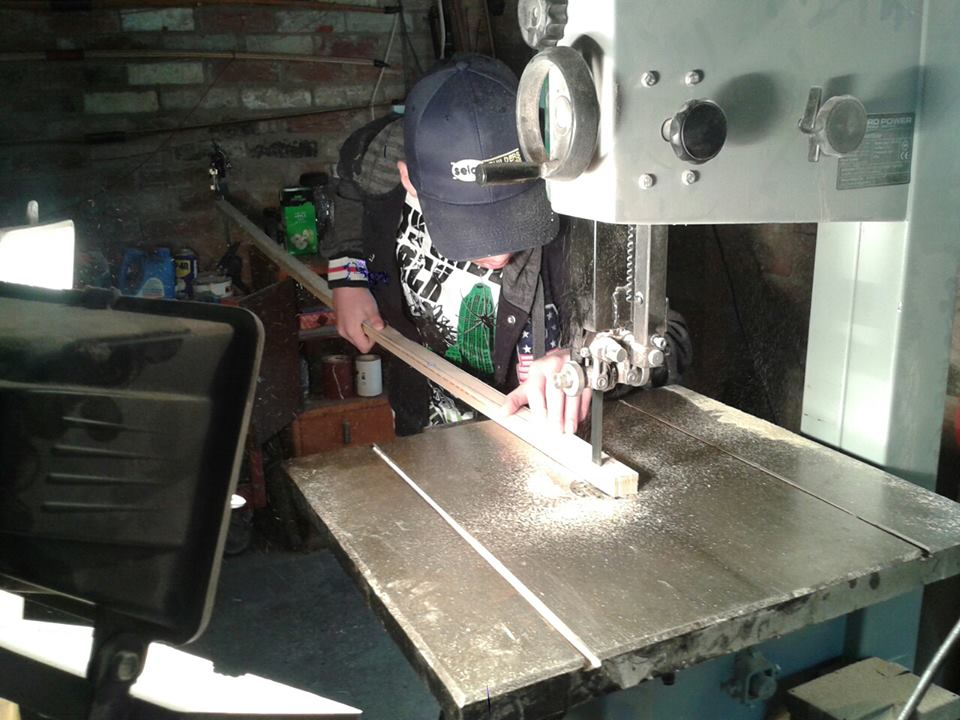
concentrating very hard not to cut through that line. more difficult than it looks

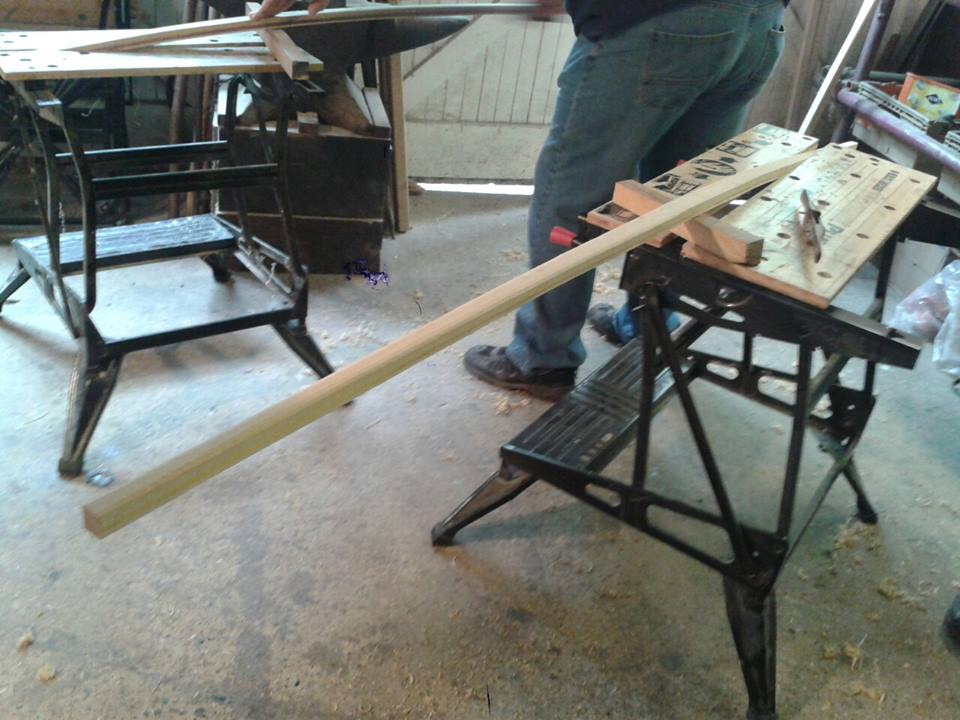
here we have the bow clamped in a work bench and resting on an offcut of osage.
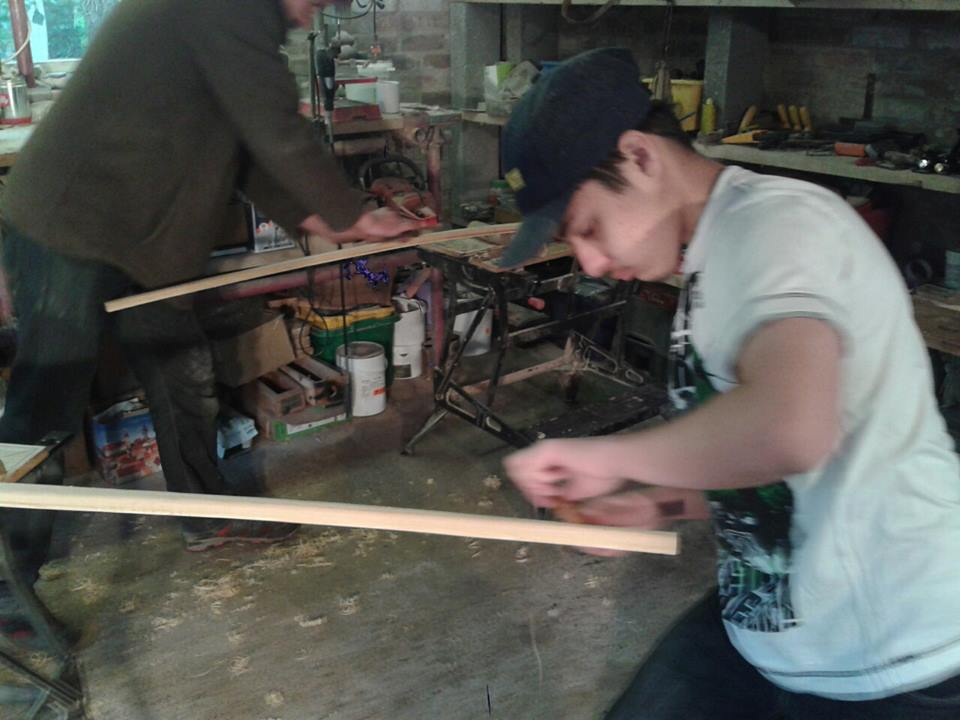
i then used a spokeshave to round the belly. if you havn't already guessed this is going to be an ELB
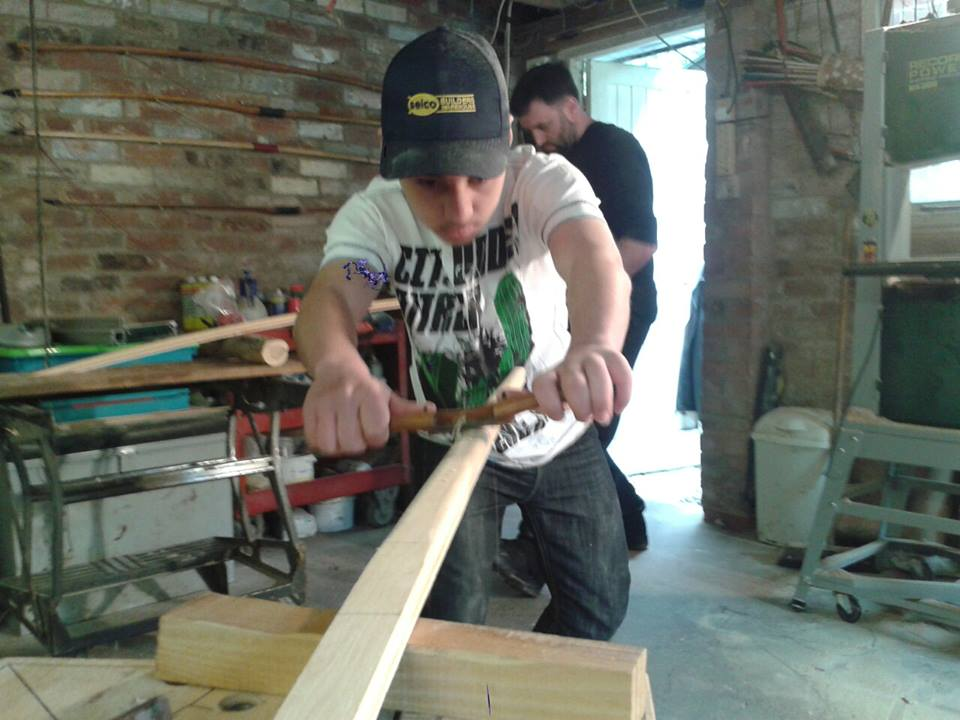
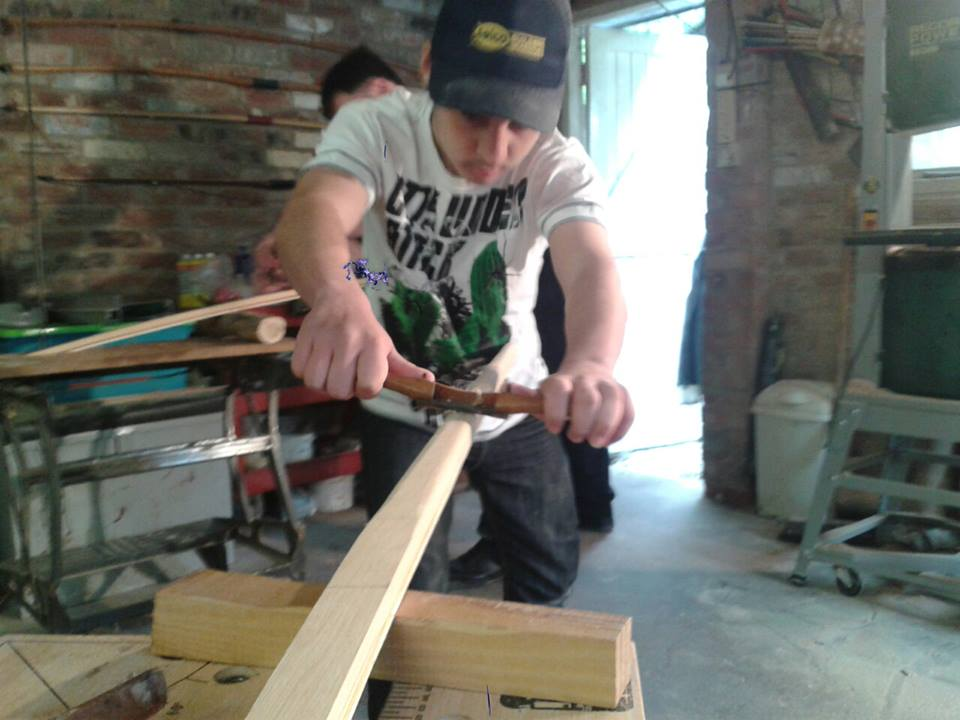
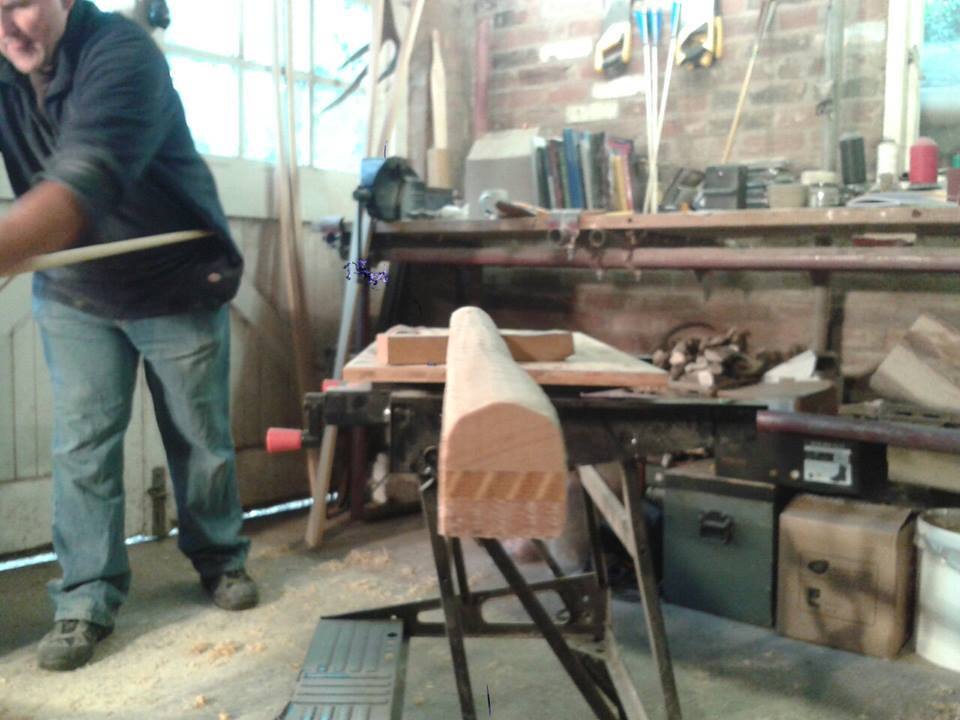
here i have rounded the belly.
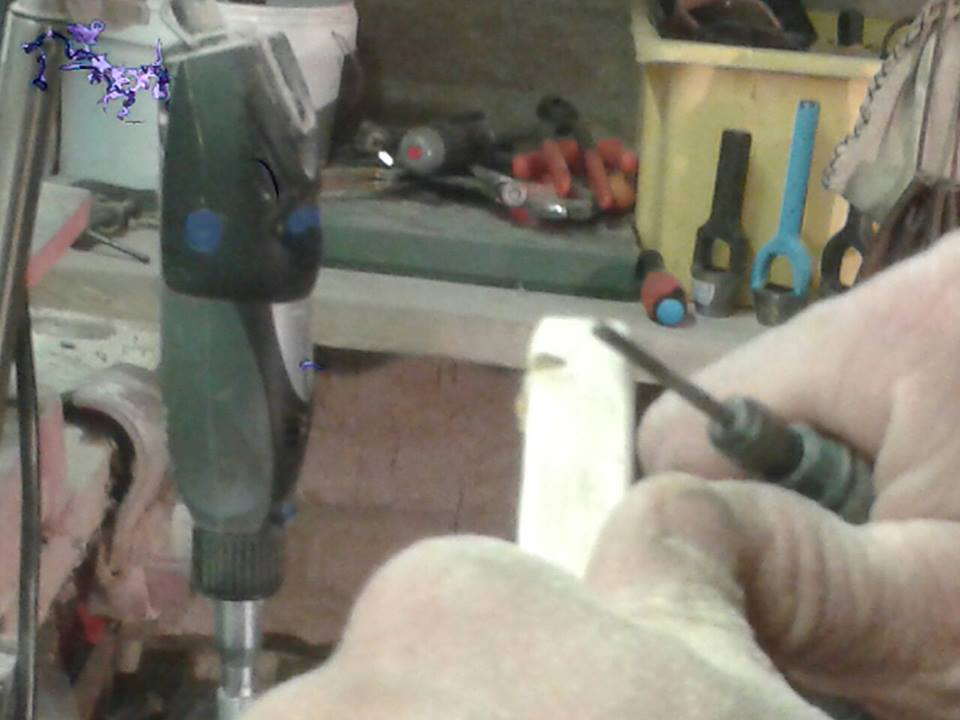
we then used a dremel to cut some teporary knocs. if only someone told me to use eye protection

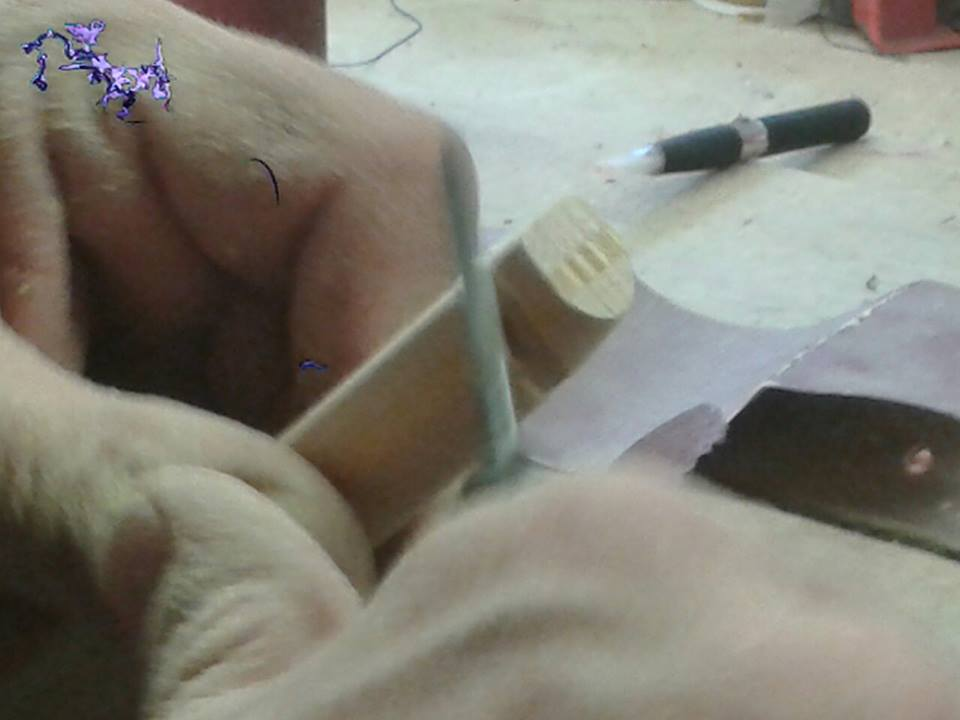
oh if your wondering what that wierd purple thing is in the pictures, there is something wrong with the camera.
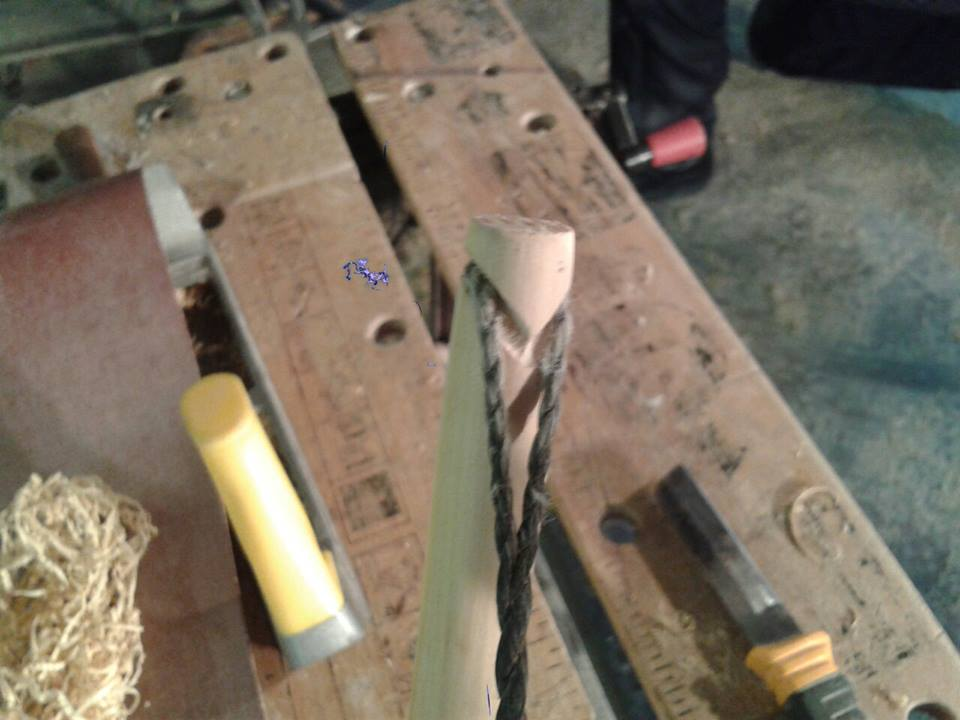
here is a picture of the tillering string in the temporary nock
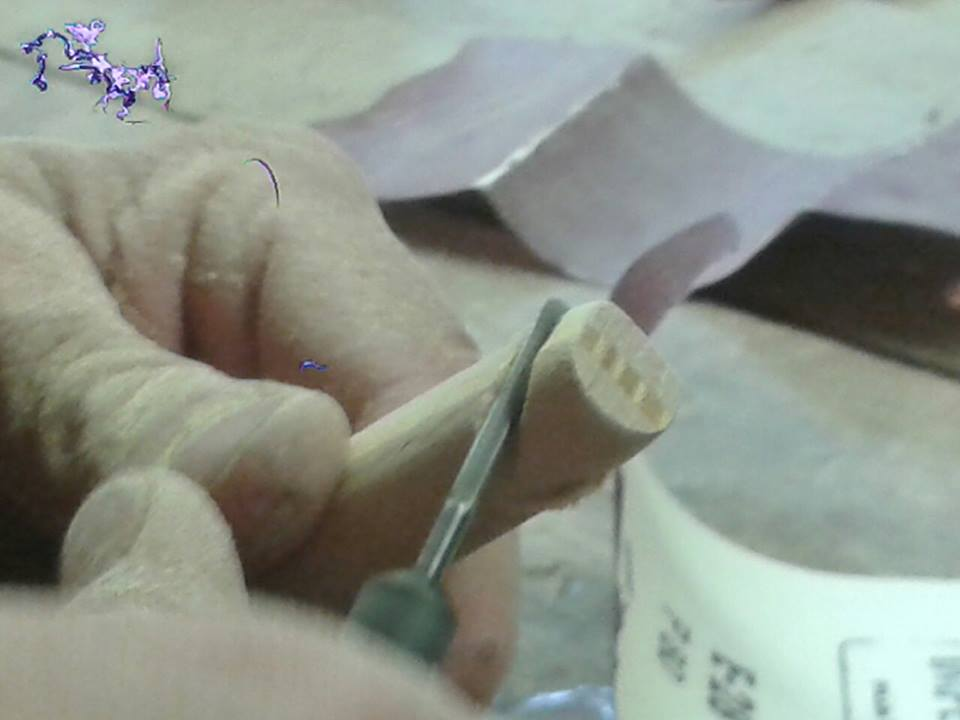
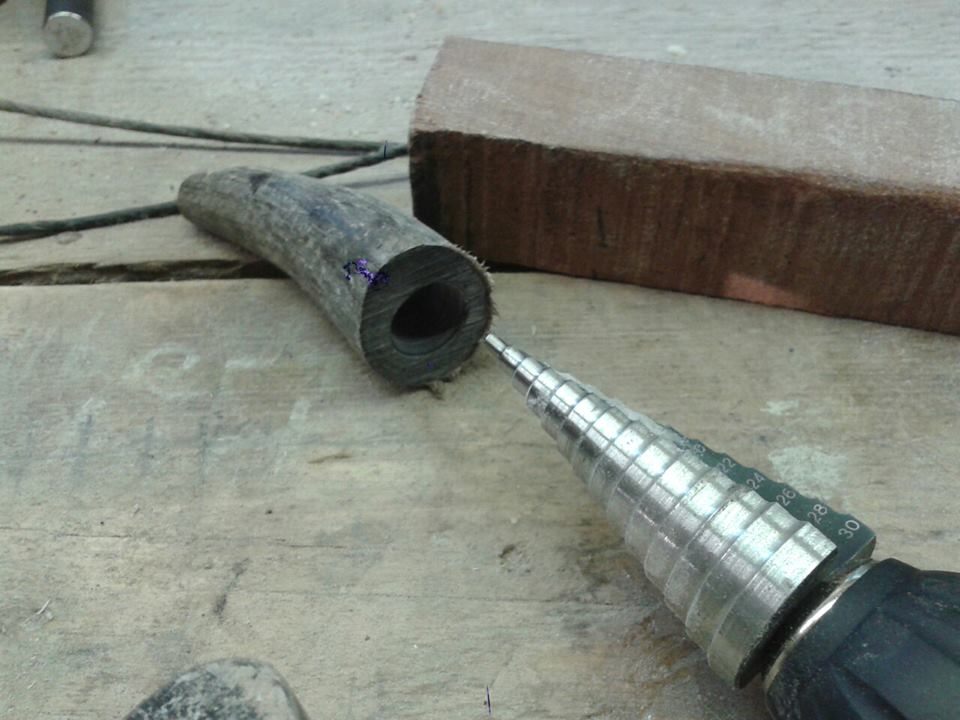
ahh. now this is the horn being drilled but i ended up using acrylic which has a relly cool pattern.
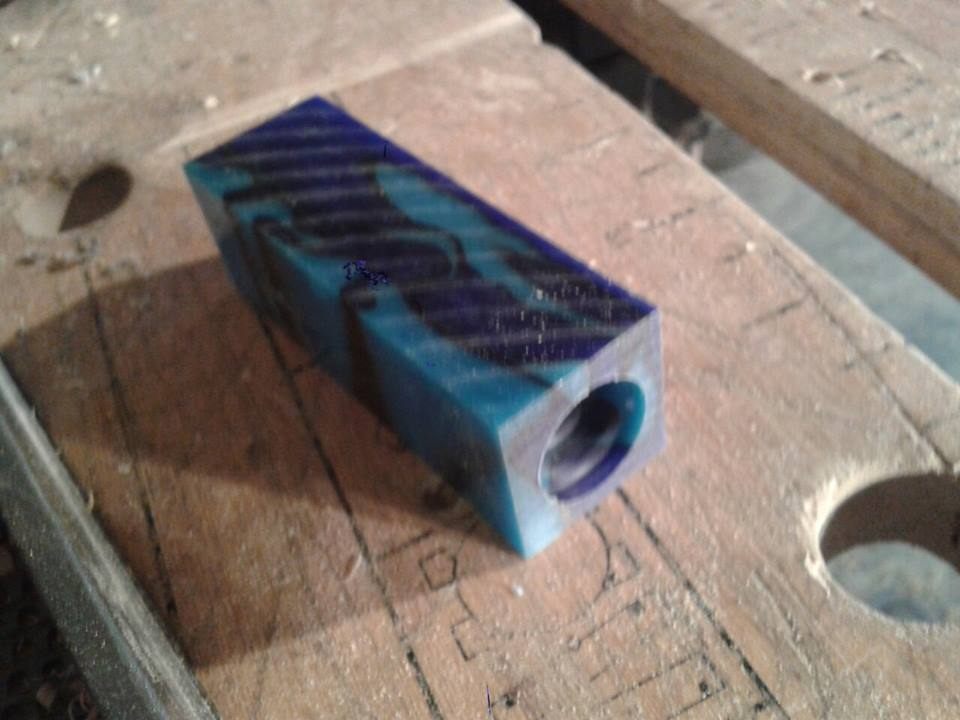
here is the block of acrylic i decided to use. i think that the swirly pattern makes it more interesting, but that's just my opinion.
ok folks. thats all there is to see for now, i will try to have the second day posted up tommorow. and i mus't confess i got so caught up in finnishing the bow i didn't take that many pics. hope you enjoyed this thread. i know i enjoy the bow that came from it. SS