Author Topic: Hazelnut bow build-a-long (fixed pictures)  (Read 302308 times)

0 Members and 1 Guest are viewing this topic.

Offline Gordon

  • Member
  • Posts: 3,299
Hazelnut bow build-a-long (fixed pictures)
« on: November 04, 2007, 02:15:24 am »
Since beginning my journey into building wooden bows I have received invaluable assistance from the good folks on this board. I dare say I would not be where I am without it. It’s time then I return something back to the community. I am constructing a bow for a gentleman in Washington and will post the steps as I go. For the more experienced bowyers on this site this thread will probably not reveal anything new or particularly interesting. But if it helps demystify the process for some of the folks among us who are new to bow-building, then it will have served its purpose.

The bow will be short (60” or less), bend through the handle, hunting weight (hopefully), and made of hazel-nut. A caveat – I have built a few longer bows with this wood but do not know how it will hold up with this design.  In other words, I may not succeed. But I’ll give it a go anyway.

The log was given to my by Bryan Briand and was about 3” in diameter. While the log was green, I sawed it in half and peeled the bark off. The stave has been drying in my garage for about 6 months. Following is a picture of the stave.

« Last Edit: October 06, 2012, 06:56:58 pm by Gordon »
Gordon

Offline Gordon

  • Member
  • Posts: 3,299
Re: Hazelnut bow build-a-long
« Reply #1 on: November 04, 2007, 02:17:23 am »
I start by reducing the stave to a width that is just a little wider than the finished bow – about 1 5/8” in this case.


Next I mark where the handle will be. I like to build my bows using an asymmetrical design because they balance better in my hand. To do this I first mark the center of the stave and then make the top of the handle 1” inch above center. I then mark the bottom of the handle 4” inches from the top.


« Last Edit: October 06, 2012, 06:57:48 pm by Gordon »
Gordon

Offline Gordon

  • Member
  • Posts: 3,299
Re: Hazelnut bow build-a-long
« Reply #2 on: November 04, 2007, 02:18:35 am »
I am now ready to begin roughing out the thickness taper for each limb. I begin by dividing each limb into 8 equal sections.


Then I will mark the taper from the back of the bow using a tool that I made for this purpose. For this bow the initial taper will go from 1” at the handle to 5/8” at the tips.


« Last Edit: October 06, 2012, 05:26:08 pm by Gordon »
Gordon

Offline Gordon

  • Member
  • Posts: 3,299
Re: Hazelnut bow build-a-long
« Reply #3 on: November 04, 2007, 02:19:59 am »
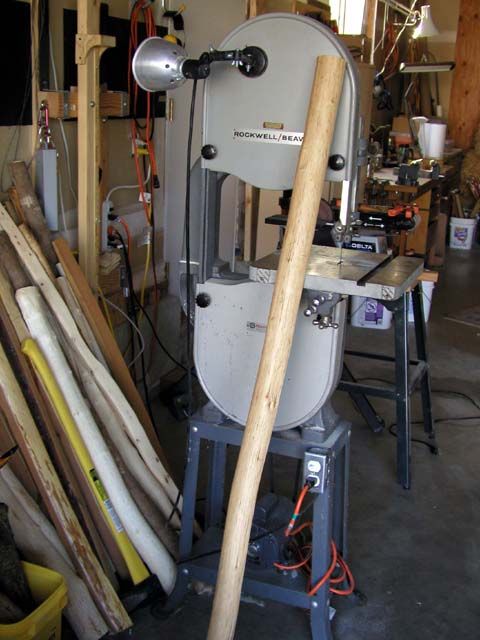
Next I carefully cut outside the taper lines using my bandsaw. I don’t try to do this using one cut, but instead cut one side at a slight angle then turn the bow over and cut the other side. This helps ensure that I do not accidentally remove too much wood.


I use a rasp to remove the crown on the belly where the two cuts meet.


Here’s what the bow looks like when I am done.


« Last Edit: October 06, 2012, 05:26:49 pm by Gordon »
Gordon

Offline Gordon

  • Member
  • Posts: 3,299
Re: Hazelnut bow build-a-long
« Reply #4 on: November 04, 2007, 02:21:59 am »
Now I'm ready to cut out the outline of the bow. I start by drawing the limb taper on the belly of the bow. I make a mark 1” up from the end for the nock and mark the taper about 12” up from that. I initially make the tip wide (about ¾”) so that I can later make small adjustments to the string alignment if necessary.


I draw the handle 1 ¼” wide and the fadeouts about 3” long each.


Here is what the roughed out bow looks like after I am done cutting on the bandsaw.


Next – floor tillering and steam bending.
« Last Edit: October 06, 2012, 05:27:39 pm by Gordon »
Gordon

Offline deerhunter97370

  • Member
  • Posts: 374
Re: Hazelnut bow build-a-long
« Reply #5 on: November 04, 2007, 03:28:25 am »
Reading this prosess in the Traditional Bowyers Bible is one thing but getting to see some one that knows what they are doing go through it is a major help to me. Thanks Gordon. Joel
Always be ready to: Preach, Pray, or Die. John Wesley

Offline Gordon

  • Member
  • Posts: 3,299
Re: Hazelnut bow build-a-long
« Reply #6 on: November 04, 2007, 10:33:31 am »
Here’s the bow after roughing out – not bending much yet.


After roughing out the bow I run my fingers along the length of the limbs looking for spots that are obviously too thick or thin.


I then work on any spots that I’ve marked for material removal.


Thin spots are marked with an X so that I avoid them when removing wood. I then repeat the process of removing wood and checking limb thickness with my fingers.


After a few iterations of wood removal the bow is bending a bit.


« Last Edit: October 06, 2012, 05:28:32 pm by Gordon »
Gordon

Offline Gordon

  • Member
  • Posts: 3,299
Re: Hazelnut bow build-a-long
« Reply #7 on: November 04, 2007, 10:35:47 am »
I now prepare to steam bend out some of the deflex in each limb.


After about 45 minutes I remove the bow and bend the trouble spot on a mini-caul that I built for this purpose. I’ll leave the bow in the form for several hours.


Next I’ll steam each tip for about 30 minutes and flip them up a bit to help with the string angle and give the bow a little more zip.


Here’s what the bow looks like when I am all done bending. The reflex looks fairly extreme but much of it will come out during the tillering process.


« Last Edit: October 06, 2012, 06:20:10 pm by Gordon »
Gordon

Offline Pat B

  • Administrator
  • Member
  • Posts: 37,633
Re: Hazelnut bow build-a-long
« Reply #8 on: November 04, 2007, 11:28:43 am »
I'm glad to see you post info about Hazel nut. Bryan B is sending me a hazel stave and I have never worked with it.   It is interesting to see how we each handle some of the small problems we run into in wood bow making. Most are similar but the individual nuances are eye opening, for me at least.  Thanks for posting this info for us all, Gordon.        Pat
Make the most of all that comes and the least of all that goes!    Pat Brennan  Brevard, NC

Offline Bent Rig

  • Member
  • Posts: 89
Re: Hazelnut bow build-a-long
« Reply #9 on: November 04, 2007, 11:33:37 am »
 ;) Great job so far , hope everything works out for you in the end , great pic's - always learn something by seeing how someone else does their thing -thanks for the effort !
Syracuse , NY------------"Beer is living proof that God loves us and wants us to be happy"
                                                                                     - Benjamin Franklin

Offline Ryano

  • Member
  • Posts: 3,578
  • Ryan O'Sullivan, North Western Pennsylvania
Re: Hazelnut bow build-a-long
« Reply #10 on: November 04, 2007, 12:28:40 pm »
lookin good Gordon  ;)
Its November, I'm gone hunt'in.......
Osage is still better.....

Offline Gordon

  • Member
  • Posts: 3,299
Re: Hazelnut bow build-a-long
« Reply #11 on: November 04, 2007, 12:47:14 pm »
To get the bow bending I use my Nickolsen #49 rasp to hog wood off and then remove the tooth marks with my scraper. Between wood removal sessions I check for thickness by running my fingers along the bow.


Okay, she is starting to bend pretty good now. I know it doesn’t look like it but there is quite a bit of reflex in the bow at this point. It’s ready for the long string.


« Last Edit: October 06, 2012, 06:21:00 pm by Gordon »
Gordon

Offline sonny

  • Member
  • Posts: 742
Re: Hazelnut bow build-a-long
« Reply #12 on: November 04, 2007, 12:55:51 pm »
very interesting Gordon. thanks for posting this !
Never argue with an idiot. They'll drag you down to their level and beat you with experience.

Bishop

  • Guest
Re: Hazelnut bow build-a-long
« Reply #13 on: November 04, 2007, 01:09:17 pm »
Fantastic stuff Gorden, with being brand new to bow building i cant express how much these build alongs help. i am working on my first red oak board bow and i just learned some great tips that i know will help me in the process.
thanks again
Bishop

Offline Kviljo

  • Member
  • Posts: 488
  • Archaeologist, Antitheist
Re: Hazelnut bow build-a-long
« Reply #14 on: November 04, 2007, 02:37:53 pm »
Looking good :)

And thanks for sharing! Looking forward to following the rest of the process.