DIY Forged Bodkins and a two-brick forge.
Well... i've been promising myself that i would go self-sufficient in all archery kit.
I've fire hardened points - attempted flint knapping, and cut broadheads from plate - but the major item holding be back me back was forged bodkins!
(i'm still working on flint-knapping but my knee hurts)
So after swotting up and some consultancy (thanks Paul)... here are my efforts.
The goal was to come up with a DIY forge that the average chap could safely use and make with minimal investment.
It all worked better than i had hoped, even allowing for temperatures (yellow) to allow hammer welding...
(knifes and pattern welding are also on the list)
The setup involves the following kit...
1 x Propane canister, regulator and torch (commonly available and not that expensive)
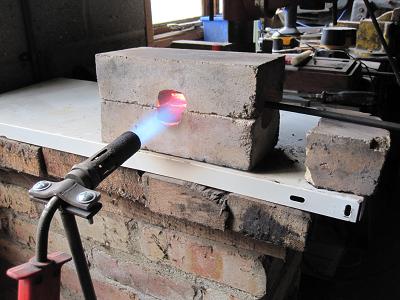
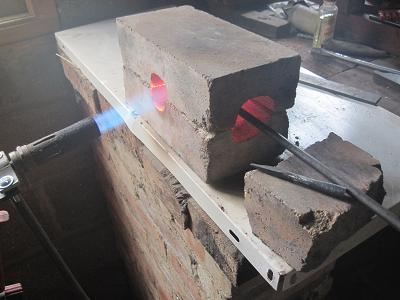
2 x fire bricks (attack these with your tool of choice - and hollow a semicircular groove lengthways in both bricks and a similar channel halfway along the bricks).
Some tongs and hammers
Something to forge against - anvil, railway sleeper, hardened hammer head or anything suitable
Water
Belt sander for finishing
Oil for tempering
<<Man with clipboard mode = ON>>
NOTE: Now i'm not usually one with much time for Elf+Safety tom-foolery and telling other people how to live their lives.
But - If you are going to mess around with very sharp things, very hot things, gas, grinding etc. then please put on your goggles, pinnies, sensible footwear, mask - when grinding - and ensure tiddles and all those you love are out of harms way and know what you are up to!
<<Man with clipboard mode = OFF>>
Hopefully the series of pictures below will explain the process.
To encourage you all, in a day i managed to produce 10 bodkins and reach a level of competency i was happy with.
I have now told myself i have to make 12 dozen bodkins until i can do it blindfold!
At the end of the day i could happily knock out a thin-walled socketed bodkin better than most i have paid for and as good as the others!

I also tried a fatter 'war' 'broadhead' from 1/2" stock that went well and a hammer welded broad head that although ugly taught many lessons and will only be improved on!
The cost of this setup has more than saved me the cost of a dozen top-notch bodkins!

So... on with the pics...
Hopefully i have proven that this is not hard or beyond the ken of most men, cos if a biffa like me can do it...

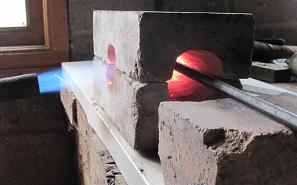
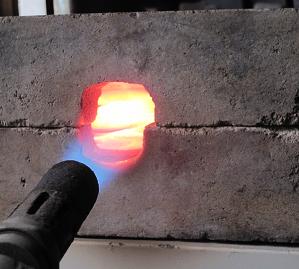
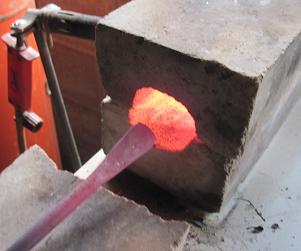
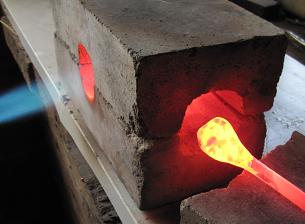
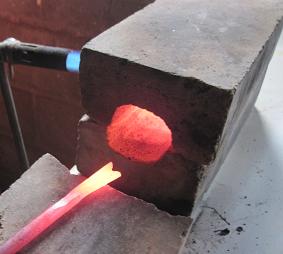
Pic#1, Pick#2 and Pic#3: Two-brick Forge - Here we can see the two brick forge with the heat being directed through the centre hole - the stock is fed in longitudinally allowing you to direct heat efficiently where needed.
Pic#4, Pic#5, Pic#6, Pic#7,
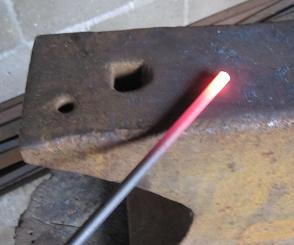
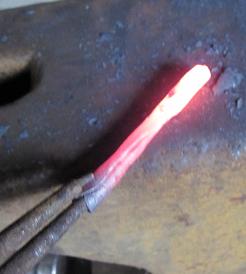
Here you can see the stock (8mm mild steel) after heating and offered up to the anvil, the socket-flat being created, reheated, beaten some more and the socket folded.
Pic#8, Pic#9 and Pic#10
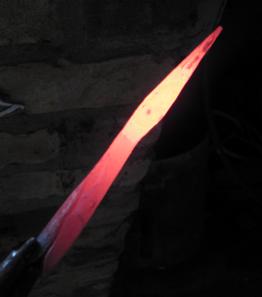
The bodkin has been reheated and the end chisseled off so that if can be beaten and drawn to a point. An intermediate stage is to define the transition between socket and head by rolling and beating.
The last pic shows the finished item and the next piece in the forge.
Pic#11
A collection of bodkins building up, steadily improving.
The one stuck in the desk was thrown and landed with a most agreeable thud and you can in this one i have achieved a nice thin-walled circular socket.
Pic#12
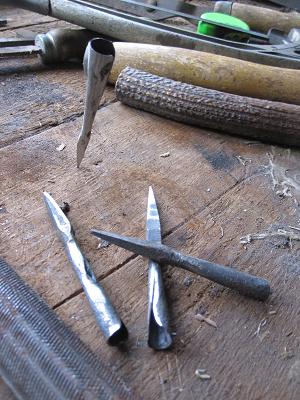
Here is a progression from the first i made to number seven, as you can see the first although serviceable is not very aesthetically pleasing, has no definition between socket and head and the head is quite small. The middle one has gone a bit chunky and still lacks definition.
The third i hope you'll agree is not a bad looking fella at all - even if do say so myself!

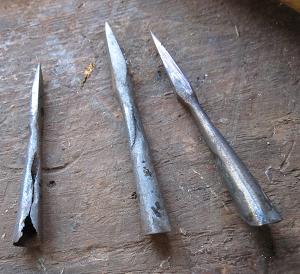
Still work to do and i plan to 'production-ise' the next batch so that i make consistent batches of 12.
Pic#13
Here are my attempts at the 'war' bodkin and a swept type-15.
Again although these lack the aesthetics i was after, for my first attempt i was quite chuffed.
The war bodkin needs to be 'chunkier' with a fatter head and the type-15 needs more work, but was a test on a part made bodkin (you can see the notch that was not needed) but did prove the forge can cope with hammer welding.
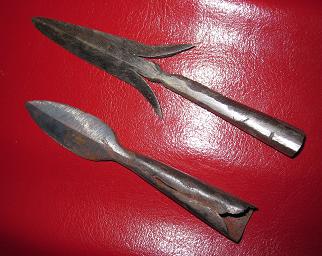
Stock - I used 8mm mild steel for most and for the next batch will move up to 10mm.
The war bodkin was 1/2" mild steel and the type15 a mild steel core with EN9 tangs that will temper up nicely.
The next batch will be EN9 that works like mild steel (although you can't get away with cold working) and i will then temper them with blue heat and a dipping in oil.
Hope this was of interest, apologies for rambling on and if you have any questions please ask away!
Cheers
Ev
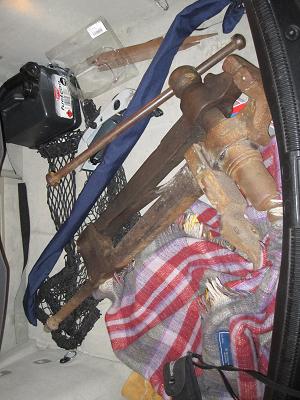
p.s. Look what i picked up at a car boot sale for a paltry sum - a leg vice - which will suffice as a decent anvil - blooming bargain!
