Ah, today was a happy day in the shop. I began by doing about 15 more minutes work on deepening the trigger slot. It was nearly there, so it didn't take a lot of work, but the trigger needed a bit more room so that I could center the axel hole. I also did a bit more work on the opening in the bottom of the nut socket, and hopefully, the pictures will tell that tale.
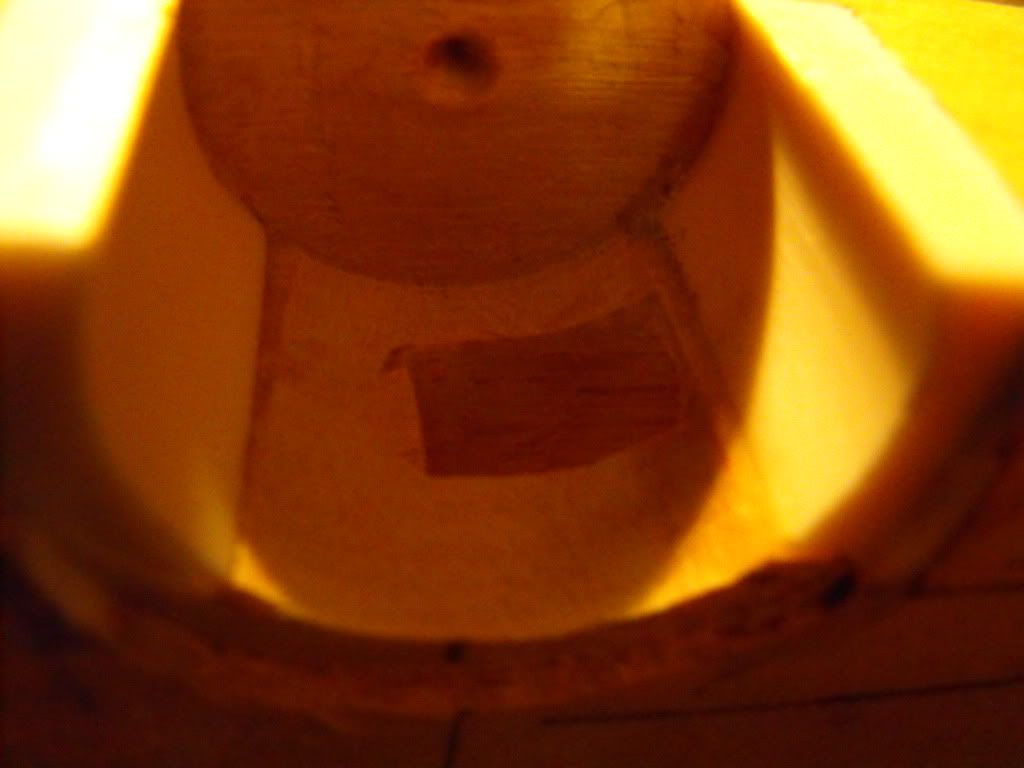
This shows the completed (or nearly completed) area I have just been referring to. The end of the trigger, which I have been calling the sear point (for lack of better terminology, perhaps a gunsmith has a different term) will then slide into the sear slot and against the sear in the rolling nut.
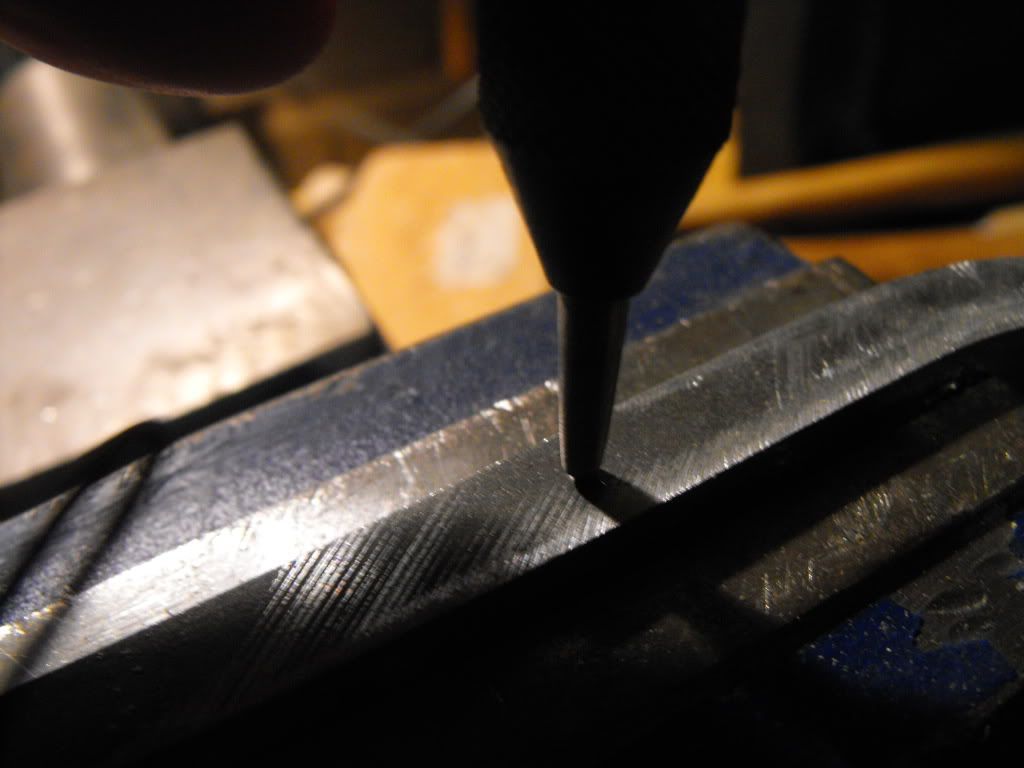
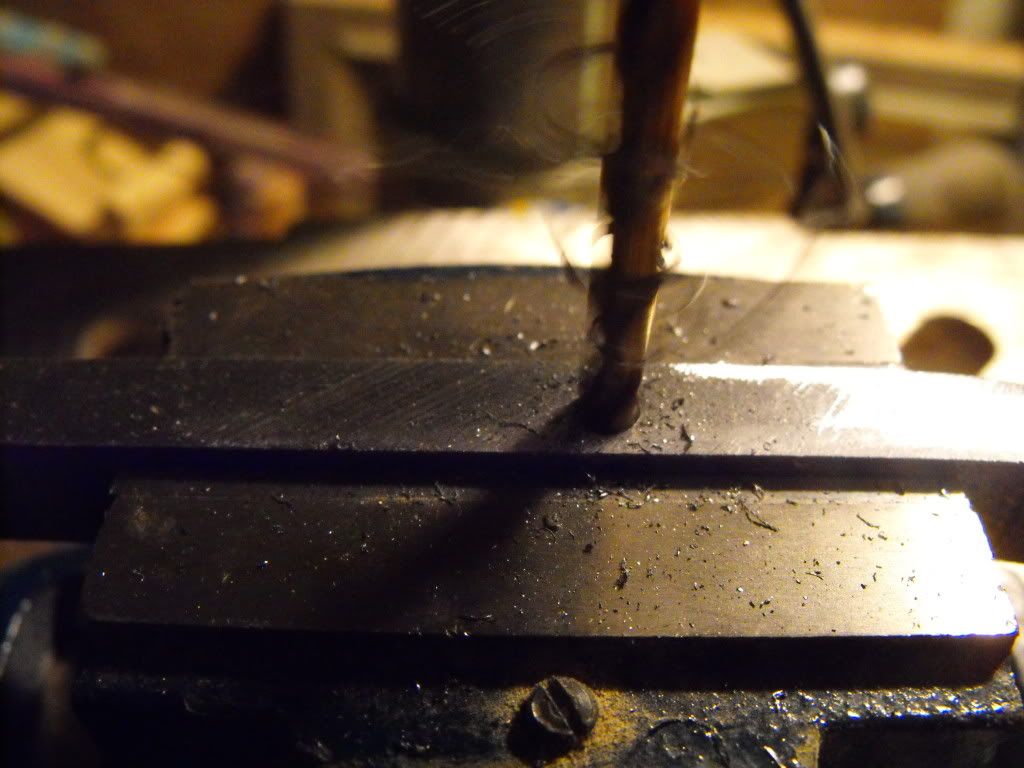
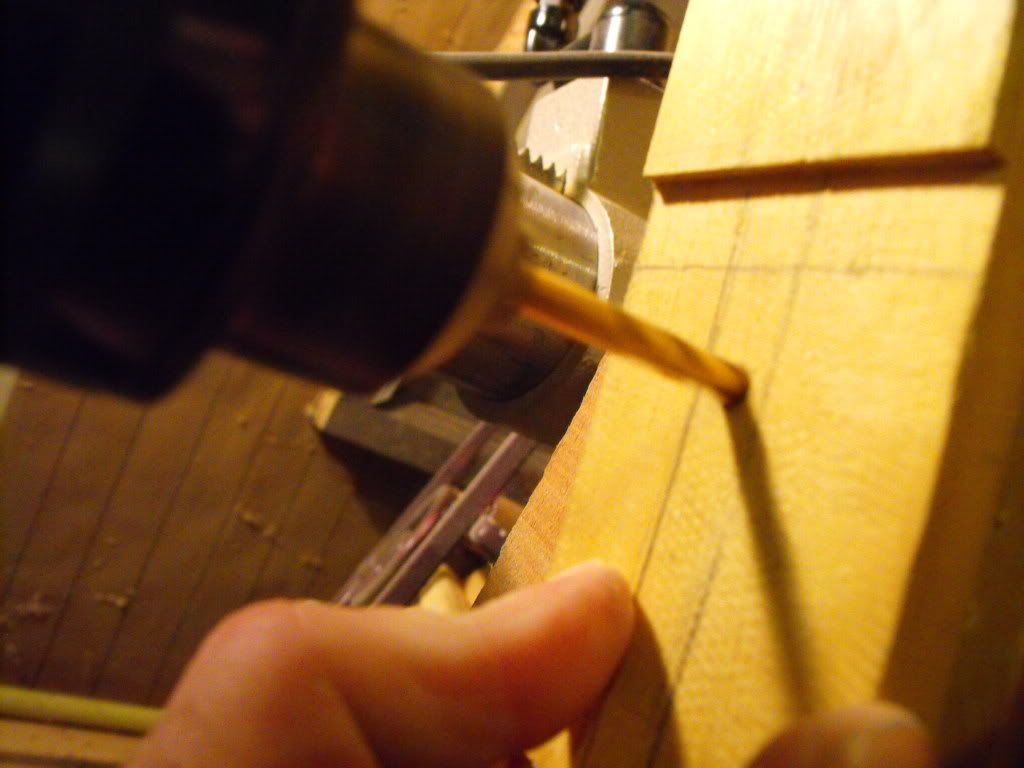
I then marked the axel hole, used a center punch on it, and then put it in the drill press vice and drilled a 3/16" hole, which is the diameter of the trigger axel. It doesn't have to be this massive hunk o' steel, since the crossbow is pretty light, and if it was a heavier weapon, I'd scale up accordingly.
Next, I slipped it into the crossbow and too see if everything was where I wanted it to be. I had already drilled half the tiller / stock with a 3/16" drillbit, and wanted to make sure I got this right before I drilled out the other side. I had to do a very tiny bit of adjusting to get this thing just a shade deeper, and instead of removing more wood, I clamped the trigger into my bench vice and filed the top.
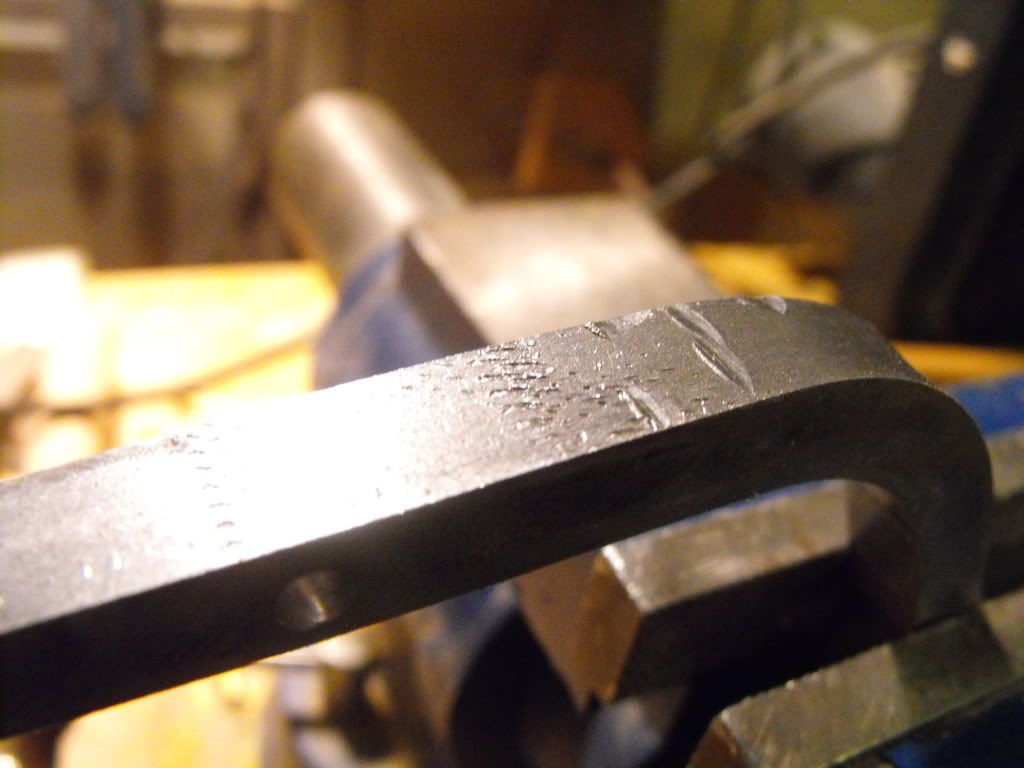
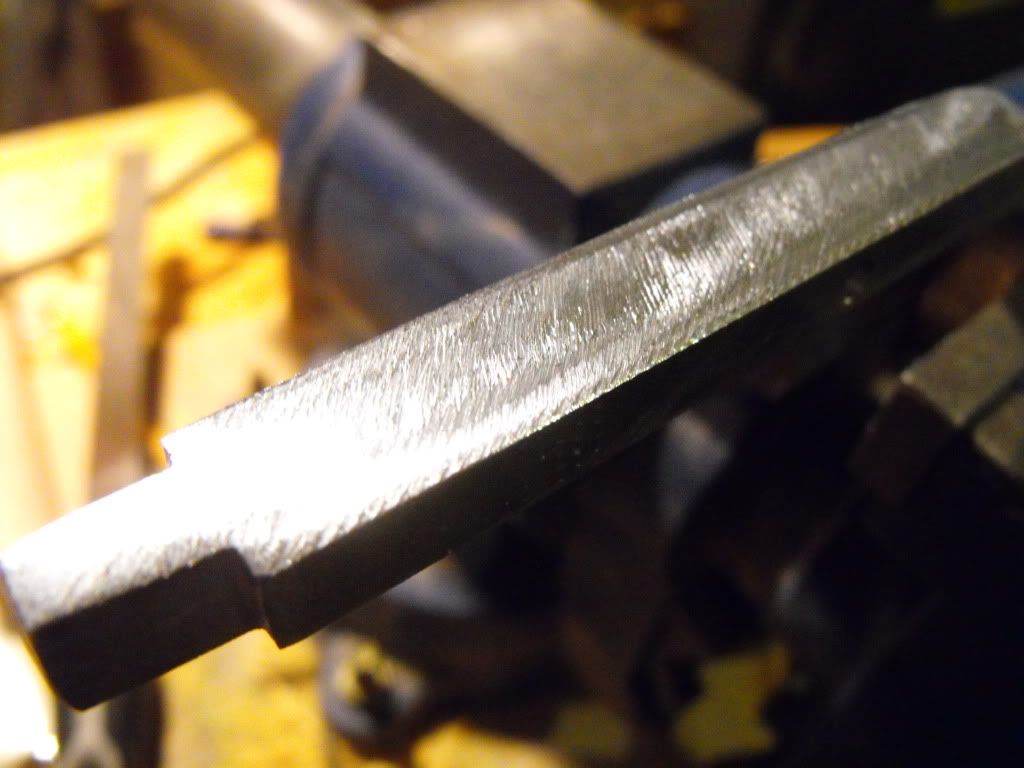
I took very little metal off, perhaps 1/128" or even less.
In that last shot, you can hopefully see what the sear facing end looks like.
Now, I drilled the other side of the tiller / stock for the axel pin.
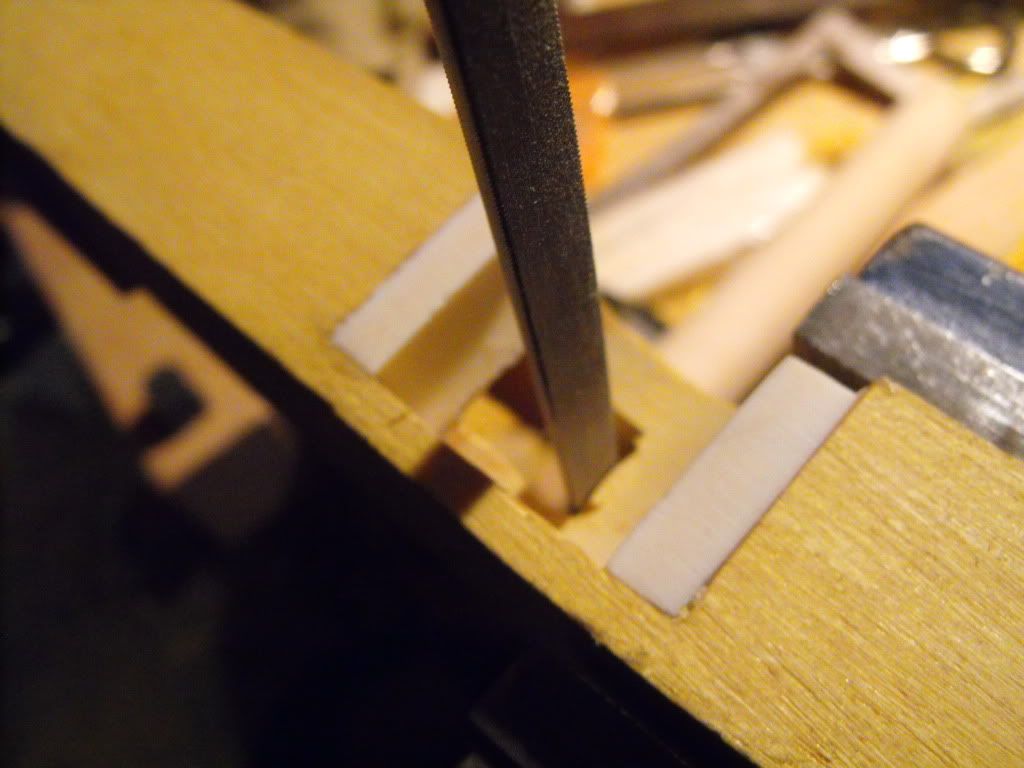
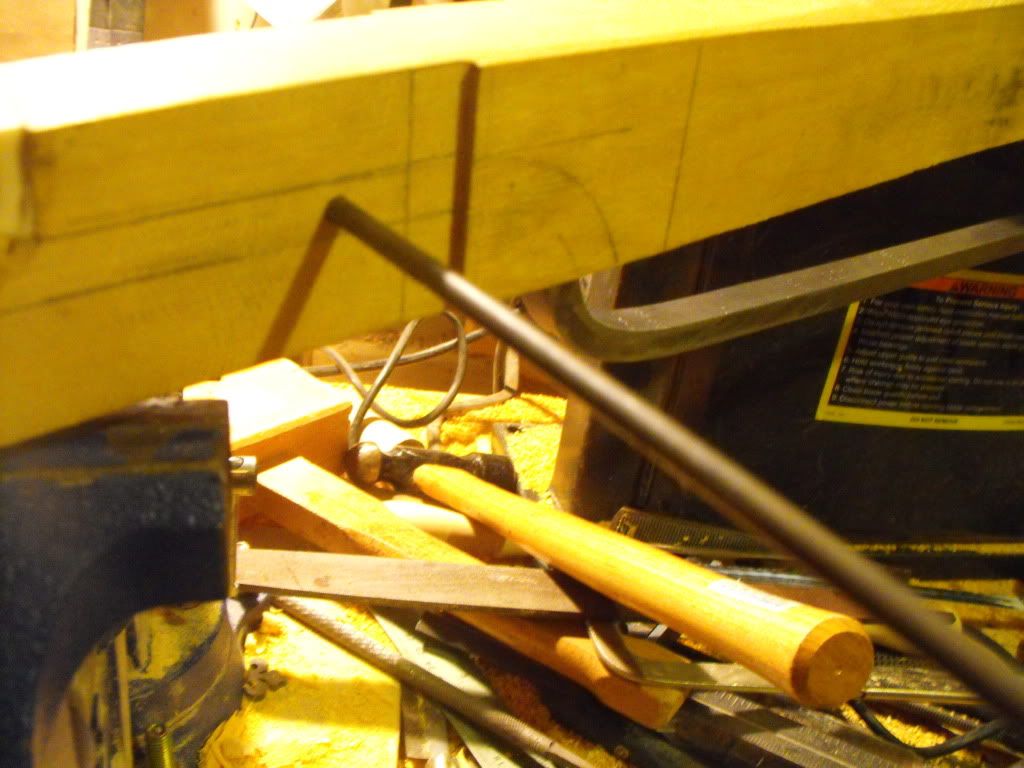
This next image is a little file work I needed to do to adjust the access hole for the trigger, and the last couple of shots should illustrate why I had to do that. I used a small triangular file for this work, with the tiller / stock clamped into the vice so I had both hands free to do this work.
Now, I tapped the pin into place:
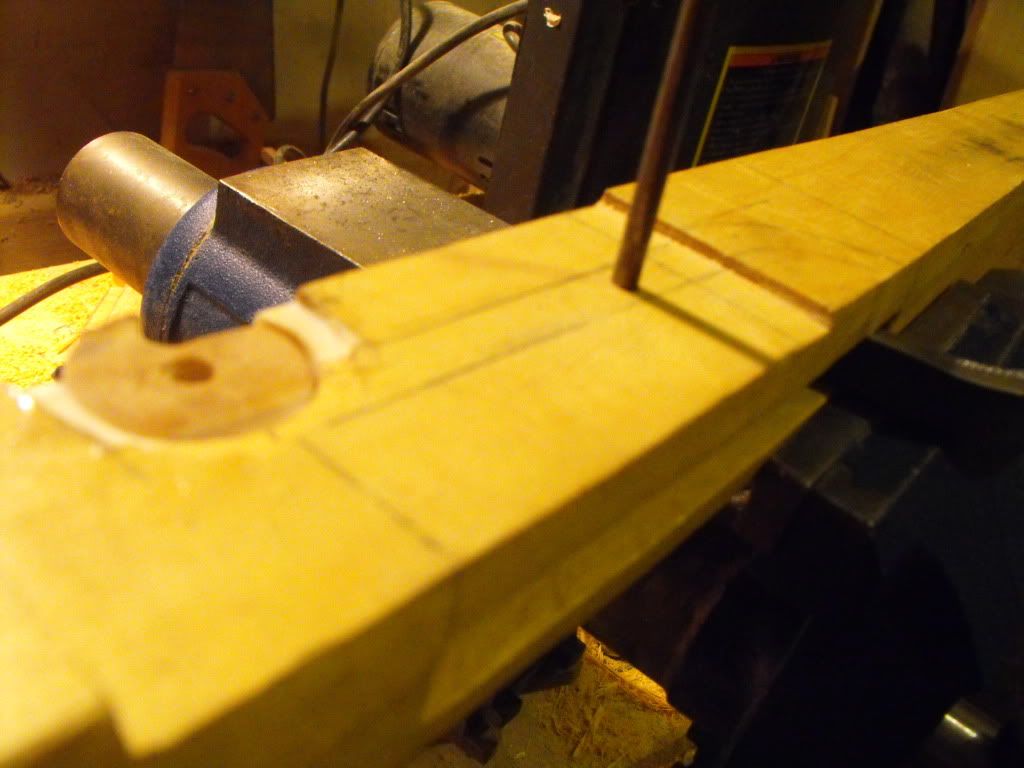
It worked! Huzzah. And last, a couple of shots to show the trigger end as it looks when the trigger is not depressed (meaning the end is up and engaged against the nut sear), and depressed upward as if the weapon had just been shot, showing the trigger end down, as if it had cleared the sear, allowing the rolling nut to be rotated forward as the crossbow is shot.
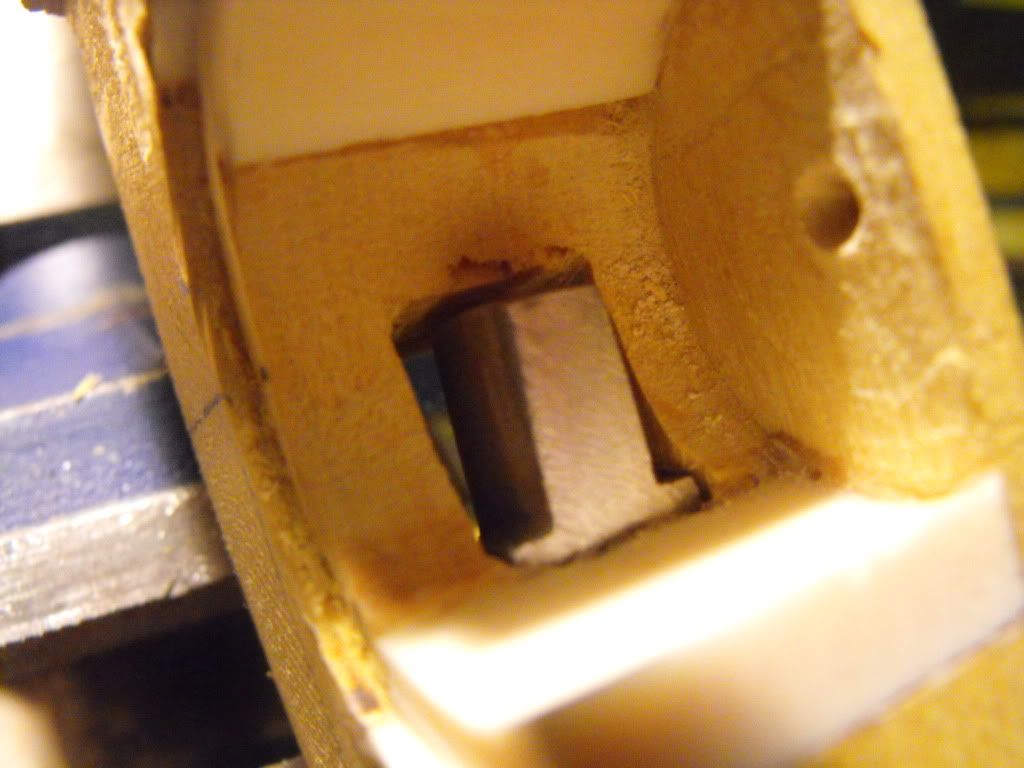
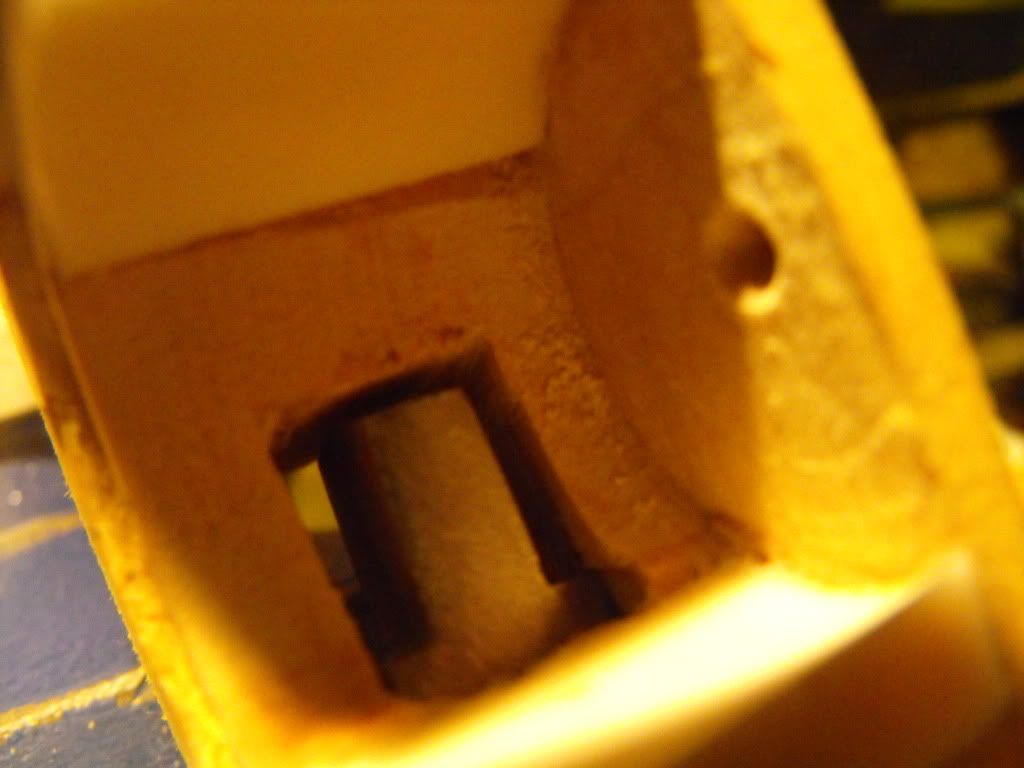
Ye of eagle eye may be saying "man, it sure looks sloppy in there." I do have to clean things up a bit, smoothing and sanding and filing and whatever else it takes to get the inside of the nut socket all ready. this is probably the sloppiest looking area thus far, but I am not too stressed about it, and it will be fine in the end. I'll also be waxing the inside of this socket and getting it all slick to faciliate a fast release upon shooting.
That is all for now, and more again soon.
Dane