I figured all those words were not needed for you

Drilling and sinking two steel pins in the lugs would also really help keep a wooden rolling nut together, too, say, 3/16 D cold rolled stuff.
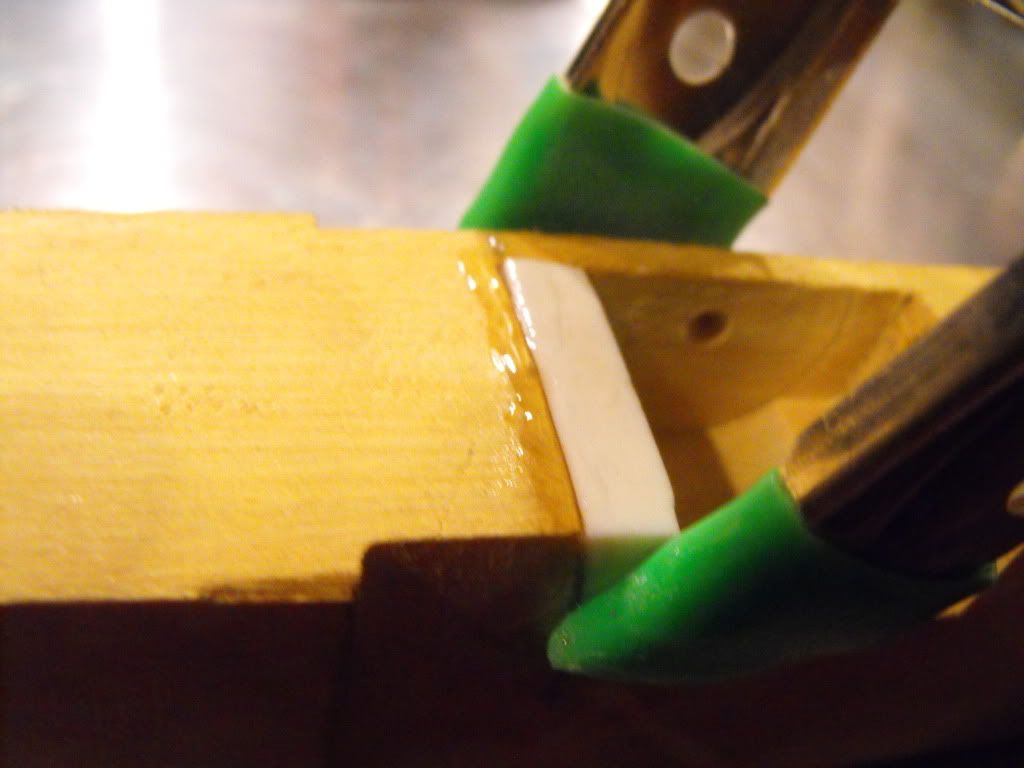
Okay, I glued up the front bearing block. Nothing earth shattering or new here for this community. I used 2-part epoxy, mixed it with a little plastic cocktail sword to give it a kinda swinging lounge vibe, and clamped it up. Later today, I'll do the same to the rear block, maybe using a cocktail umbrella, as I am out of regular toothpicks.

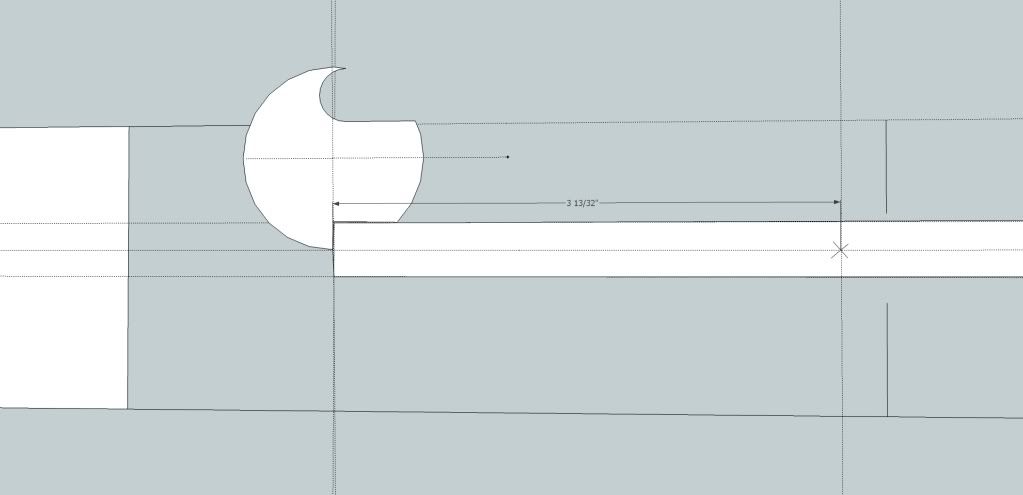
I want to talk a bit about sear points and how they interact with the trigger. As you push the tickler / trigger up to fire the crossbow, if you have a square facing to the end of the trigger, it will push the sear forward as it travels down, and that means the the rolling nut will move forward and than backward a bit, and that will impact accuracy, and I imagine may even set up a dangerous situation with misfires. I have a program called Google Sketchup, which I highly recommend everyone getting. Free program, it is a very simple 2D CAD type program. I've struggled for years to learn CAD with very little luck, but Sketchup is a great tool, easy to use, and great for all kind of design situations.
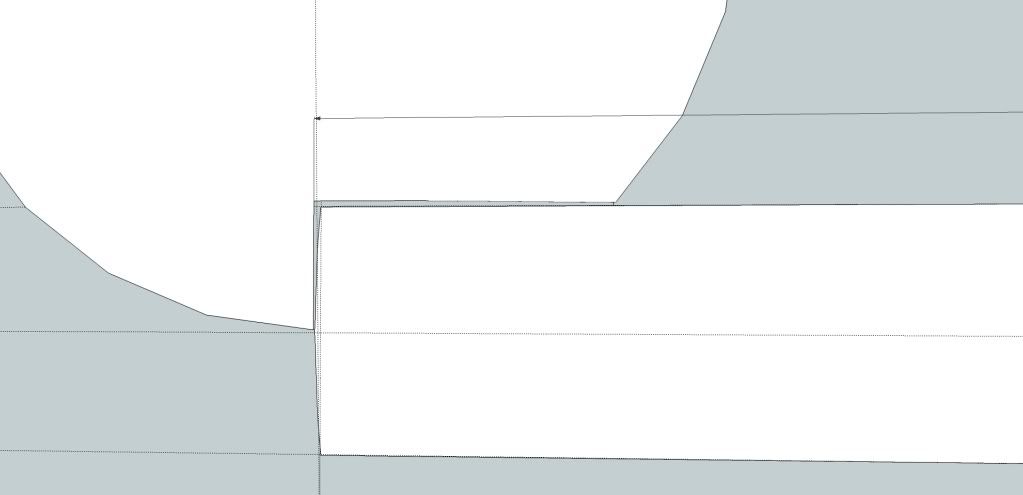
Attached here are two very rough (you can do some amazing things with this program, but I was working fast and dirty) drawings of the crossbow mechanism. Illustrated here is the tickler / trigger and the rolling nut. And, then, you can see a closeup of the sear and sear point. See how the end of the trigger is rounded off? This ensures that the above issue never crops up. I have had this happen with other projects, and it can really ruin your day, and sometimes, a new trigger has to be made to solve the problem. The nifty thing about the drawing program is that I can draw the different components as seperate elements and then use a rotate tool to see how things interact. If the axel point is not right, it may push the nut badly forward as the shooter engages the trigger. About 30 minutes spent doing this drawing and playing with it really eliminates some grief, and is time well spent. Plus, you get to feel like a real engineer.

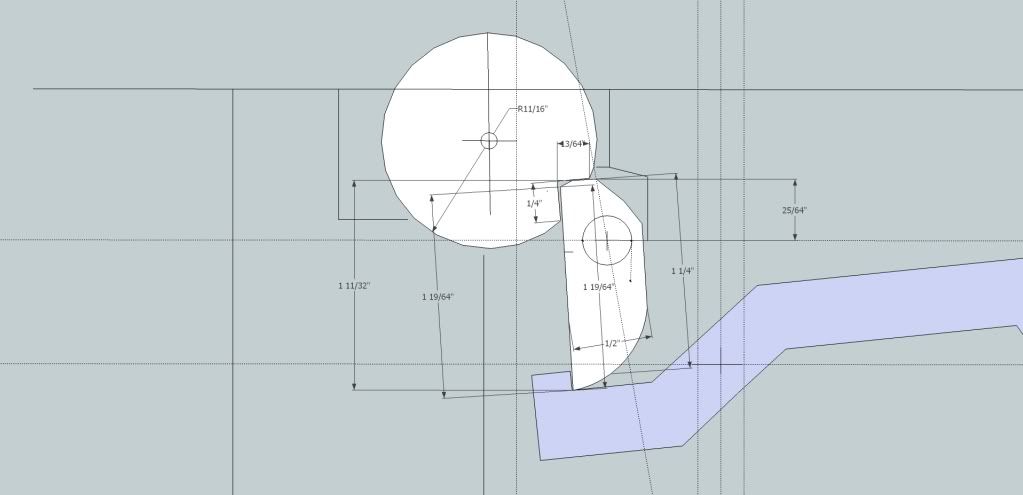
The third drawing is for a two axel trigger design for a commissioned crossbow I have in the works, a super heavy 900 lb. German crossbow. The two axel design is much more appropriate for this kind of draw weight, and so much more time has to be spent designing the trigger. The whole point of posting it here is not to amaze you or impress you lol, but just to illustrate how handy Sketchup is here. Just moving the axel points a tiny bit really impacted how everything works together, and the time I spent with this program paid off handsomly. I have printed this at 100%, and am using it as a template to drill the axel holes precisely, and to make all the interior components to the correct dimensions. Otherwise, you'd hear my curses all the way to the west coast.

The Spanish single axel lock:


And the German double axel lock:
