Here’s one way to make power lams for wood lam bows.
First finish the flat side of the power lam- smooth for Titebond and grooved for Urac.
A backer board not much wider than the lam and around a foot longer or so than the lam is needed for backing up the lam. This one has been previously used for making several other power lams (see the taper at the left end). A piece of double-stick tape (in right end of pic) is attached to it.

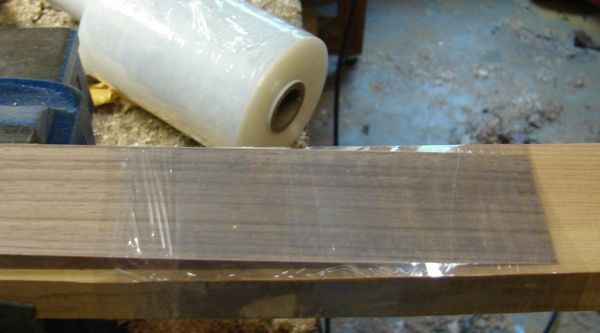
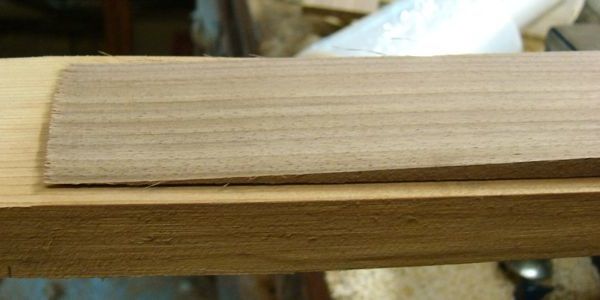
Here’s how the ~1/4” x 1.75” x 14” walnut power lam-to-be is positioned on the board given the taper at the end of the backing board.

About 10 tight wraps with 4” wide stretch wrap is used to secure the lam to the board. The double-stick tape is located about in the middle of the area with the stretch wrap. It prevents the lam from being launched off the backing board in the next step. It’s not needed with my underpowered belt sander but is needed with the planer. You can guess how I determined this!
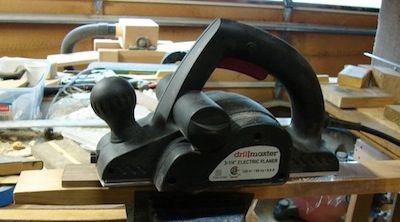
This cheap planer is used to *rough* out the taper. Before I got it or a belt sander, a coarse rasp was used but it’s kinda tedious to get a level surface. Then I tried using the lam grinder (in background) with a tapered sled but that was slow. Using a jointer is an option but that’s too dangerous for me…
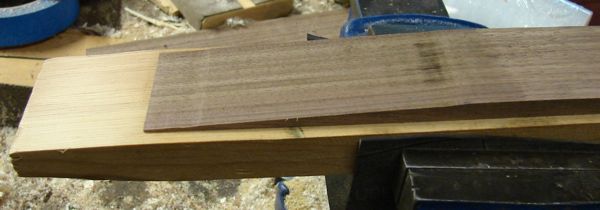
This is what the taper looks like after being attacked with the planer. It’s just *roughly* tapered but is flat enough for the next step and, most importantly, is level across it’s width which helps keep it that way in the next step.
At this stage some sandpaper *firmly attached* to a sanding block and some patience could be used for finishing the tapers but a belt sander, like this 4”x36” one, is quicker but more touchy to use.
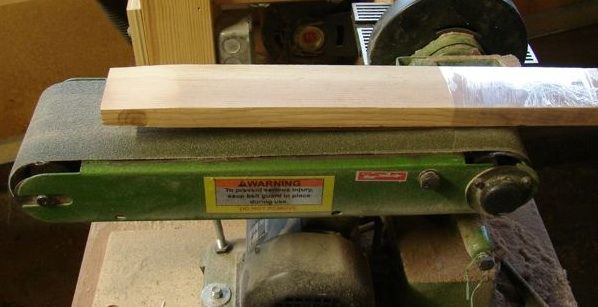
Some belt sander tips:
1. A long board helps with getting a good taper.
2. Hold the off end of the board with one hand and use the other at different locations
and downward pressures to vary the taper.
3. Clean the belt with one of those rubber blocks each time before touching the lam to the belt and
use the residue build-up on the belt during sanding to keeping the lam level.
4. Putting the lam down on the belt and lifting it off is whenI tend to booger it up. I can
avoid the later with this underpowered one by applying more force to the lam until the sander
chokes down and the belt stops. A foot switch for the sander could be ideal.
5. If you don’t have a dust collector on your sander, use a piece of resin-rich pine
for the backing board. The pine smell will tell you that you’ve thinned
the end of the lam down to nothing.
6. Practice alone doesn't make for perfection but it sure helps.
7. Oily woods like IPE don't sand as easily as woods like walnut and maple.
The results- 0.051” @ 1” from end, 0.097” at 2” from end and 0.262” @ center. Still a little too thick, but about as good as I can get with the belt sander. The remaining thinning will be done by hand sanding.
 More to come... (Photobucket is a pain to use!
  - Reminds me of AOL)