Building the Tiller – First Steps
The stock is called the tiller in crossbow lingo, and I can only assume it is because it resembles a ship’s tiller. I found a live edge maple board in a retail woodworking store that was about five feet tall, between 12 and 15 inches wide, and 1.5” thick. One of the big advantages to laminate construction is that you don’t have to find a very large piece of hardwood, and you can lay out and make the rolling nut socket, tickler channel, and dill the prod binding hole, nut binding hole, and tickler pivot pin holes before you begin shaping the tiller.
The shape of the tiller is entirely up to you, and what do you like? This is a Central European design, so it has some really nice curves and tapers, but if you choose a slab-sided style such as the kind of crossbows popular in Northern Europe, that is fine. What kind of hardwood you choose is up to you, and may be determined because of availability or fancy. I love the look of maple, but cherry, oak, walnut, elm, and even some exotics would make into a beautiful tiller.
The length of the tiller is important, and one factor to keep in mind is how tall you are. Keeping the tiller the length of your inseam is not a bad idea, as you will be bending down to span or draw the weapon, and a very long tiller means it will jab you in the stomach, which is never fun. I chose to make my tiller 29” long, as I am short, and I like to shoot the crossbow holding it like a carbine or rifle. For the very long military style bows, you lay the tiller over your shoulder and press it into your clavical, but this is a small, handy sporting bow, so short is good.
I used a skill saw to cross cut the board so I had about 36” of material, then ripped the board so I ended up with two pieces approx 3.5” by 1.5” by 36” long. I saw approximately, as I then fed them through a thickness planer until the two pieces were about 3” in height. The most important sides to each piece were the side I would laminate together, and as this was going to be a style of tiller with lots of nifty curves, carving would take care of the rest. The most important glue line is going to be the bottom of the tiller. The top glue line is going to be what is called the table of the crossbow, and I was going to make a bone top for it, so if the glue line was not perfect it was no big deal. The two ends you want to have a decent glue line on, as they will be visible as well. Monkey around a bit with a hand plane until you are satisfied. I had to do this a bit, maybe spending an hour until I was satisfied.
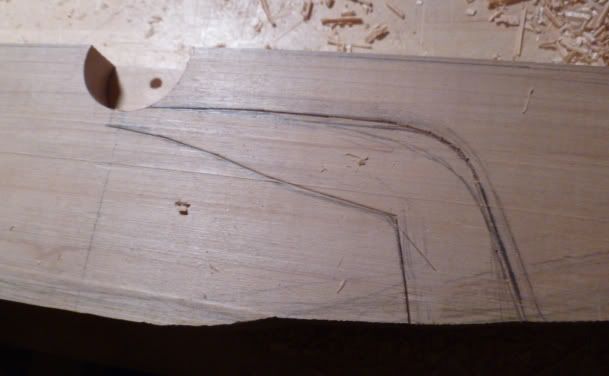
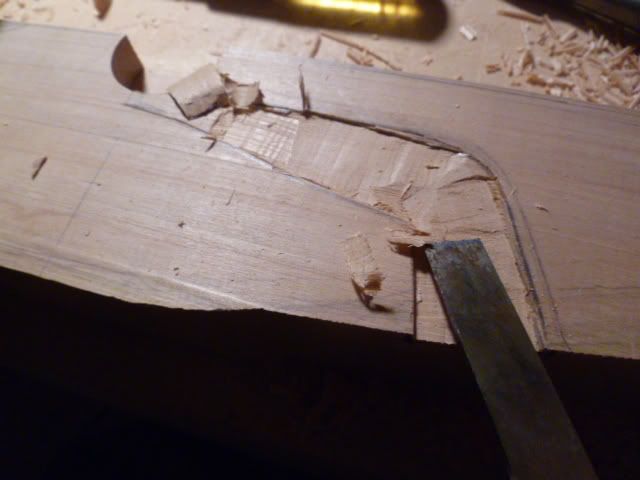
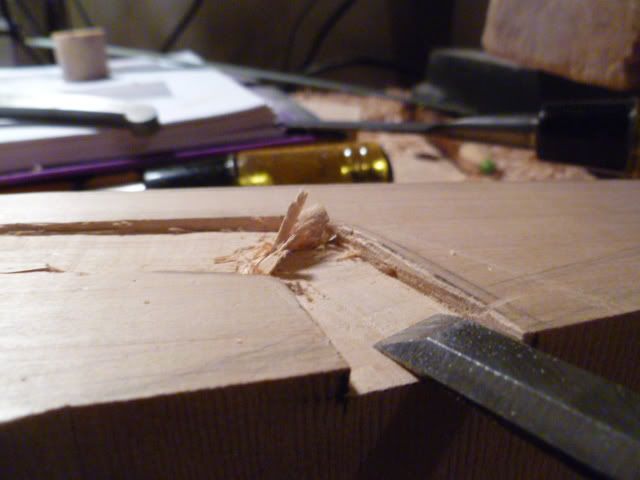
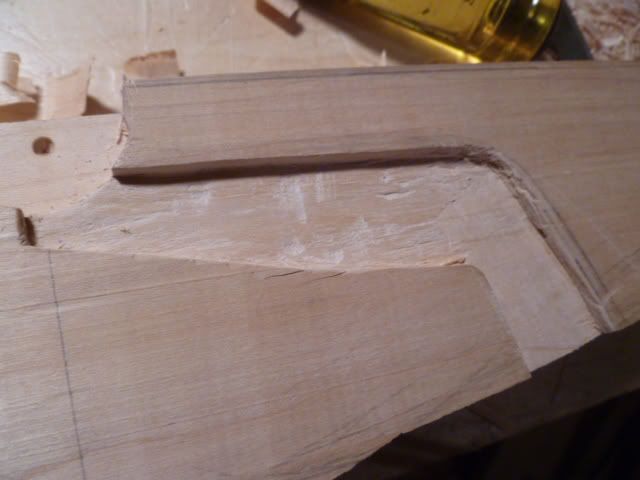
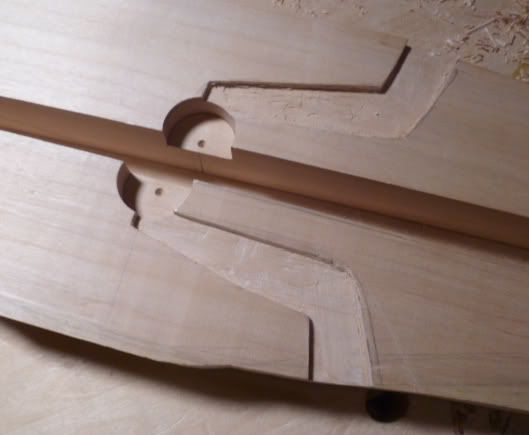
At this point, I laid out and made the rolling nut socket and the tickler channel. The tickler channel in particular is a beast to make if you use a single solid piece of hardwood for your crossbow, and incorporates electric drills, chisels, and very black language, so keep the kids far from the shop area.
The nut socket is laid out 11.5” from the end of the tiller the prod or bow will be bound to. I purchased a steel bow from a vendor (making a bow, and the various types can be a broad discussion we may have later), and the specs are a 3.5” brace height and a draw height of 8”which comes to 11.5”. Leave enough wood in the “muzzle” end of the crossbow for the prod socket, perhaps an additional inch or a bit more wood. More is best, as you can remove but you can never put back. I’m sure all of us have experienced this life lesson

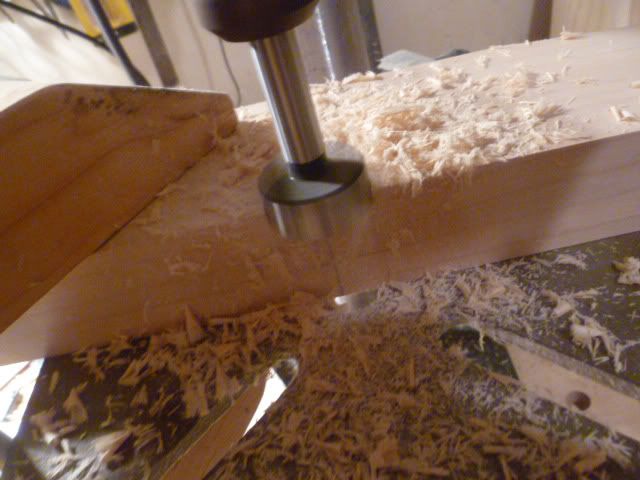
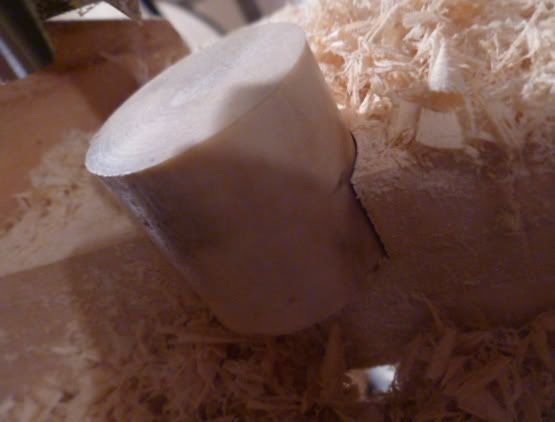
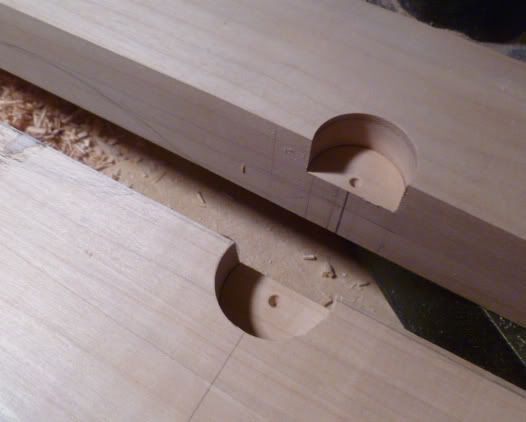
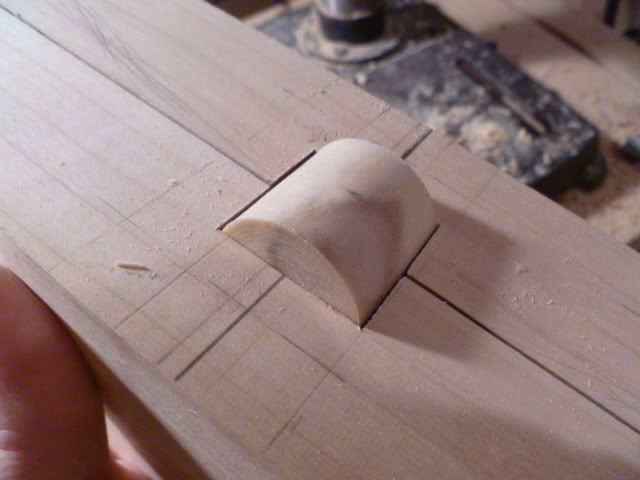
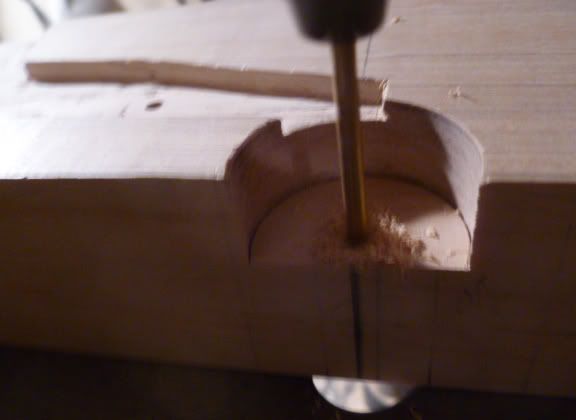
The nut socket was made using a 1.25” fostner bit in a drill press, and each half of the socket is half the width of the nut, which I had already made and so knew the exact dimensions to. You can do this socket and not have your nut already made, of course, and adjust the nut rather than the socket depth. I wanted the nut to be about 1/3 above and visible, and 2/3 inside the tiller, so I marked a spot 1/8” down from the top edge or table edge. If you make your nut to some other dimensions other than 1.25”O.D., adjust accordingly. I clamped the tiller half into my drill press and drilled down half the length of the nut, test fit, and did the same thing to the other half.
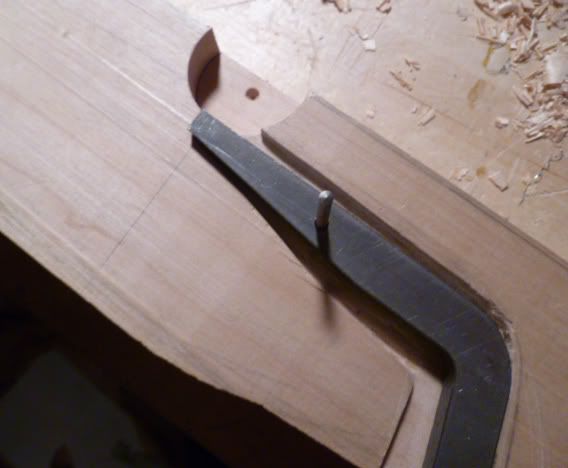
The tickler channel was simple to do, since I am comfortable working with chisels. If you don’t have much experience with them, practice with scrap wood. The channel is a shade wider than the total width of the tickler, which is made from thick gauge steel. Brass ticklers are very handsome, as well, and they can be purchased or made in your shop. There are regional differences in the profile of the ticklers, as you will find out by doing some research. I purchased my tickler from the same vendor as the prod, so the hard work was already done for me.
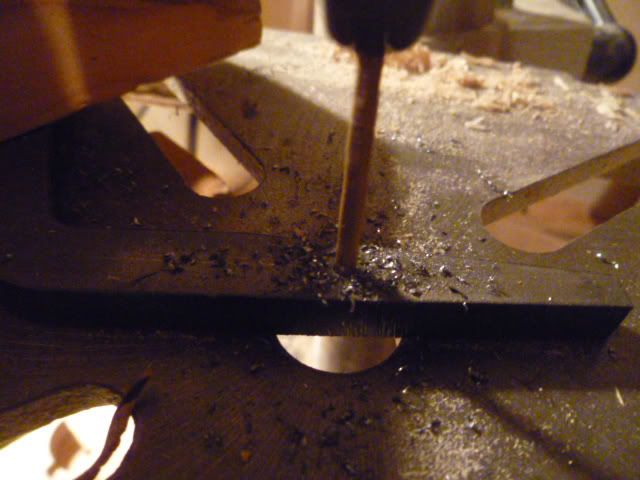
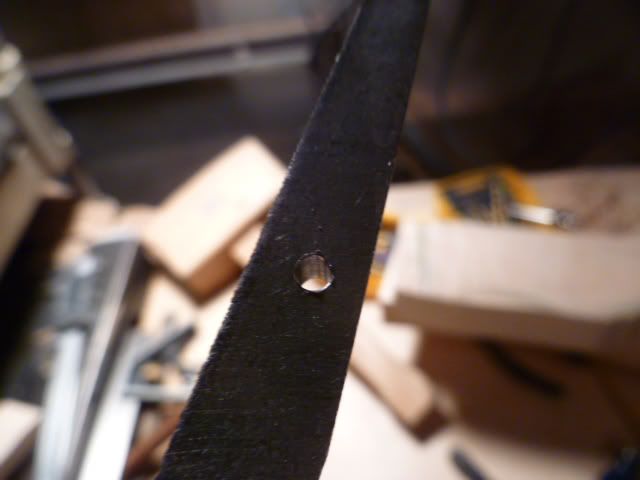
I used chisels (from a 1” mortising chisel to a 1/8” general purpose wood chisel) and mallet to form the channel, and it was not hard, and in fact, relaxing work. Once I had finished it to my satisfaction and tested the tickler to make sure that I had sufficient clearance to get the tickler in and out (sharp bends and curves can be your enemy here, trust me), I determined the placement of the tickler pivot hole, and drilled that. The pivot pin is going to be fashioned from steel threaded rod, for good reasons, and that will be discussed later.
Glue up was straight forward and not too stressful. I used four clamps, and the glue used was Tightbond III. I had to take care that I kept the rolling nut socket true, as if they two sides didn’t mated perfectly there, I would have a bad socket and no end to troubles. That happend to me on my first crossbow, so I speak from experience. It wasnt a break situation, but the performance was never going to be optimal.
24 hours later, off came the clamps and I was ready to begin carving the tiller.
To be continued
[/img]http://i630.photobucket.com/albums/uu30/Danemitchell/tickler7.jpg[/img]
