Recently I recieved 4 6' by 6" by 2" rift sawn hickory boards for free

and so i thought it would be nice of me to give back by doing a build along. This is my first build along so i don't know how well it will turn out but i'm hoping for the best. I'm building 2 idenditcal hickory board bows and I plan on keeping one and sending the other to my cousin.
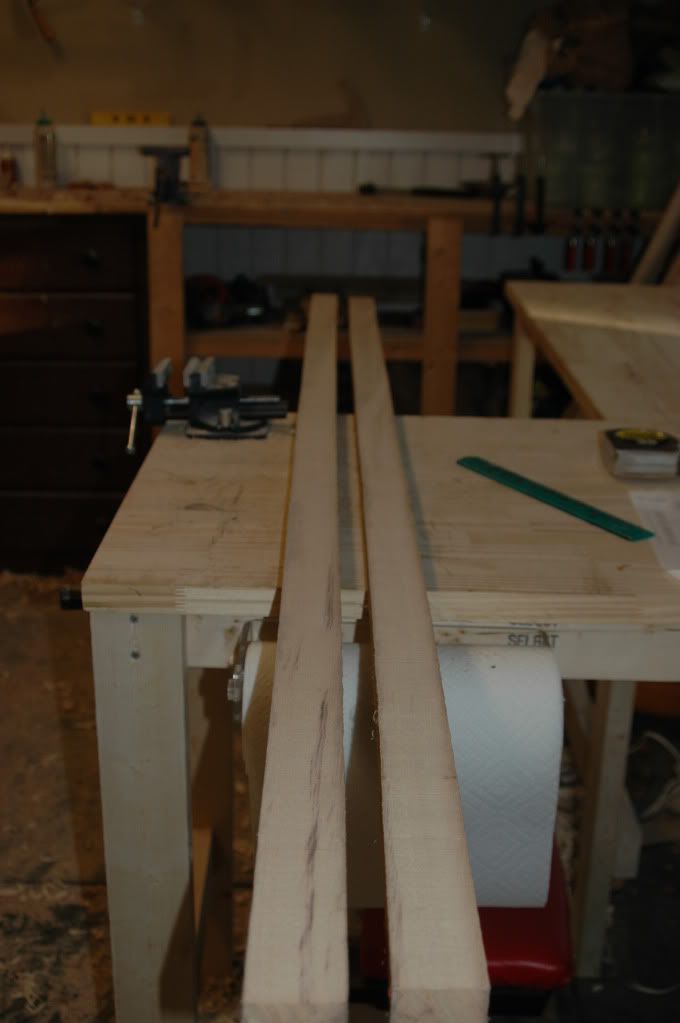
I'm starting with 2 70" long hickory boards that are 2" wide and 1" deep. Notice that they both have some heartwood in one of the future limbs. As with most white woods there is little difference between the heartwood and sapwood(as far as bow building characteristics go) so it's not a problem.
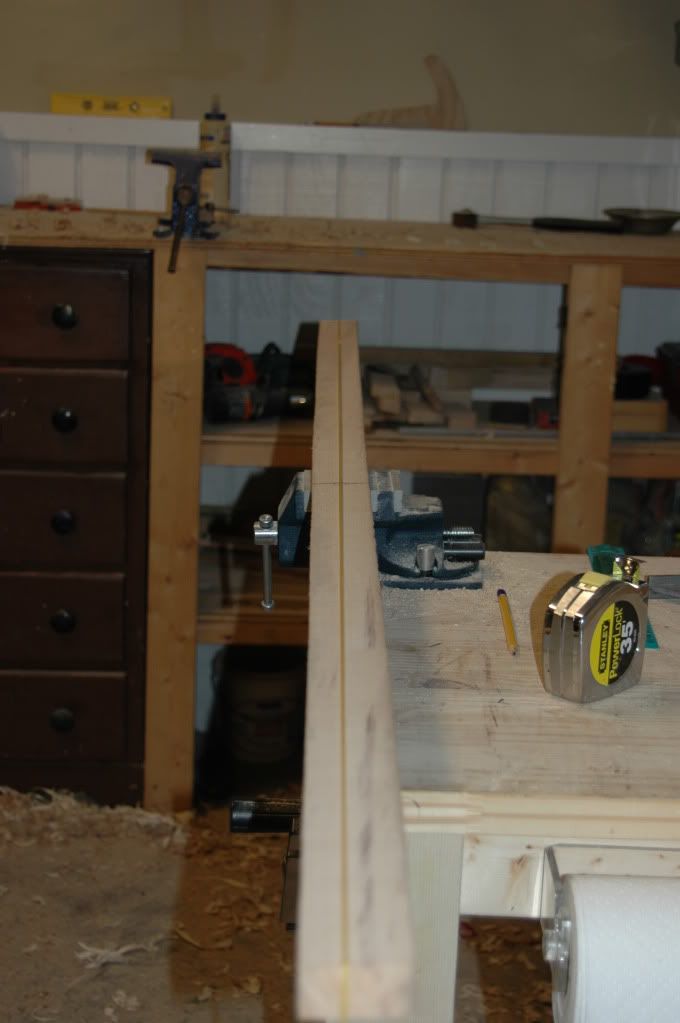
Now I'm using a string with 2 weights on the ends to align the tips. both boards were a little warped and the tips ended up being about a 1/4 of an inch off of the center of the end of the board.
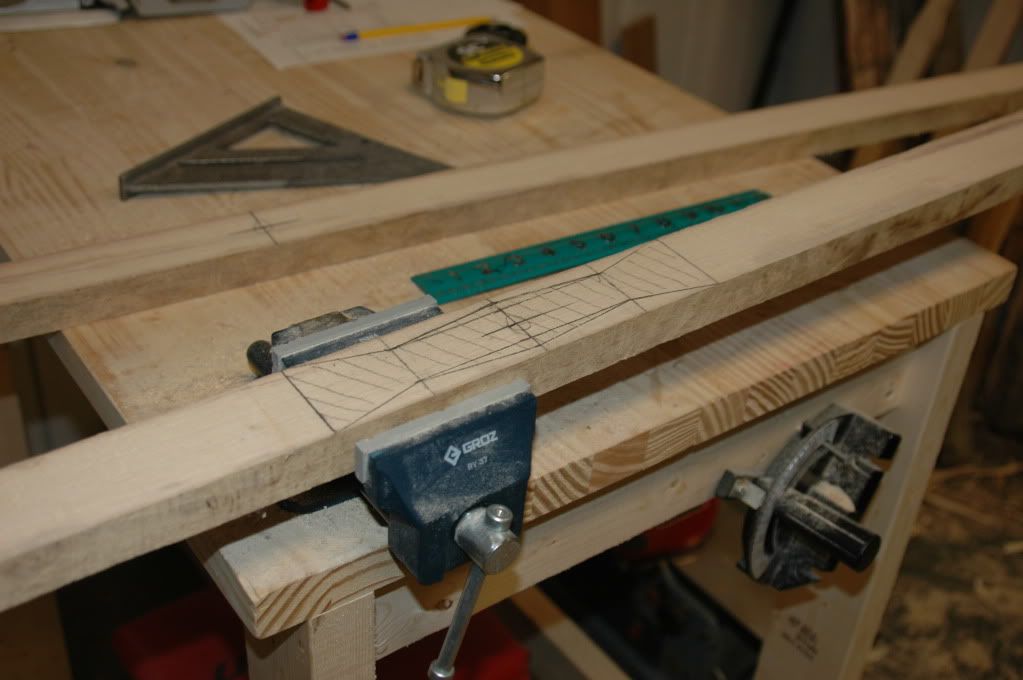
Now I mark my handle pattern on the back of the bow and making the tips 1/2" wide i mark out the width taper for the limbs.
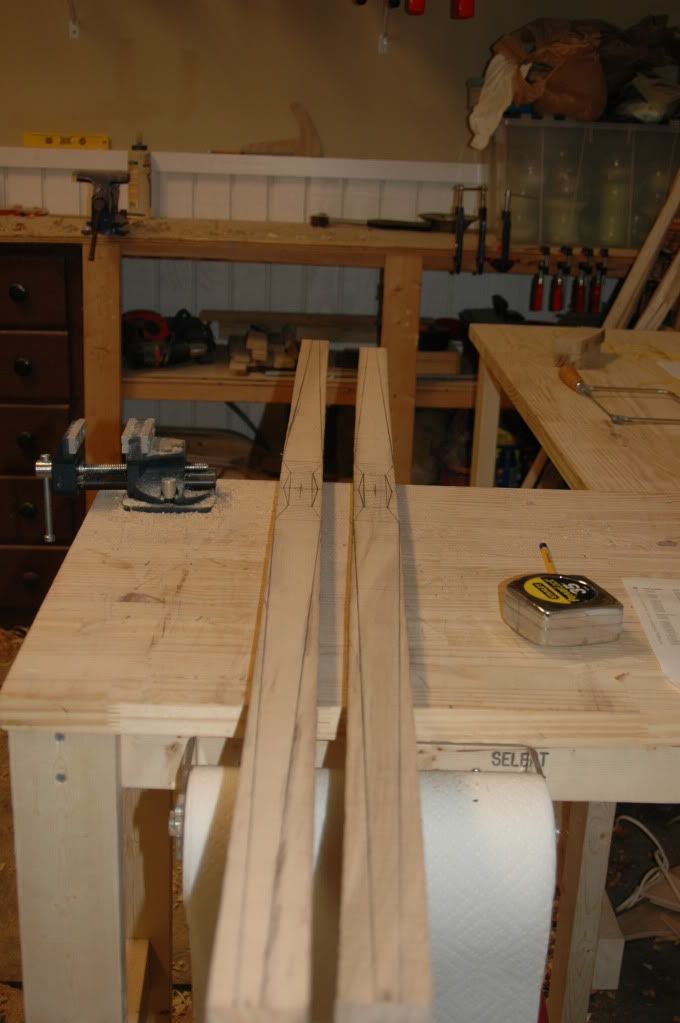
Here you can see that i'm going for a pyramid style limb shape. Next step is to cut out the widht taper for te limbs on the bandsaw. If you don't have a bandsaw you can of course use a surform rasp or just a plain wood rasp.
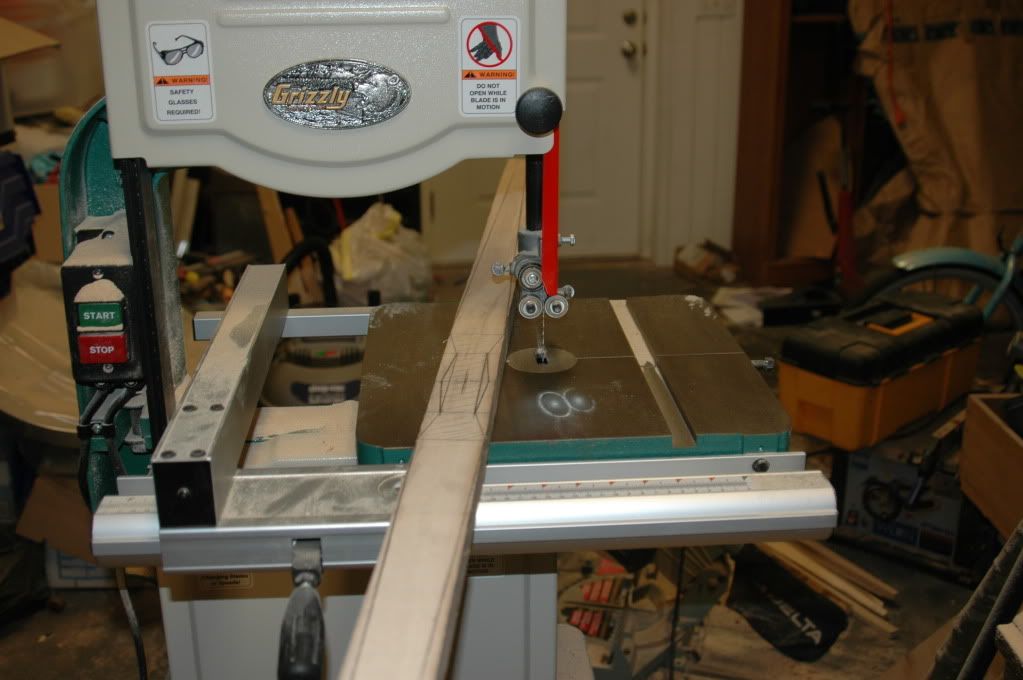
My grizzly(model G0555) Bandsaw. I saved my money for about 5 months to buy this saw and it was definately worth it. Best power tool you can get for building bows in my opinion. Of course many people build great bows without one but it sure is nice to have.(i just noticed that you can see the reflection of the camera lens off the cast iron table)

Both bows now have the limbs width tapered.
Now I need to mark the thickness taper. To do that i made a little marking guide out of a block of maple. It's quicker and easier than using a ruler when thickness tapering.

At the fades the limbs are 3/4 inch thick and taper down to 3/8ths at the tips
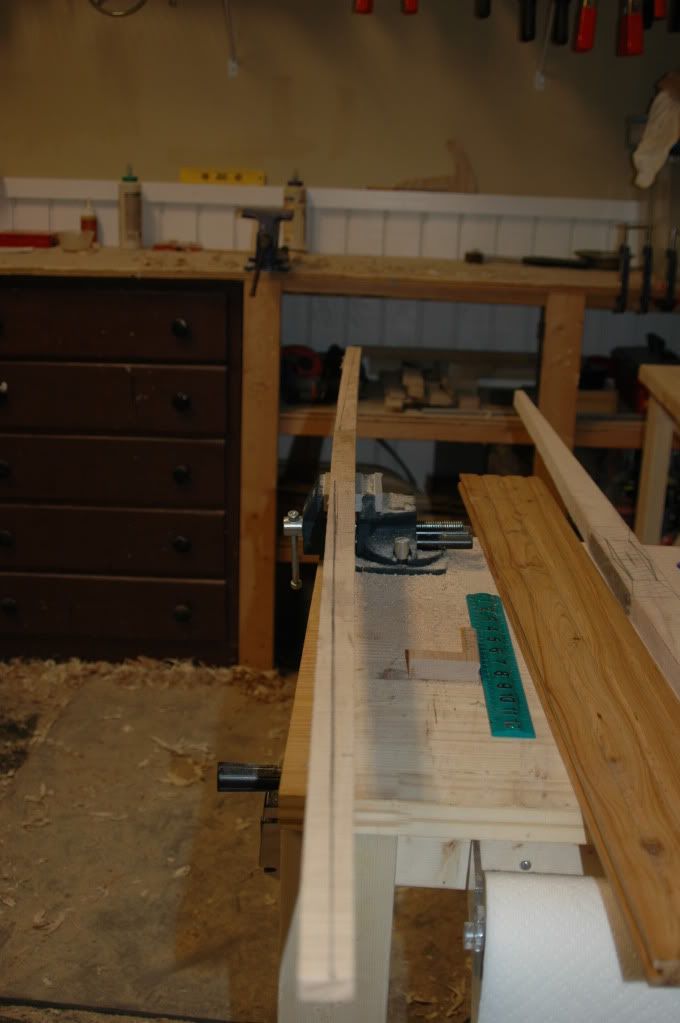
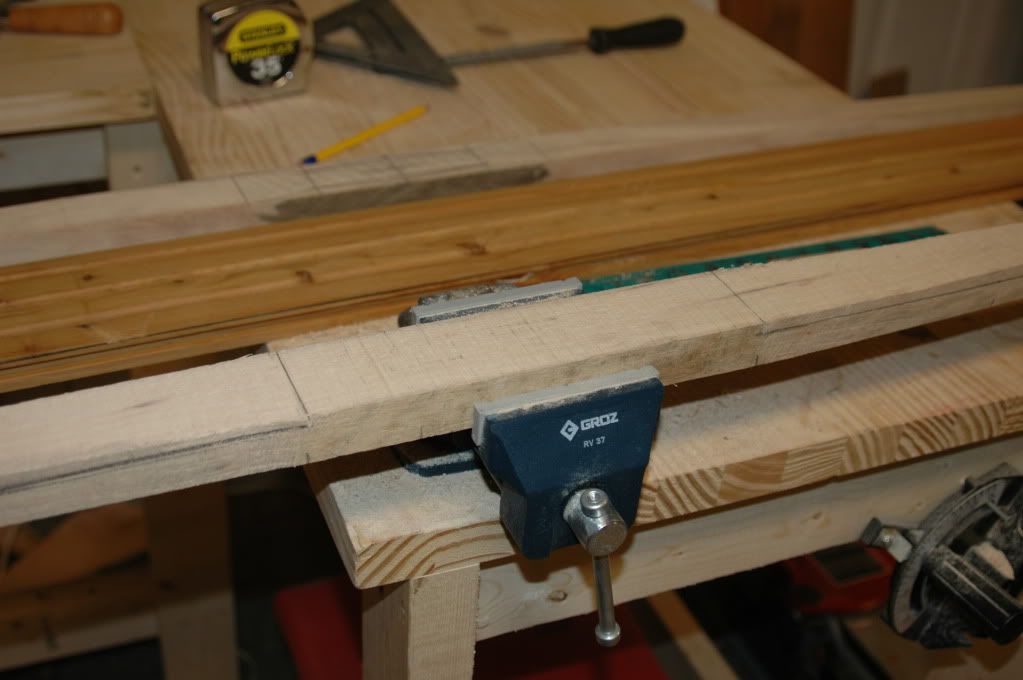
When i cut the thickness taper on the bandsaw i take a handsaw and make a relief cut at the ends of the fades so that when i get to the end of the cut the waste peice falls away. I then use a rasp to mke the fade flow into the limb
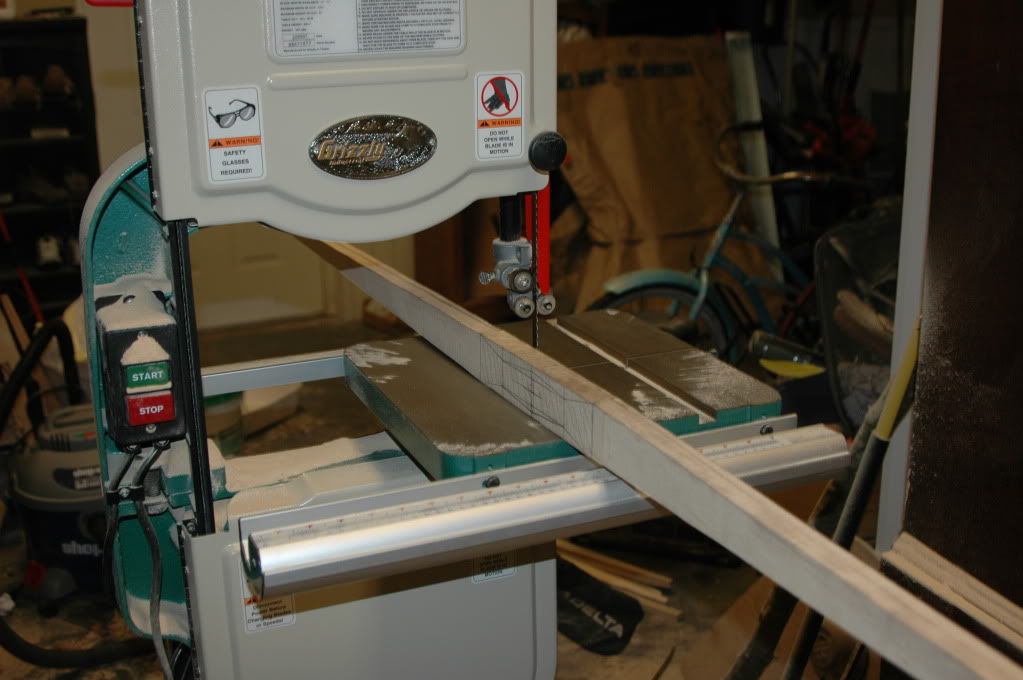
And then I cut the thickness taper on the bandsaw.
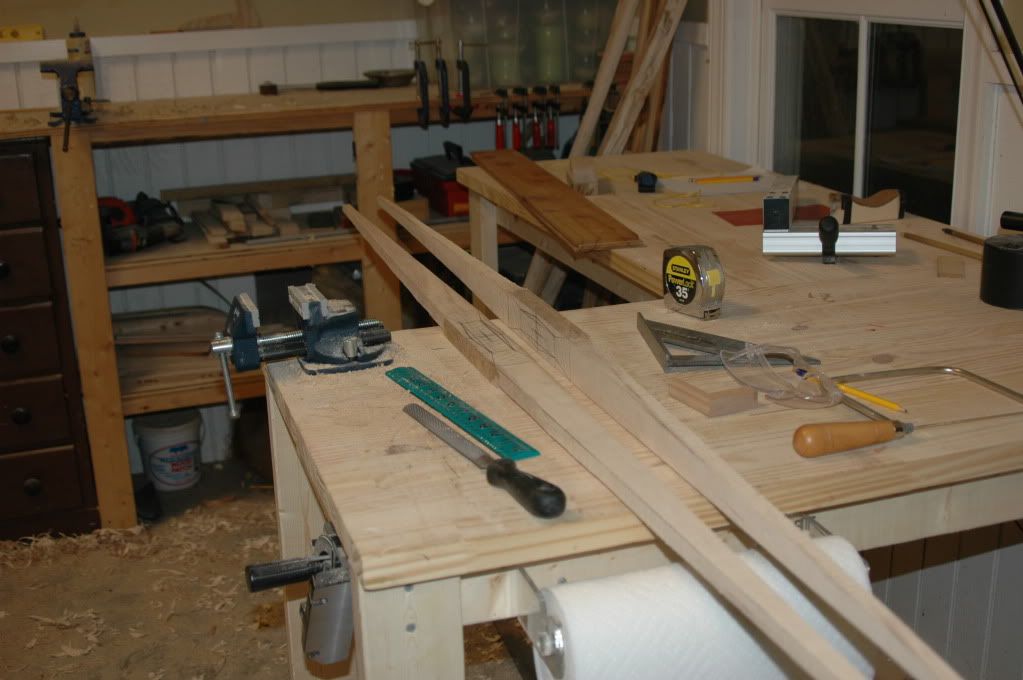
And now the sisters are both width and thickness tapered.
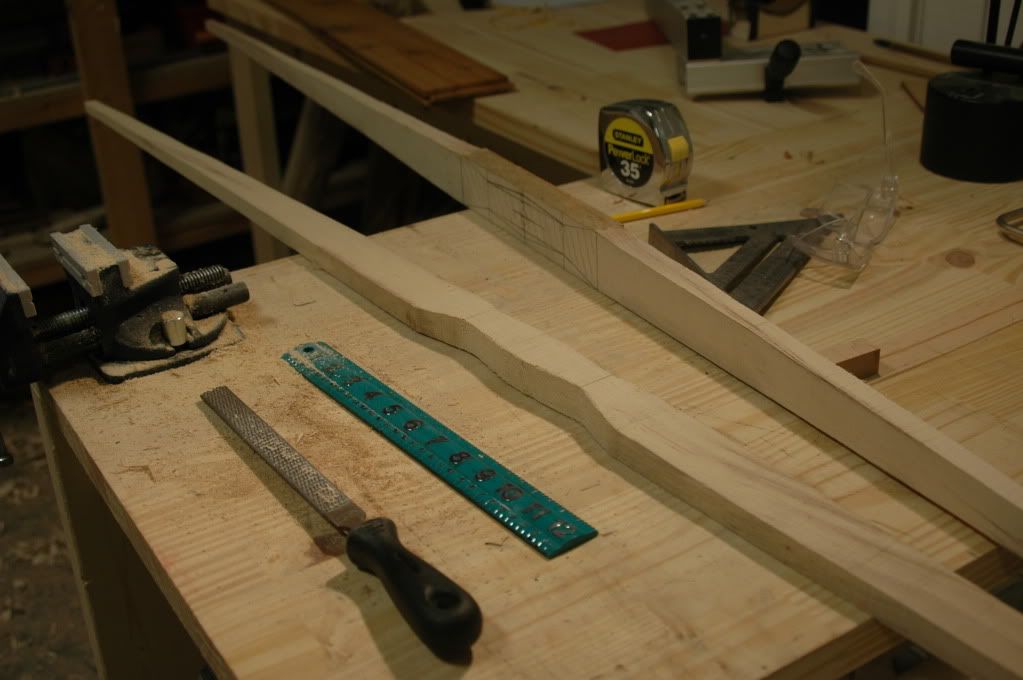
I then used the bandsaw and a rasp to get the rough shape of the handle. This actually took longer than all ofthe other steps because i had to make sure that the handle was even and centered.
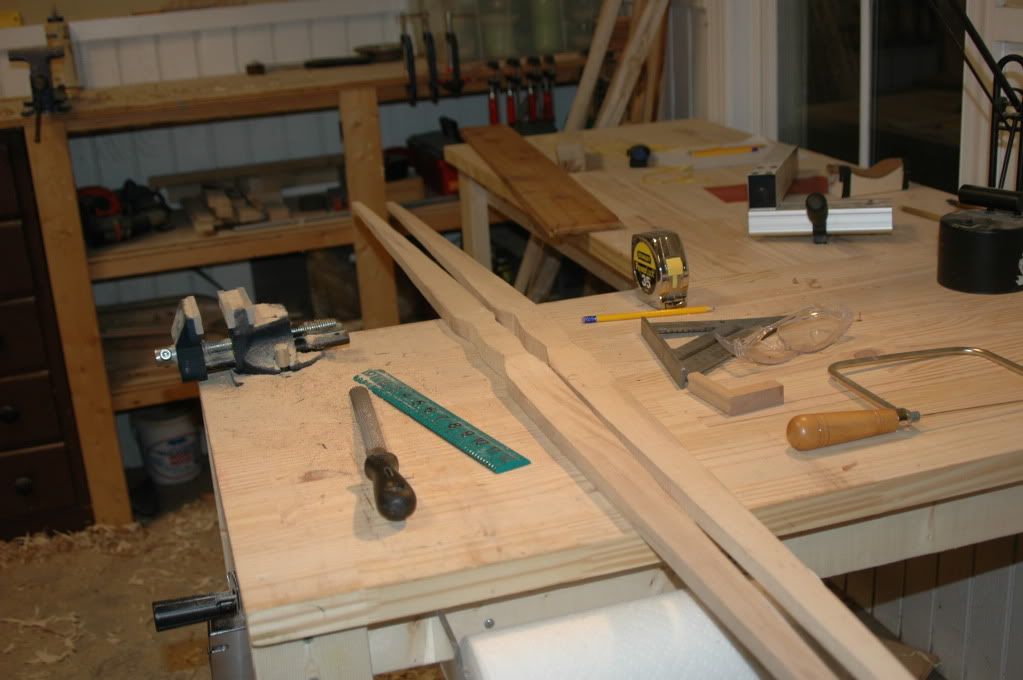
The sisters are both roughed out now and are beginning to look like bows

.
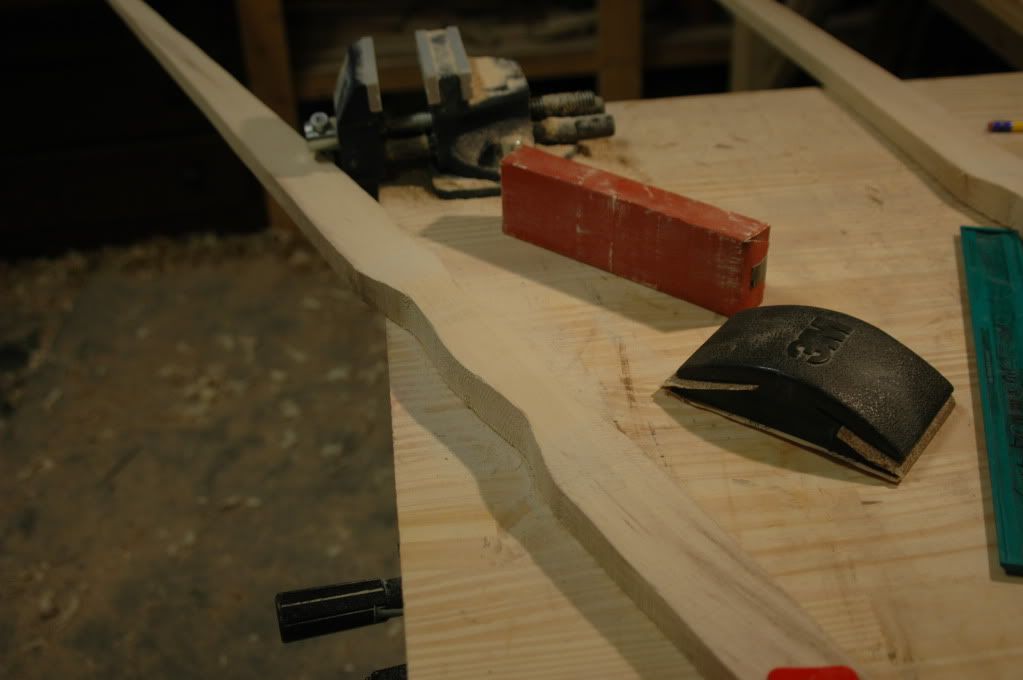
Now I use a sanding block and flatten the handle on the belly of the bow in order to glue on the riser. I kinda fudged here and didn't get them as flat as they could be and i'm probably going to pay for it with uneven glue lines. With the clamps tight enough i don't think it will be too much of a problem though.
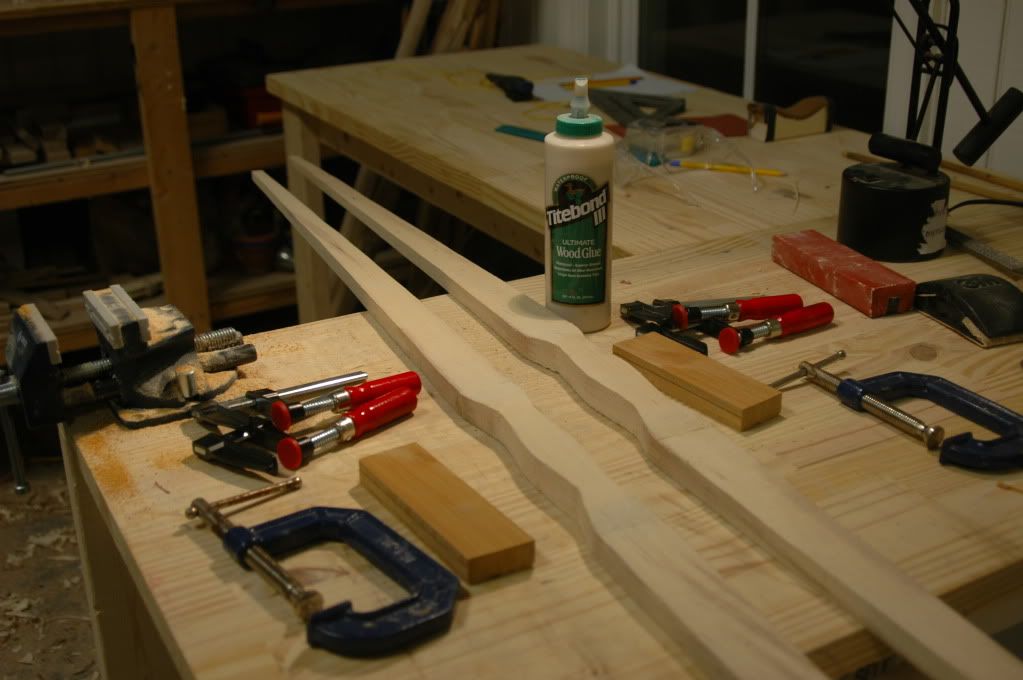
Glue up prep
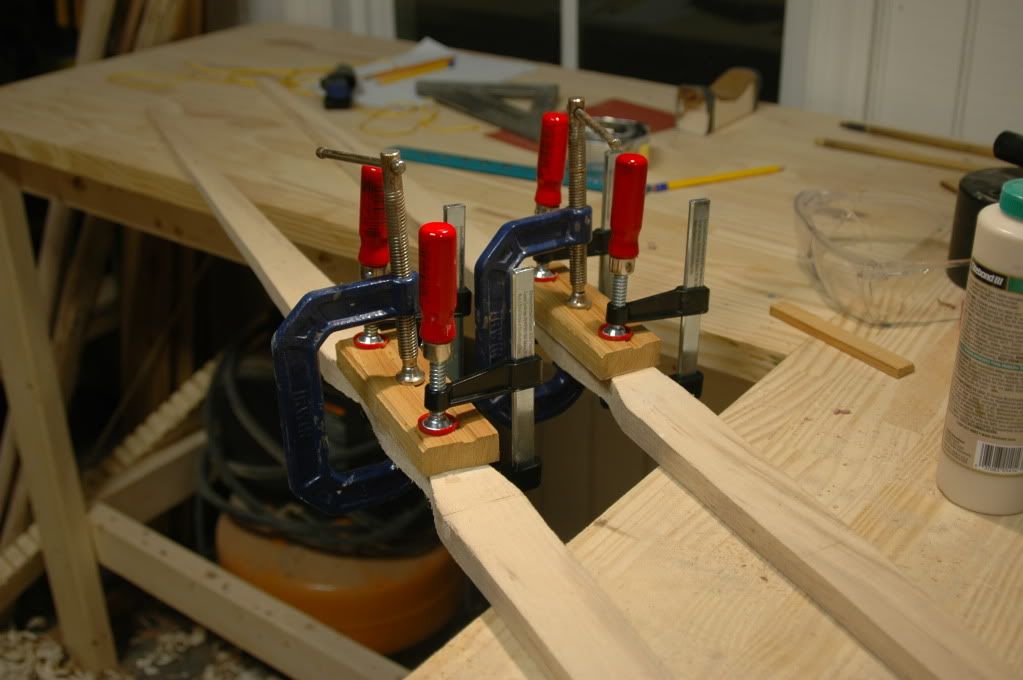
Risers glued on.
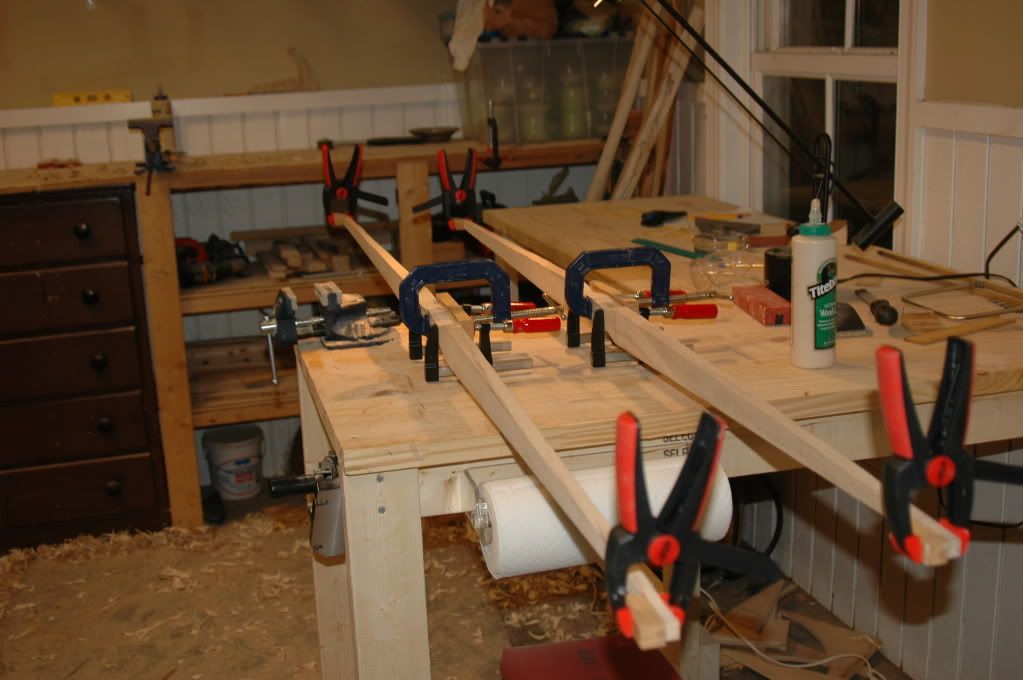
And tip overlays glued on. Both the risers and tip overlays are australian cypress which came from leftover flooring boards from our old house. The wood is too soft for bows but it has a nice color and grain patter for handles.
Thats all for Today. Hopefully tomorrow or the day after i'll rough out the handles and file in the nocks as well as round out the corners of the limbs and smooth and burnish the backs of the bows. Please let me know if i could do something to improve this build along and be sure to tell me if i left something too vauge or unclear.