First of all, never mind what i said about the ivory inlay. haha. But I am going to do some inlay on this bow, and i've got lots of pics of the process. And i did find some good uses for the ivory after all.
Okay: the focus of today's work on this bow was twofold: shape the tips, and inlay a strike plate.
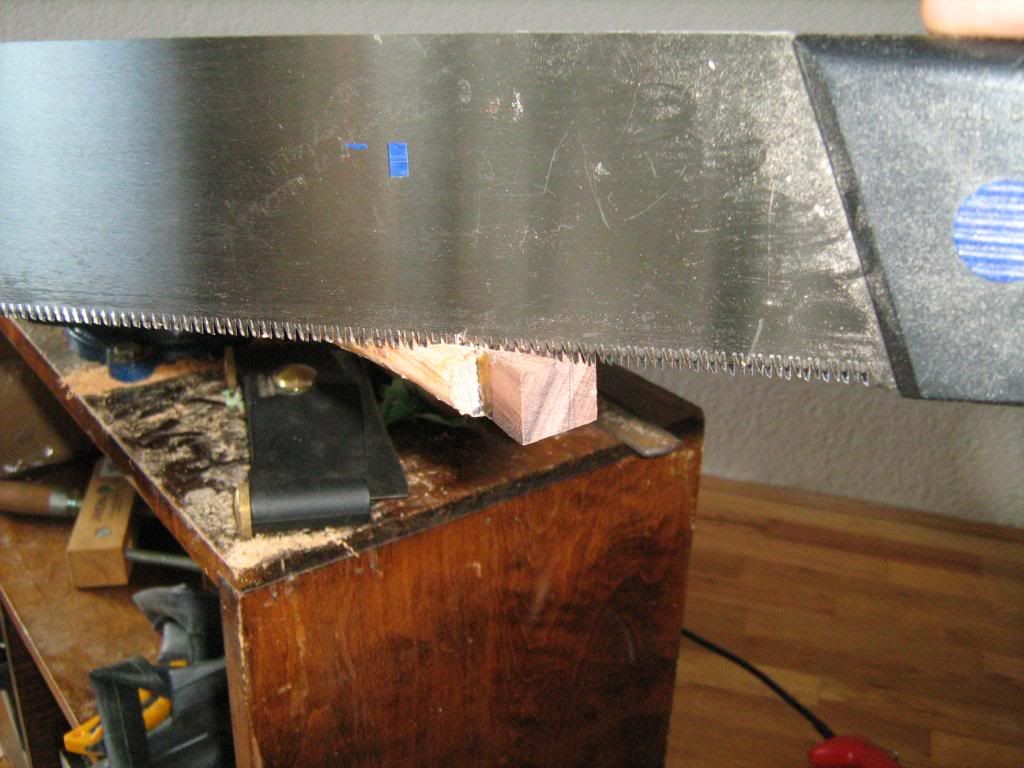
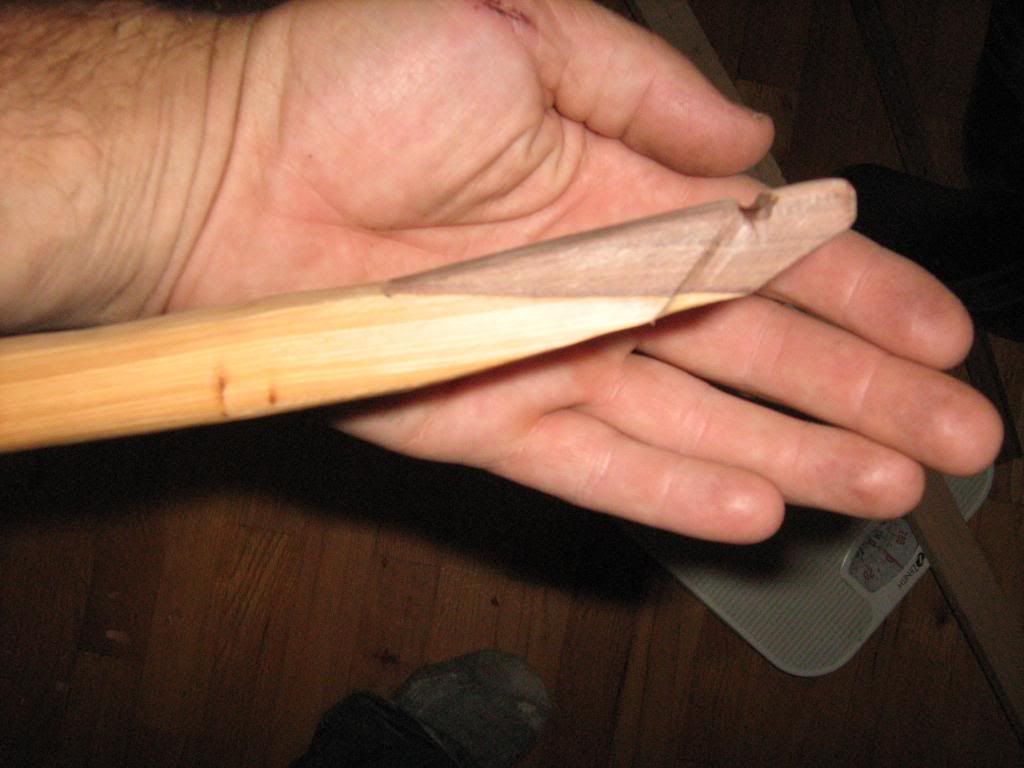
First i did the tips, since the big ugly clubs were hanging off the ends. The two roughed-out overlay pieces have been sitting in my junk box since last year, as a solid block carved into a crude wedge. I used the hobby bandsaw to slice up the halfway line and then cut the two pieces out.
Today, i drew a line from 1/4 down the back of the tips toward the belly, bisecting where the yew and rosewood met up.
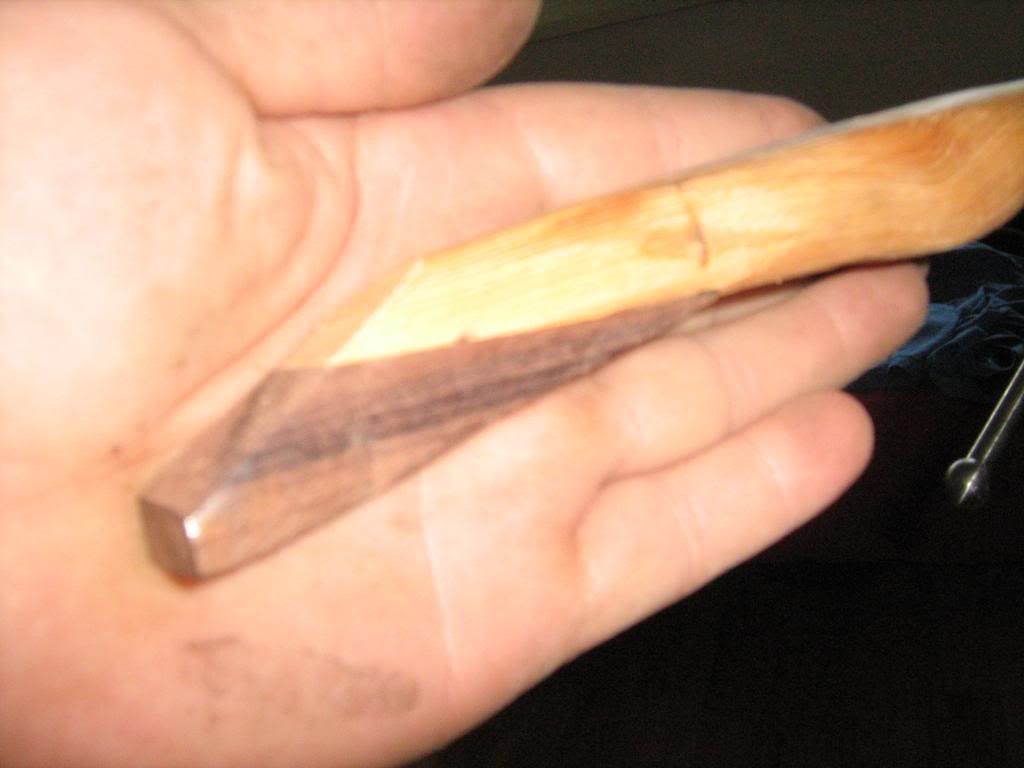
Right after this cut, without the pin nocks cut in, they looked like this.
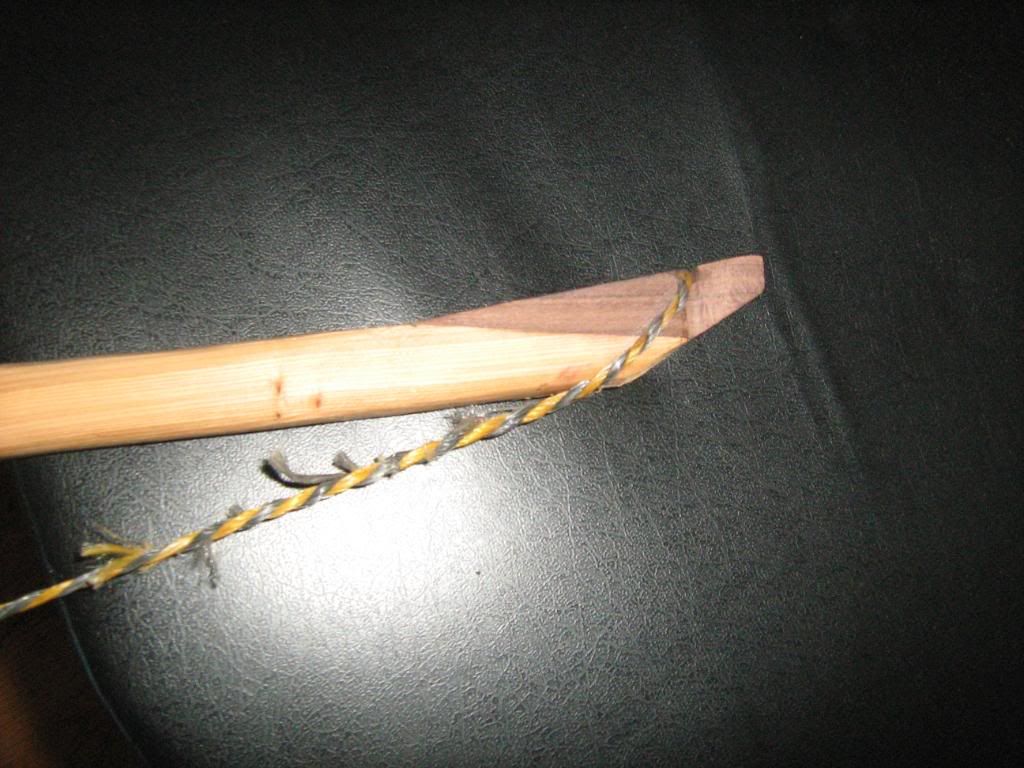
But my first attempt at the string groove was lame and so it looked like this.
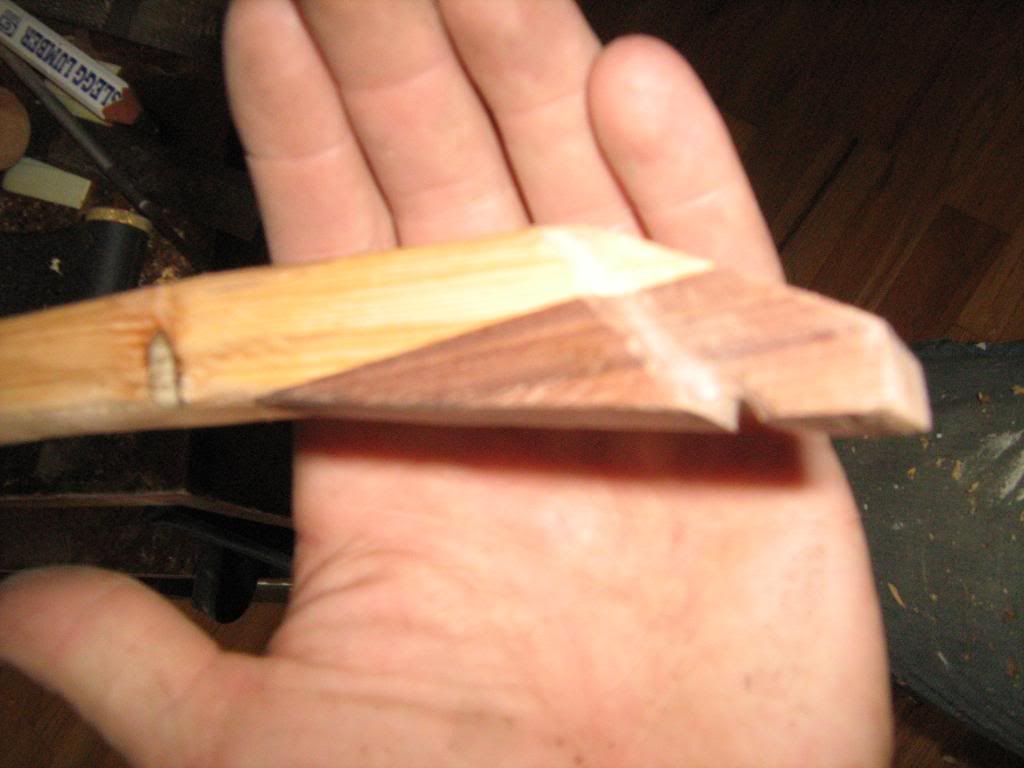
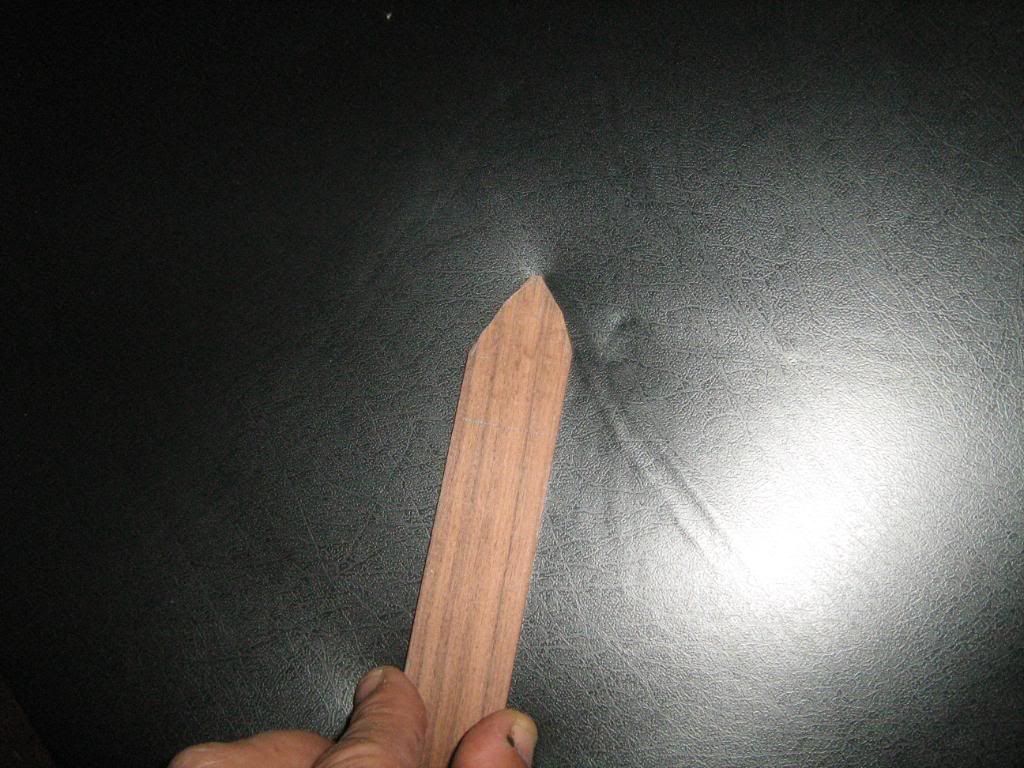
So i fixed the suckers and now they look like this.
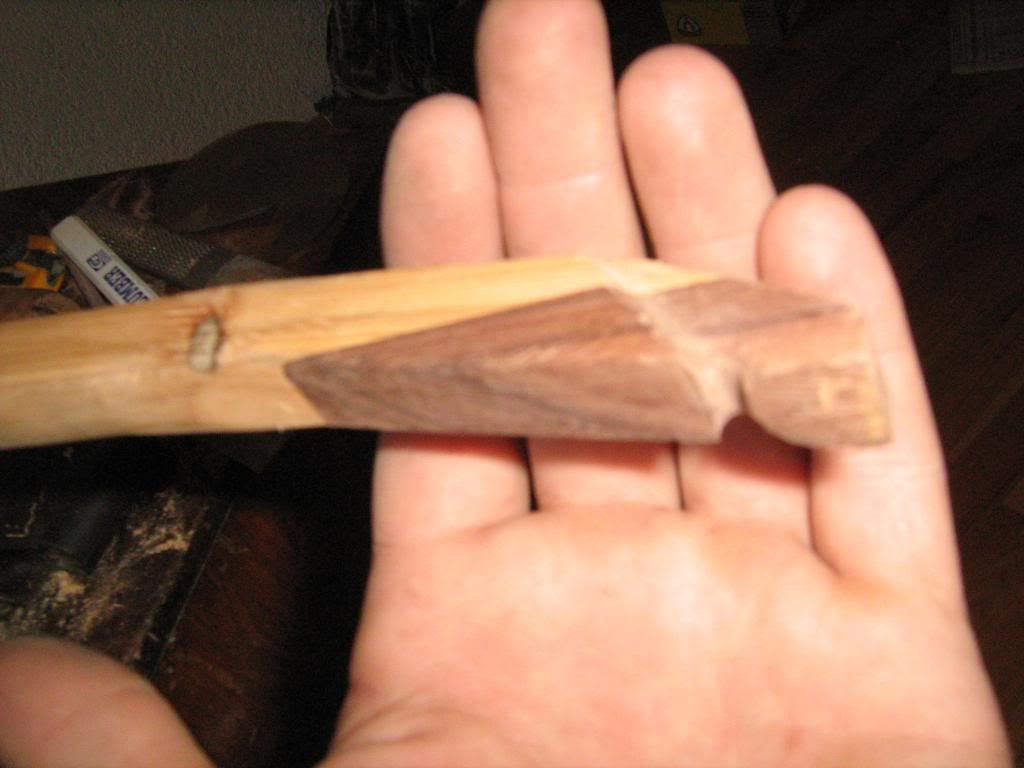
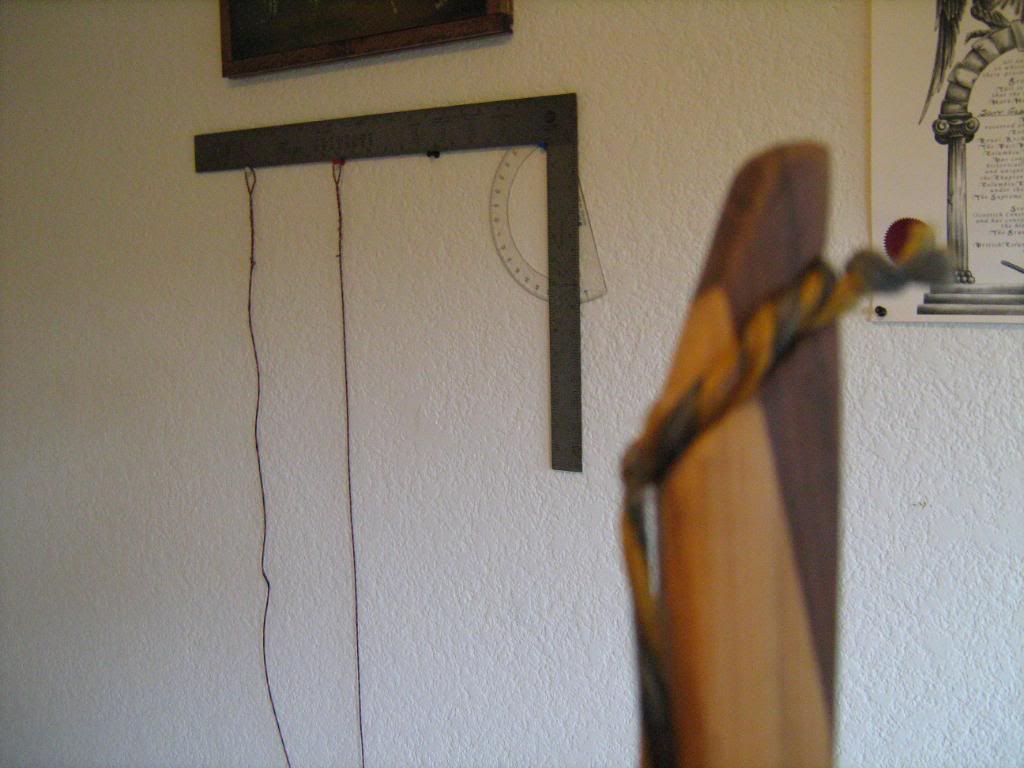
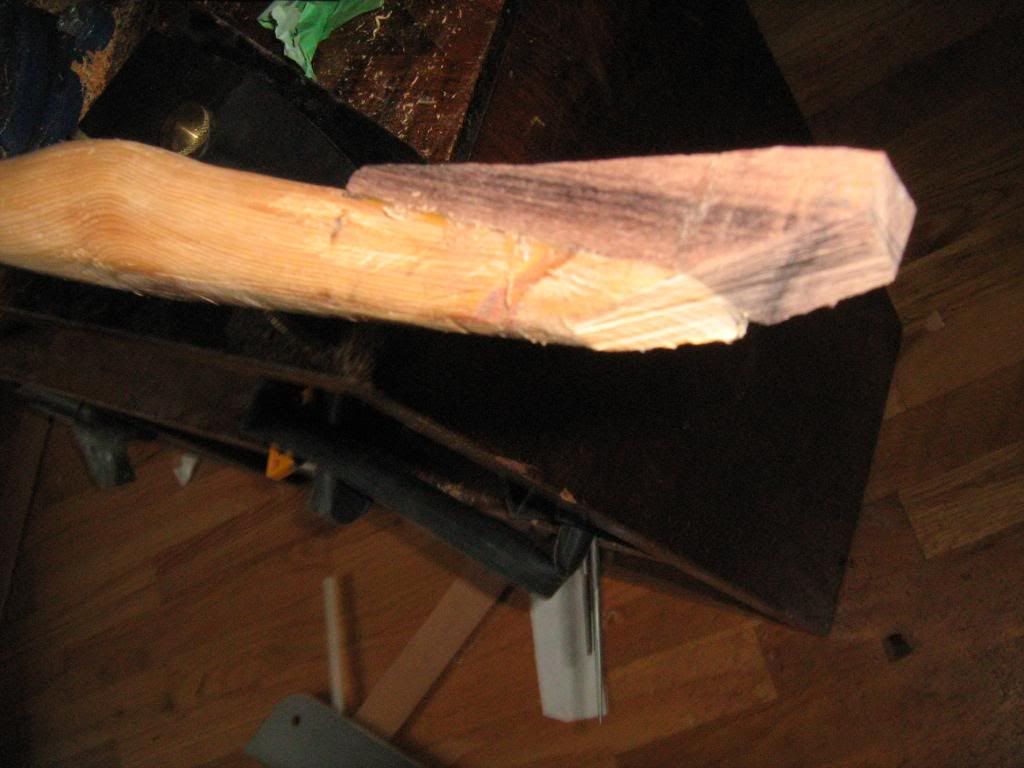
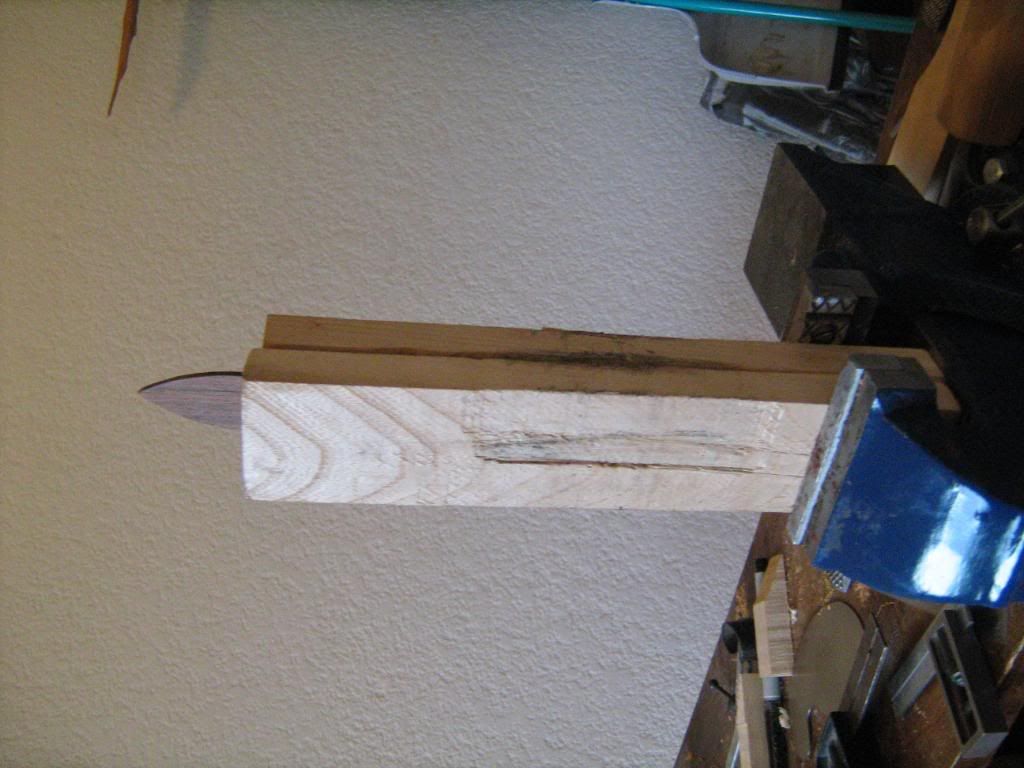
But then i thought, I've been concerned about tip mass the whole time, now the things look huge (even if they do look cool)...so i covered the belly portion with my scraper.
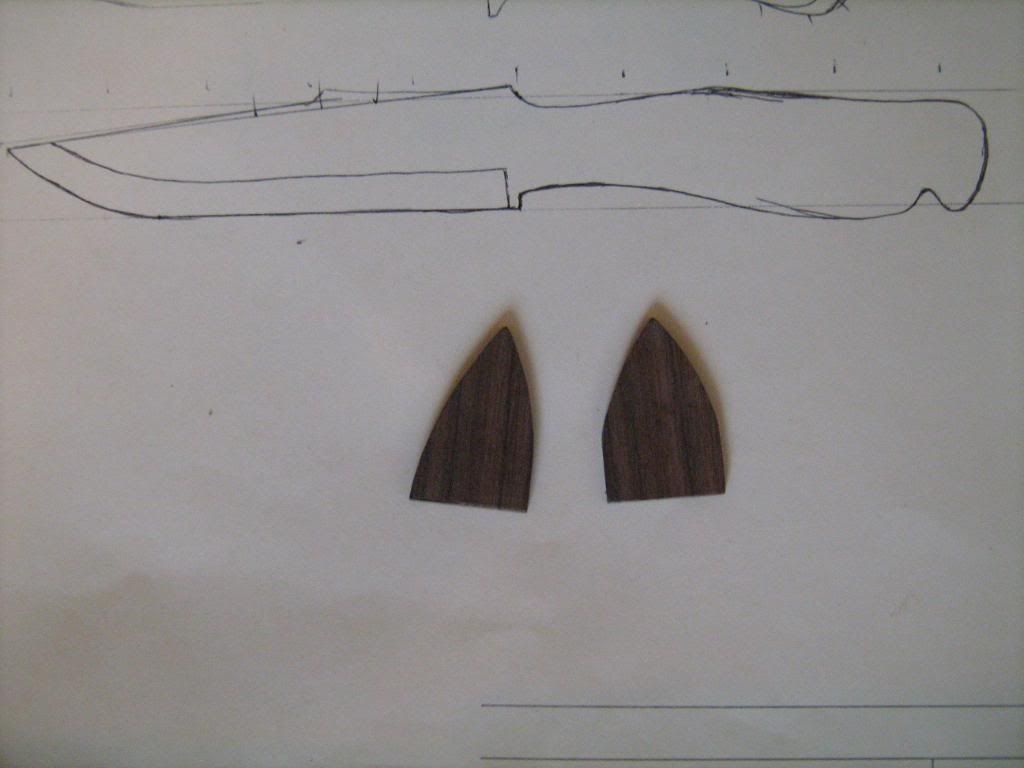
And then drew lines and cut them with a drawknife, scraper, and file. You'll see that in these photos, one of the tips still needs work at the belly transition.

NOW, THE INLAY
I don't really know how to do this, so i just make it up as i go. I'll show ya what i did.
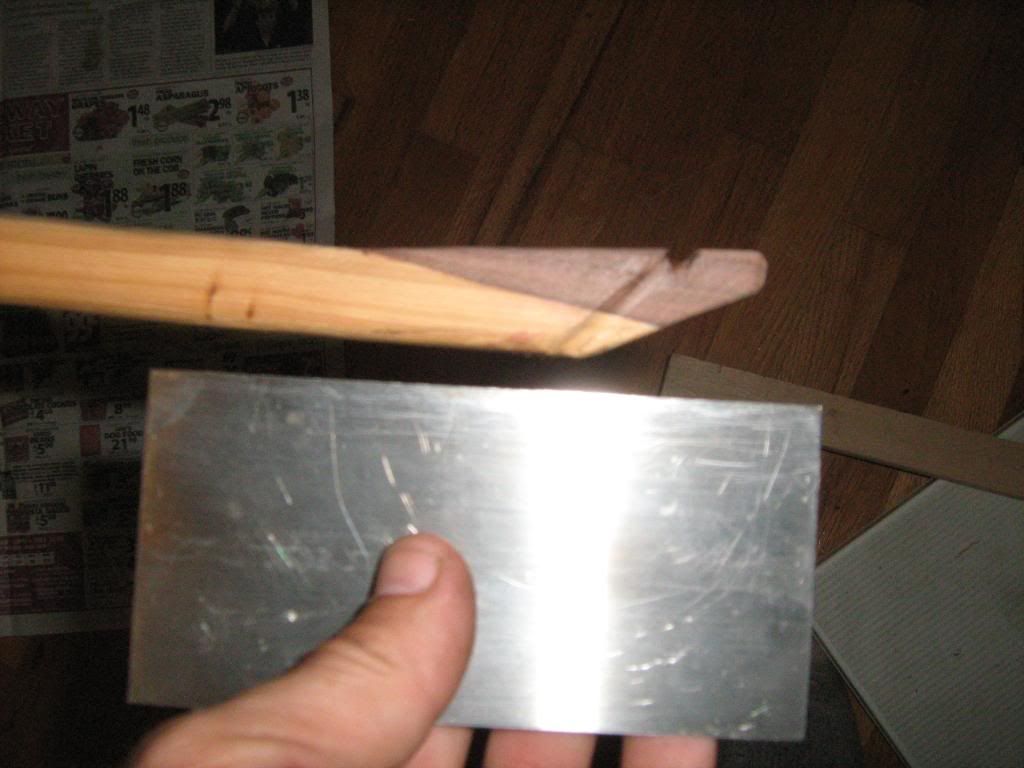
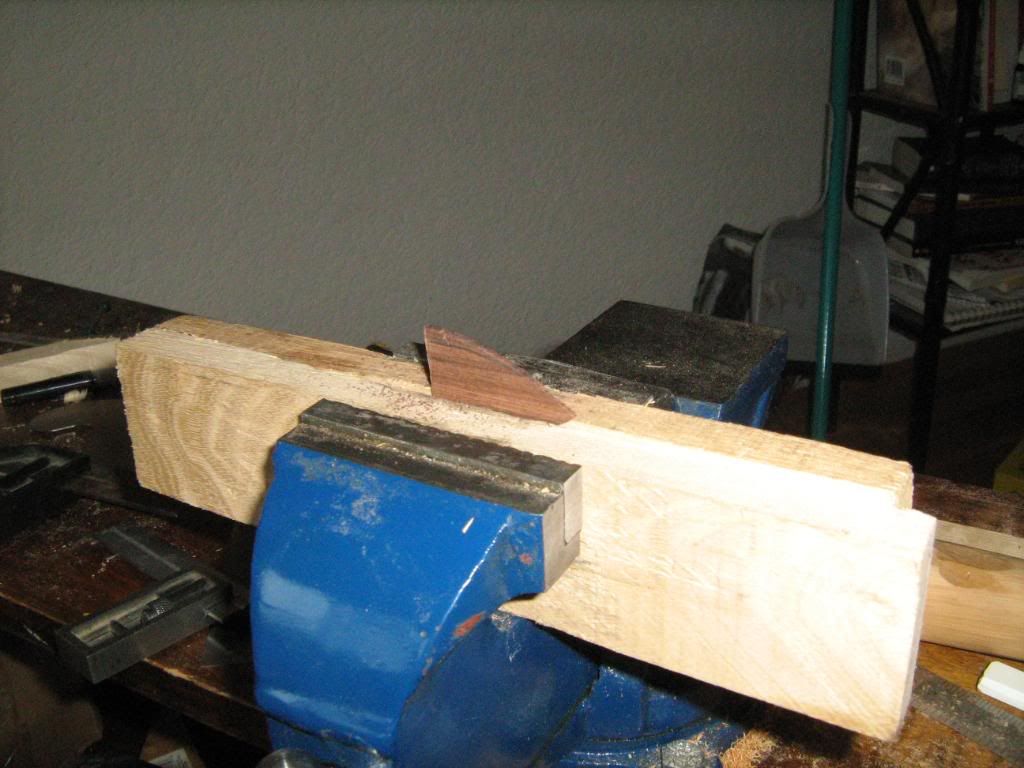
Here is the piece of rosewood that i used to make some inlay options. It is about 3/32 thick and 1 1/16 wide.
I used the edge of the gooseneck scraper to draw the arc. I made two options: 1 was arced to the center, the other was arced to about a third of the width. I hope that makes sense.
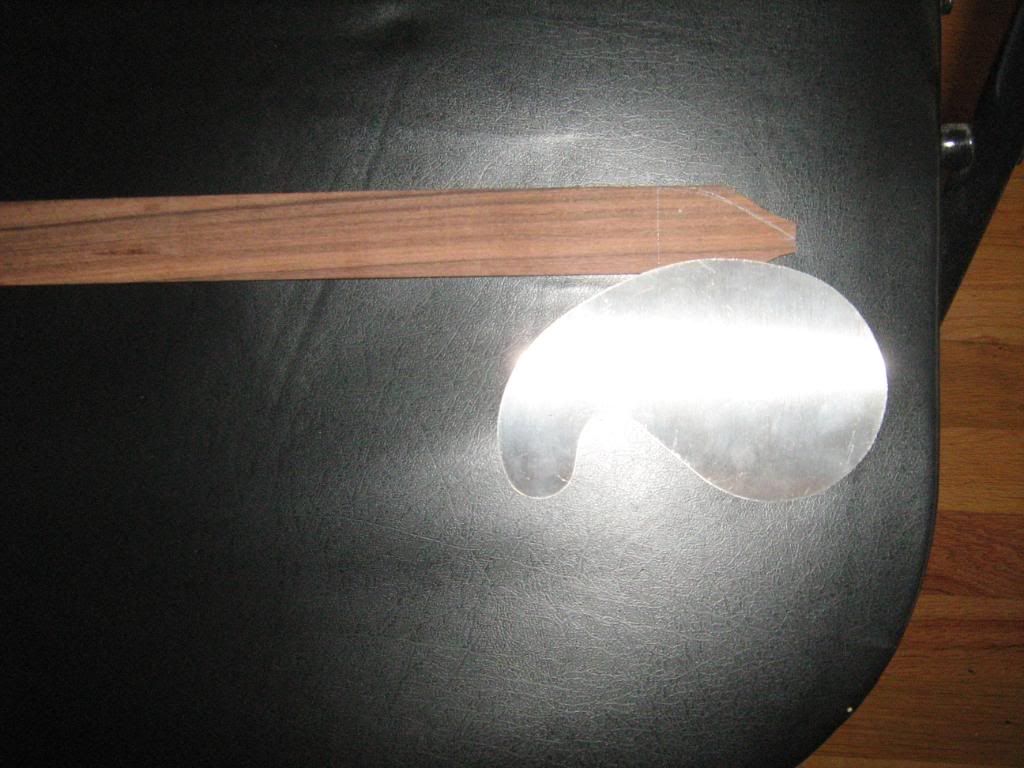
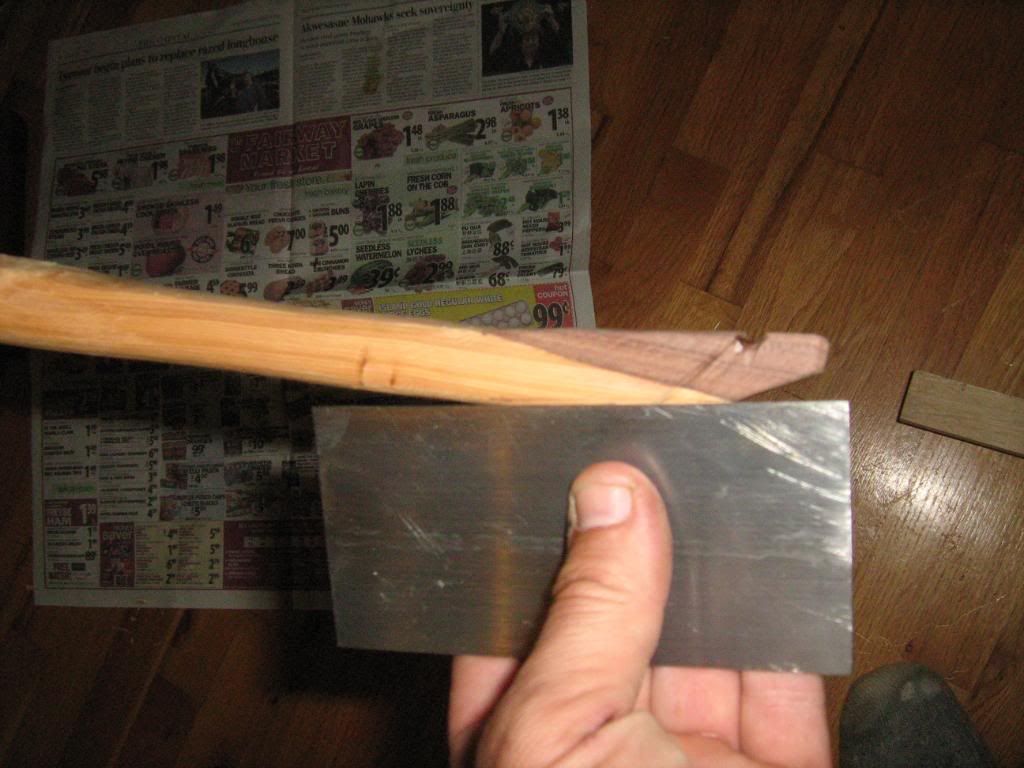
I chose the one which arcs off center.
But it turned out to be a little wide.
Perfect.
But...big gap.
I put the inlay in here, and heated it with the gun.
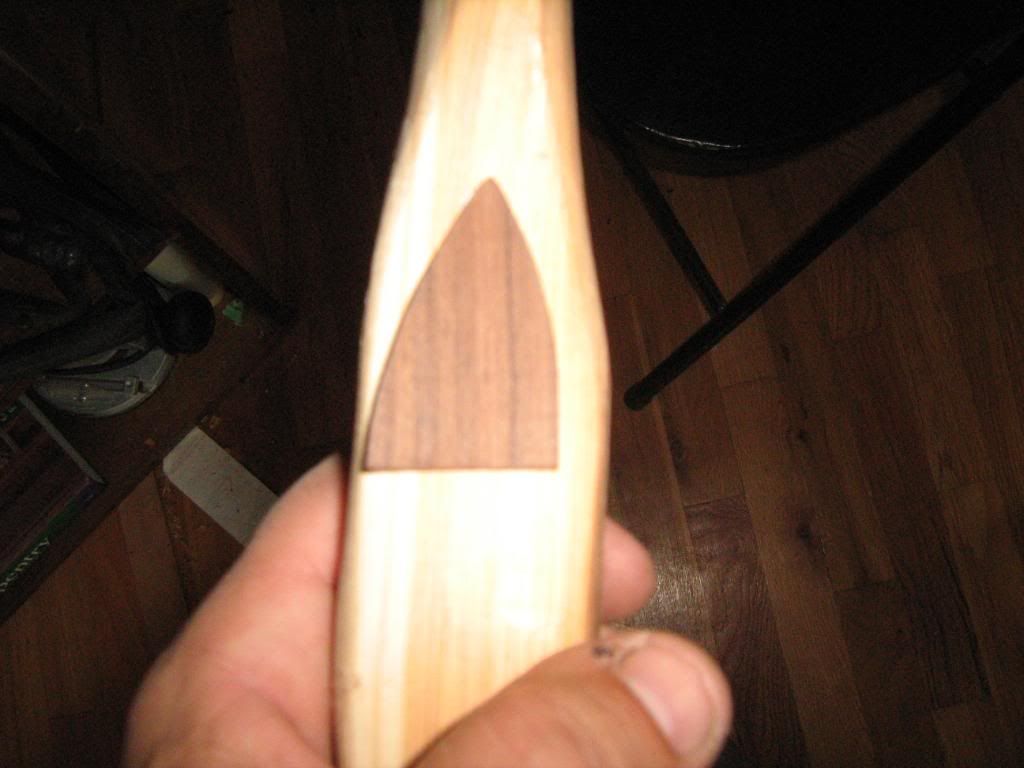
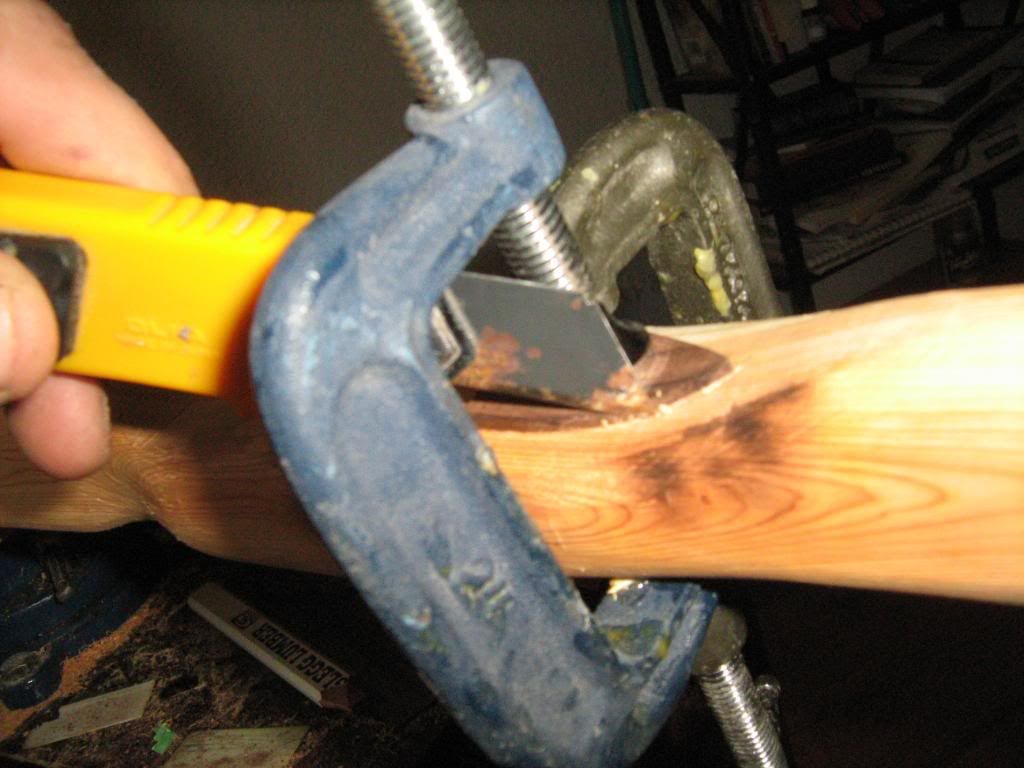
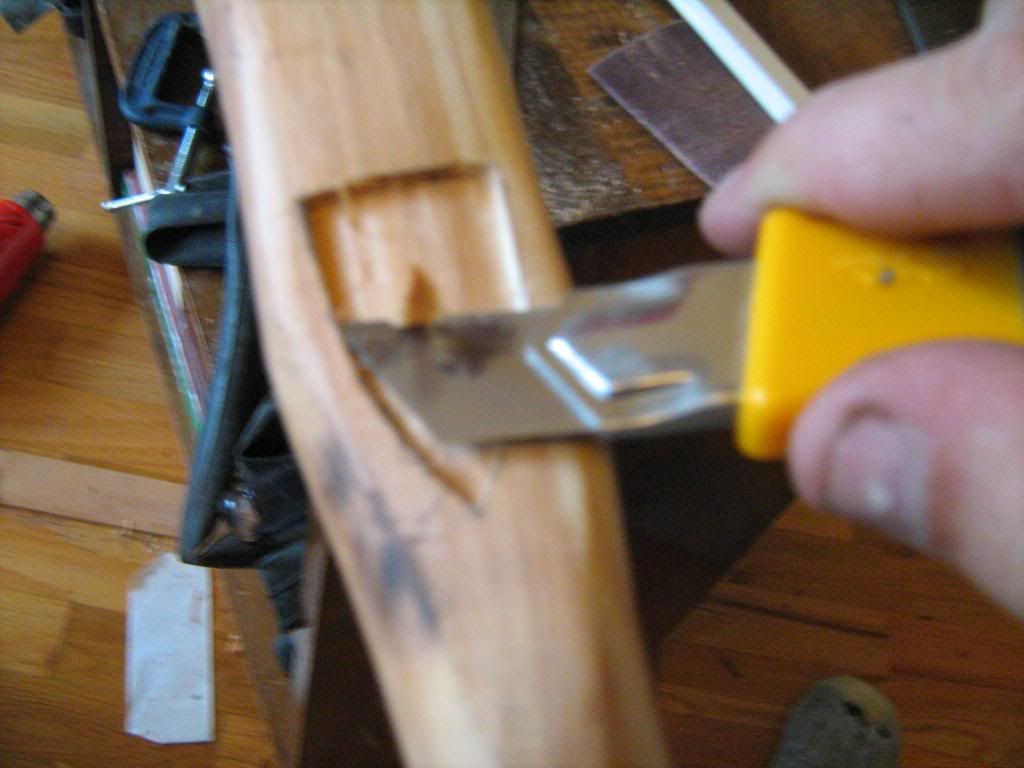
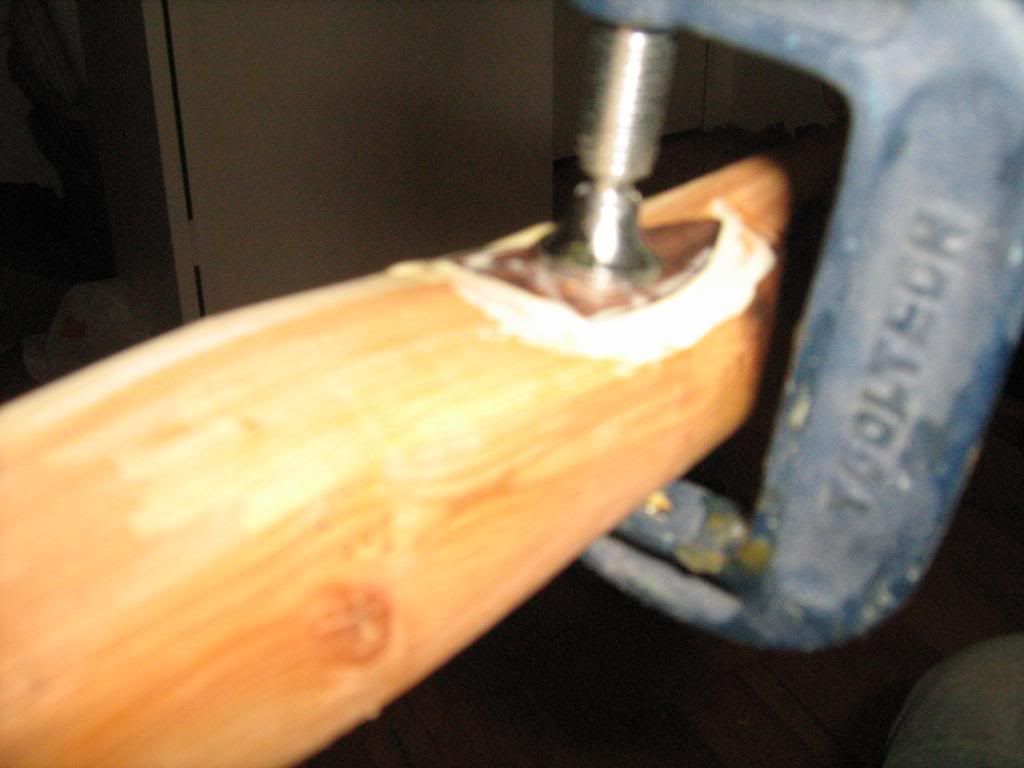
Then, i clamped it onto the side of the bow, and heated it further. Scorched the bow a bit, but that's ok. While i had the thing cooling down in the clamps, i marked its position with a RAZOR knife. Not a pencil. In fact i did more than mark it: i cut into the handle all the way around it, starting at the corners and pulling the knife in the "field".
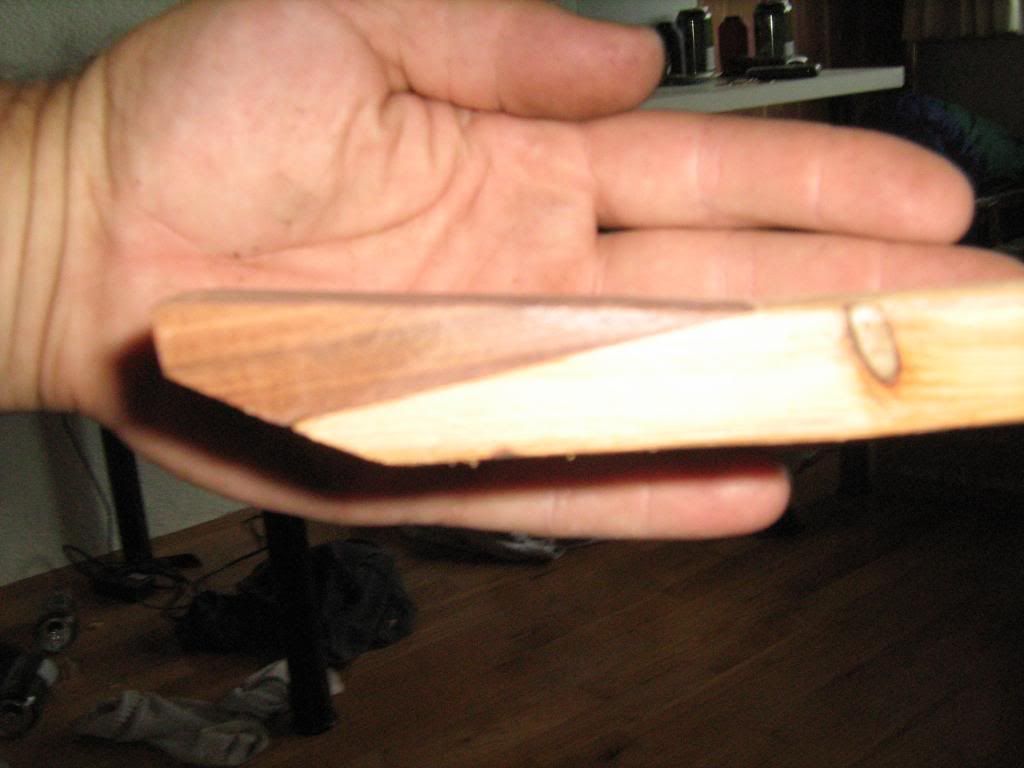
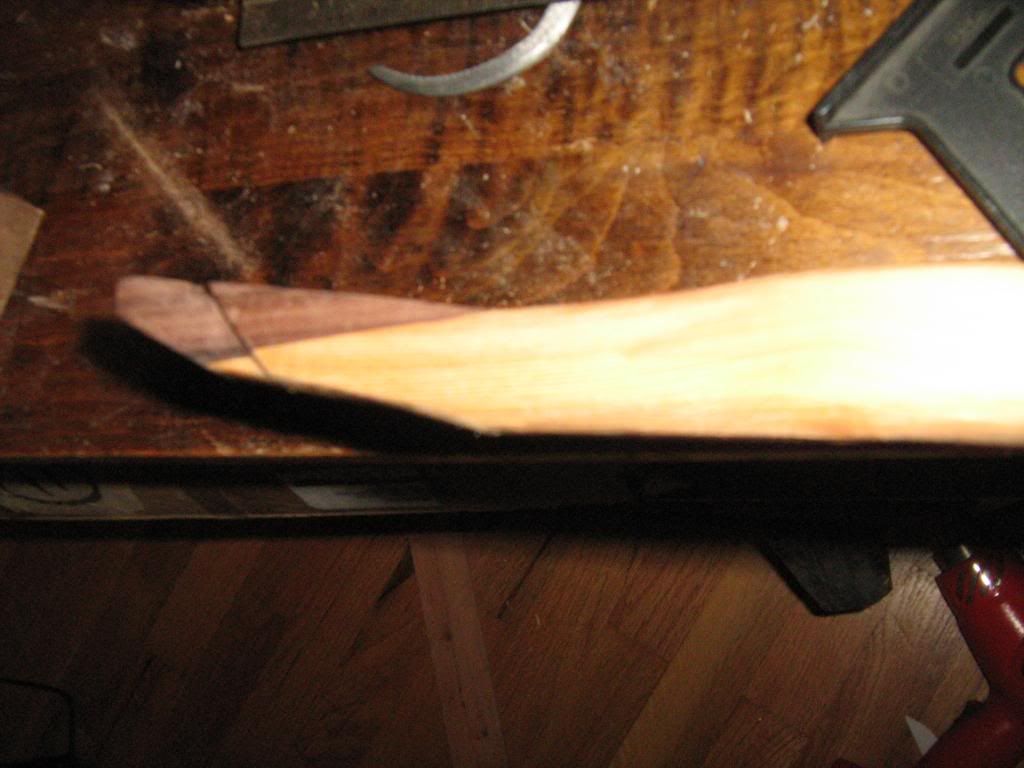
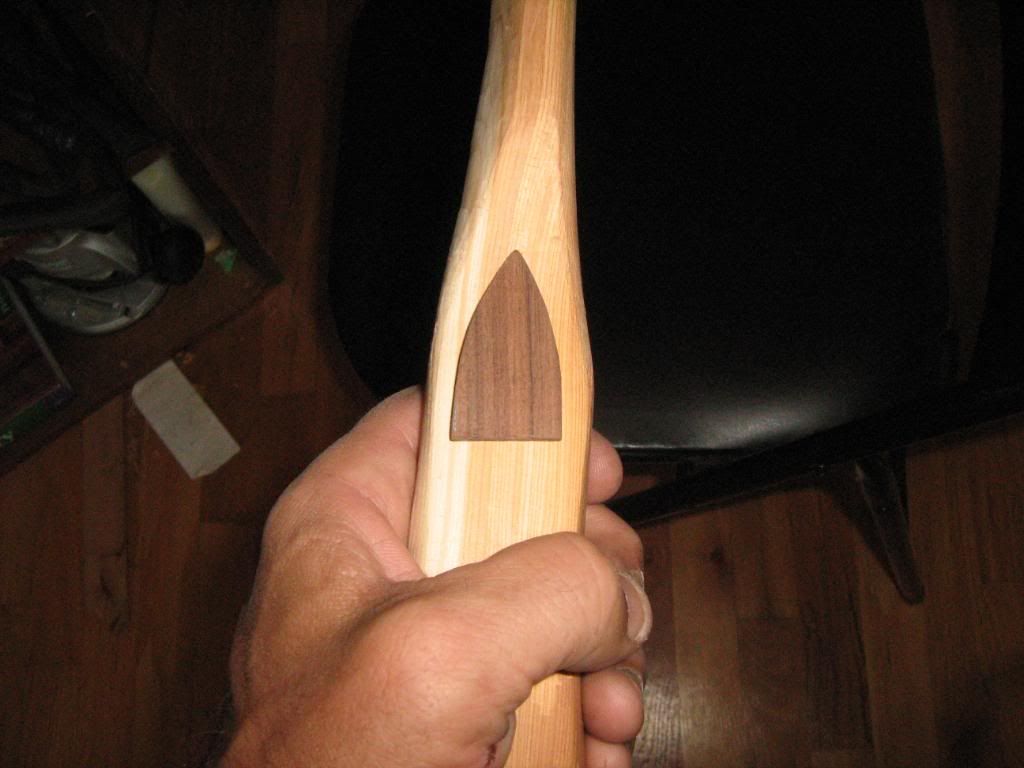
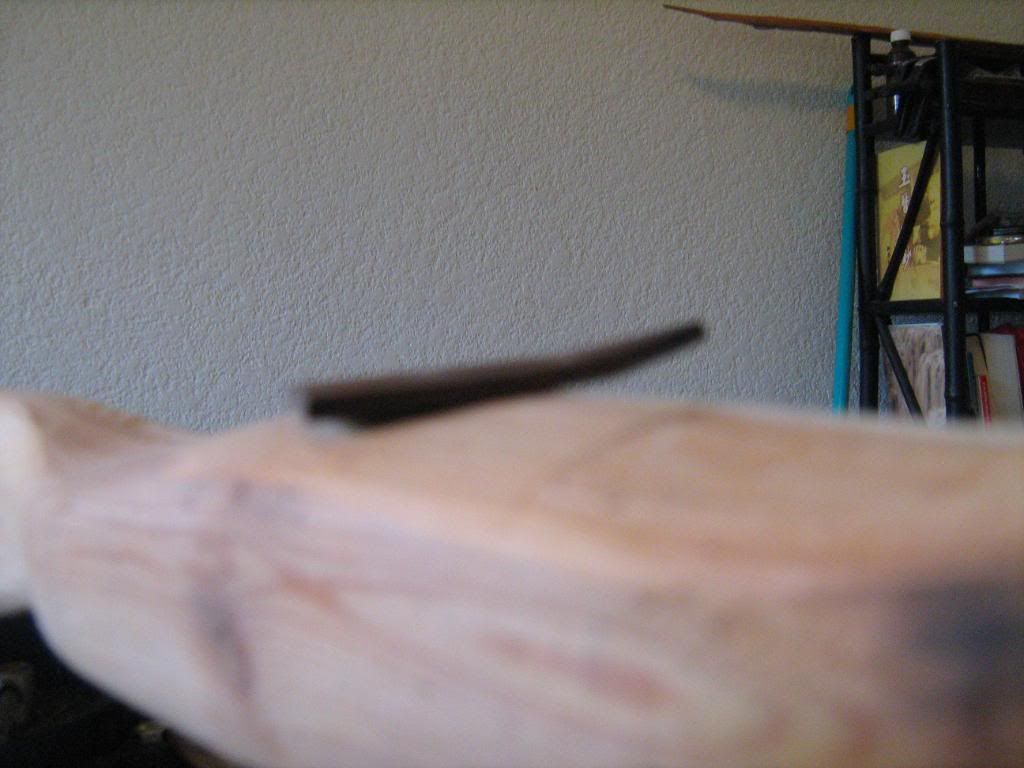
When i removed the clamps, the inlay had kept the shape of the handle, so it looked like a little boat.
You can see i installed the inlay with lots of glue. The old stairbuilder i used to work for said, "You can never have too much glue. But you can have too little." I remember that line every time i glue something up. Is he haunting me?
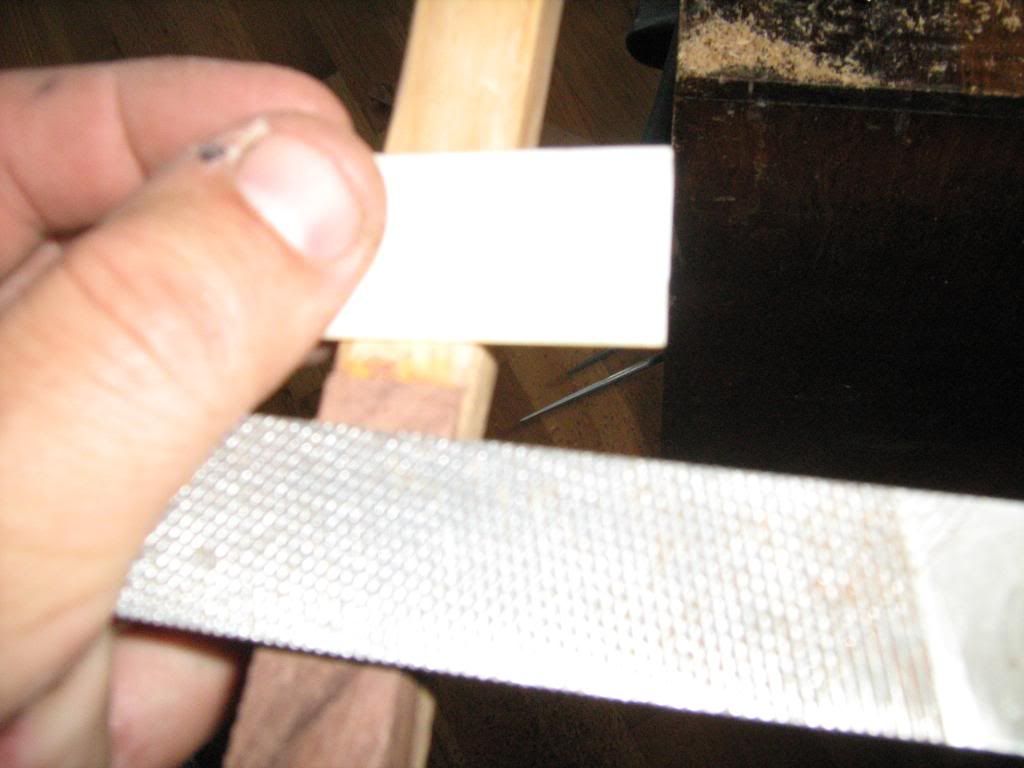
As for the ivory...i don't know how to work with it yet. I put some in water like he said, and it cupped pretty noticeably. I tried to cut some with my bandsaw and kablooie. But i found a great use for the little ivory slats: protection against file runoff. This is a 4in1 rasp, which i used a hell of a lot on this bow.