Author Topic: Leather handle 101 required please  (Read 5718 times)

0 Members and 1 Guest are viewing this topic.

Offline Red Dwarf

  • Member
  • Posts: 121
Leather handle 101 required please
« on: March 28, 2009, 11:05:17 pm »
I would like to put a stitched leather grip on a Bamboo backed Ipe bow that I have recently made but have many questions, such as:
what thickness leather should I be looking for, how do you get the right size to ensure a neat joint bearing in mind the changes in grip circumference for bulbous handles etc. , what is the best material for the thread etc. etc.
Any and all help greatly appreciated.

Red Dwarf

Offline knightd

  • Member
  • Posts: 1,392
    • www.primalneedarchery.com
Re: Leather handle 101 required please
« Reply #1 on: March 29, 2009, 04:04:44 am »
the weight of the leather is more of a personal preference to me. all I can say is thin enough to be flexible.. I take the leather cut a little larger than needed and wrap it around the handle then on the back side make a straight line on the leather with it wrapped around the handle. cut it then wrap it again and see where you will need to trim it to make it fit to the contour of your handle. If the leather is real flexible I would say leave around a 1/4" gap at the seam then when you lace it up it will stretch and close that gap but the gap will vary depending on the thickness of the leather..

Offline madcrow

  • Member
  • Posts: 1,531
  • Swift, Silent, and covered in wood shavings.
Re: Leather handle 101 required please
« Reply #2 on: March 29, 2009, 05:29:11 am »
I have used artificial sinew, waxed linen, dacron B- 50 and fly line backing to sew them up.  If you want to make an X pattern, mark your holes evenly spaced on both sides and have an even number.  The more holes you have, the smaller the stitches will be.  It is easier to use two needles.  Start in the #1 holes (from inside) and cross them over going into the #2 holes.  Left #1 to right #2, right #1 to left #2.  Bring the needle from right #2 over to left #2, and the needle that was in left #2 over to right #2 ( this is done inside the leather, between the leather and the wood.  This will make a solid line of X's down the grip.  If you want to skip a space between the X's, instead of bringing the needles out of the #2 holes, bring them out the #3 holes and start the X all over.  With the bulbous handles that I have done, it works easier for me to cut the leather in an hour glass shape  )(  because if I cut it straight, I end up pulling too hard around the large part of the bulb.  Also, if you wany a "cleaner" look, you can cut the leather 3/4" longer, put a little contact cement along the top and bottom 3/8" and fold them over.  Maybe someone will chime in with the baseball stitch, I have to go to work. :'( :'( :'(

Offline burn em up chuck

  • Member
  • Posts: 718
Re: Leather handle 101 required please
« Reply #3 on: March 29, 2009, 12:10:16 pm »
go to the build- a - long section and find gordons hazel build- a- long p.13,14, for handle const. better yet it's so good review the whole thing. i do all the time. good luck. the same is located in archive library easier to find.


                                                                                             chuck
« Last Edit: March 29, 2009, 12:19:22 pm by evldwrf »
Honored to say I'm a Member of the
         
                 Twin Oaks Bowhunters club

Offline OldBow

  • Member
  • Posts: 2,216
  • I'm just an old retired biology teacher.
Re: Leather handle 101 required please
« Reply #4 on: March 29, 2009, 12:43:57 pm »
Here are pictures of the handle of GregB's January BOM winner. Some of the best leathercraft I have seen. Hardly 101, though, more like graduate school.

[attachment deleted by admin]
When you're retired, every day is Saturday

Offline Red Dwarf

  • Member
  • Posts: 121
Re: Leather handle 101 required please
« Reply #5 on: April 02, 2009, 09:27:21 pm »
That sure is beautiful work!

I have ordered some artificial sinew, have borrowed a leather punch from a friend and will see what I can do as soon as the thread arrives.

Thanks for pointing me in the right direction guys.


Red Dwarf

Offline M-P

  • Member
  • Posts: 876
  • PA731115
    • Traveling Surgery
Re: Leather handle 101 required please
« Reply #6 on: April 02, 2009, 09:51:16 pm »
Red Dwarf,  Use the hole punch if you are applying lacing (like that beautiful handle just posted.)  For thread or artificial sinew you should punch the holes with an awl.  If you don't have an awl, just go out to your shop and stick a small nail in a piece of dowel, or other scrap.  Then cut off the nail head and sharpen the cut end of the nail.   Ron
"A man should make his own arrows."   Omaha proverb   

"There are three kinds of men. The one that learns by reading. The few who learn by observation. The rest of them have to pee on the electric fence for themselves."    Will Rogers

Offline George Tsoukalas

  • Member
  • Posts: 9,425
    • Traditional and Primitive Archers
Re: Leather handle 101 required please
« Reply #7 on: April 02, 2009, 11:26:14 pm »
Set Happens!
If you ain't breakin' you ain't makin!

Adam Keiper

  • Guest
Re: Leather handle 101 required please
« Reply #8 on: April 03, 2009, 12:50:31 am »
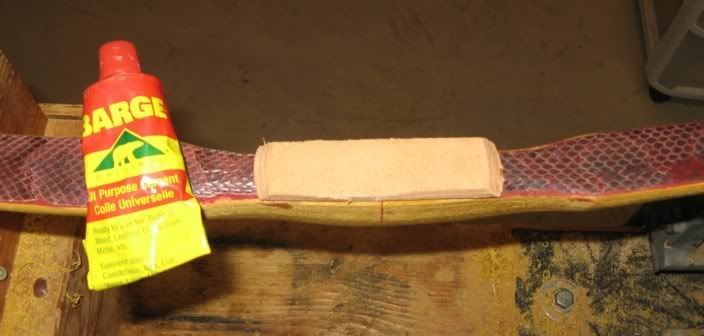
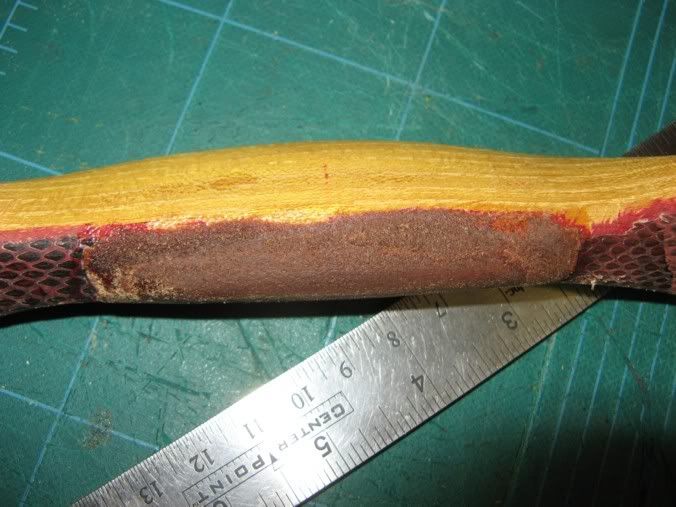
I like to start out by getting the handle shaped nicely before the bow reaches final tiller.  Final shaping the grip first removes the possibility that it could cause a tweak in the tiller later.  Final shaping includes making a nice rounded back without any sharp corners.  Instead of cutting (rounding) deeply into the meat of the back ring, I like to glue a couple layers of split leather onto the back, which can be rounded without compromising the integrity of the bow.  Barge cement works nicely for gluing.


Next, I rough trim and shape the leather with a hobby knife and then rasp.


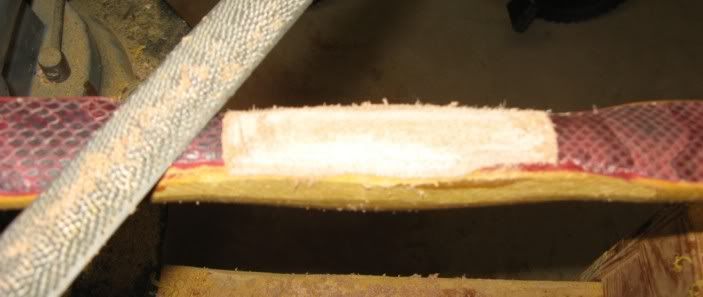
But the leather will shred somewhat.  To get a clean shape that blends with the wood, I soak the leather in runny superglue, applied with a latex gloved finger.


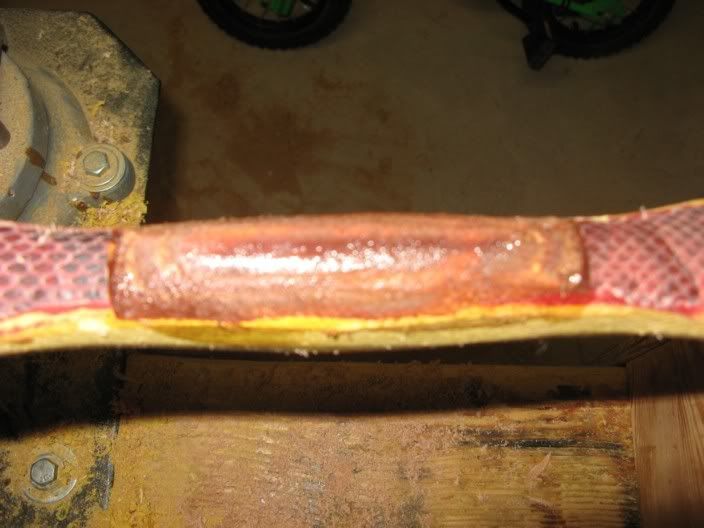
When the glue dries, it hardens the leather and allows it to be worked much like wood.  Rasping, filing, and sanding can be finished then, often with another coating of superglue somewhere in between to coat soft leather that becomes exposed.


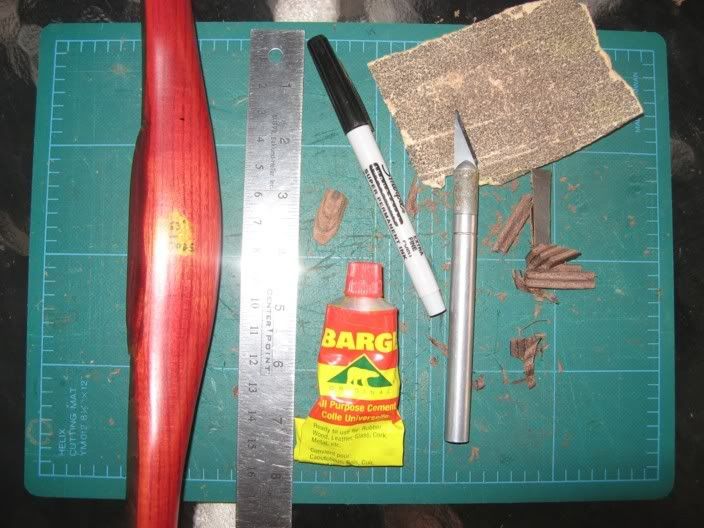
After the bow has been tillered, shot in, and finished, I apply a small leather shelf made from 3 pieces of glued up latigo.  Barge cement, again, works nicely.


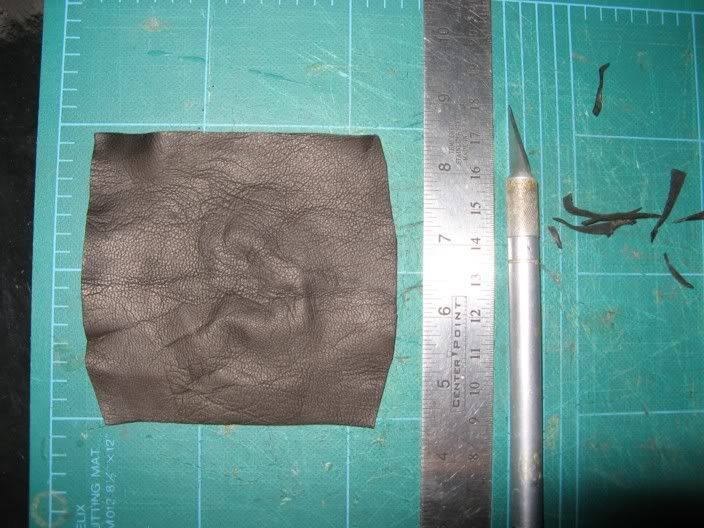
And finally, it's on to adding the actual leather grip.  I prefer fairly thin, supple leather.  Deerskin or kidskin (goatskin) is my preference.  Use a staightedge to cut a perfectly square block of leather initially.  Leave an extra 1/2-inch on the top and bottom ends if you plan to fold them over for a really "finished" look.  Stretch the leather around the grip to test the fit.  Trim the corners slightly to fit the grip geometry.  For a neat appearance, it should require a somewhat snug pull to get the edges to meet along the back of the bow.


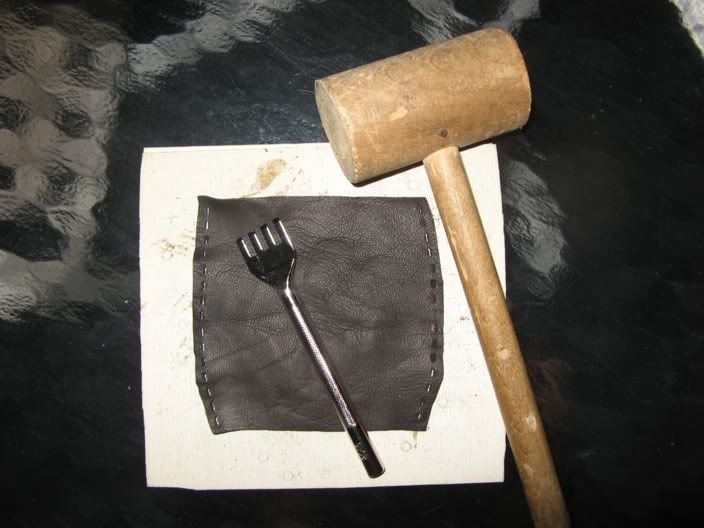
A multi-pronged punch is ideal for making neatly aligned holes for the lacing.  I have a few different sizes for the type/thickness of lacing that I plan to use.  An awl, sharp nail, or drill bit will work, too.


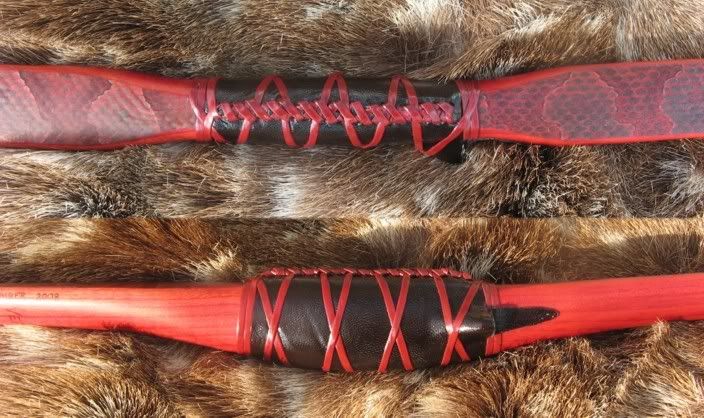
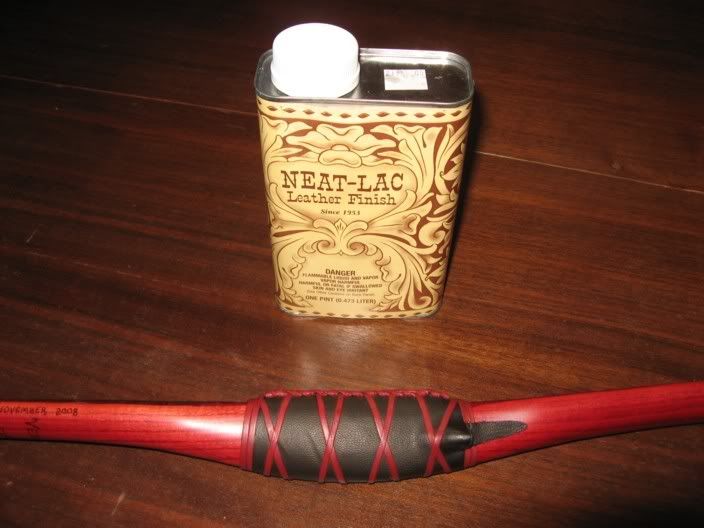
To attach the grip, I coat the sides and belly of the wood with Barge.  I apply it somewhat thicker around the leather shelf and also apply it correspondingly on the leather to assure there is good adhesion around the shelf.  Barge grabs the grip on contact and leaves little room for placement error, so be sure to get it right the first time.  The best way that I've found to do this is to set the leather grip on the workbench and slowly lower the belly of the bow into place.  Stretch the leather around to the back of the bow, making sure to press and hold the leather grip in firmly against the leather shelf for the Barge to bite.  If you want a little wiggle room, just use the Barge around the leather shelf and use much slower setting Titebond along the rest of the sides and belly.  Using two needles, you can then make a neat baseball or X-stitch down the back.  I used leather lacing on this grip.  If you want to seal your grip, you can coat it in Leather Lac.  Or if you used a paraffin finish, that works great over porous type leathers, too. 


When you're done, enjoy and shoot!

Offline Pat B

  • Administrator
  • Member
  • Posts: 37,542
Re: Leather handle 101 required please
« Reply #9 on: April 03, 2009, 01:21:29 am »
Beautiful work, AK. Thanks for posting it! ;)
Make the most of all that comes and the least of all that goes!    Pat Brennan  Brevard, NC