I always strive for logs 6’ or longer. We can always cut them off later, or when a problem arises, such as with this log. A lot easier to cut off than add.
I use marking paint to mark problem areas on the log. If I have it along while cutting, I’ll mark them at that time, while the critical eye is at work. In the field, one sees things that need remembered, and then forgets about them later. Painting trouble areas will keep you from having surprises later. This log has a few, namely a big ole knot towards the small end.
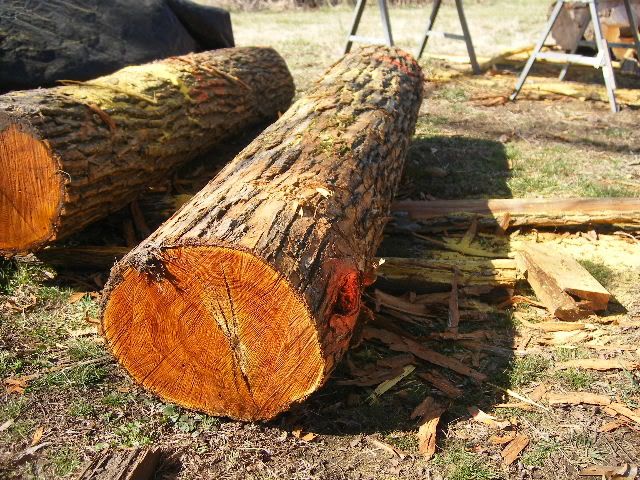
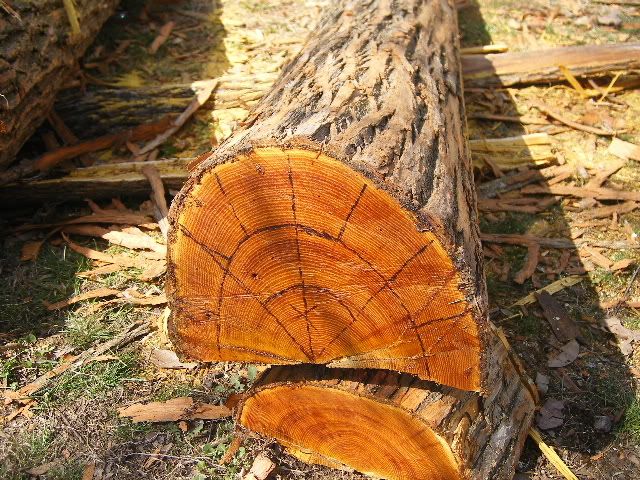
It is 12” across the small end, and 7 foot in length. I always try to split from top to bottom, if you start a split the size you want it on the small end, it will always be bigger at the other end once it is split. Start it from the flare end, (big end or stump end) and it will shrink, yielding you a narrow ended stave. (This is in most cases).
In this picture I have draw knifed off the outer bark and chalked a line end to end. The center check is quite visible and it lines up on the opposite end, so the split will follow it. I then went ahead and cut one foot off the end to get past the big knot, this will help with the splits and give me a better reading of growth rings, as wood will bunch up around knots showing tighter than the rest of the wood, sometimes changing your mind as to how you want to split it. By cutting past it, we will get down to where the rings are more normal again. It also will make it easier to split. Probably didn’t have to saw a kerf on this one, but did anyhow.

A few whacks and she is apart.
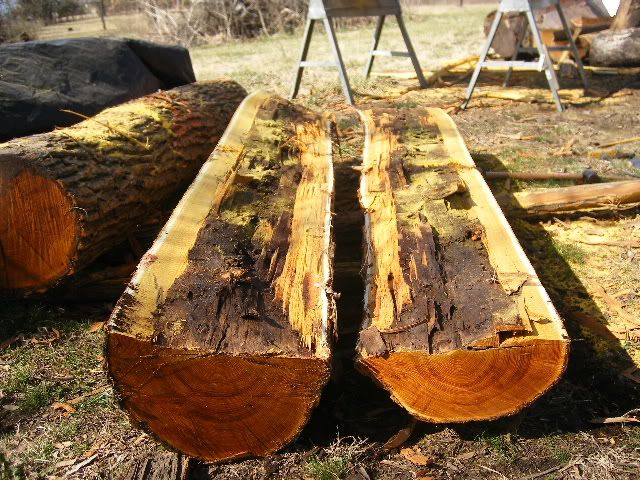
I layed out for my splits and sawed a kerf for the first one. After splitting, I saw that the wood wanted to run off the kerf, telling me that there was some twist. I didn’t kerf anymore on this log and let the splits follow their natural grain. Just start your split on the end grain on or close to your mark, and after it starts to open, finish down the sides with bigger wedges.
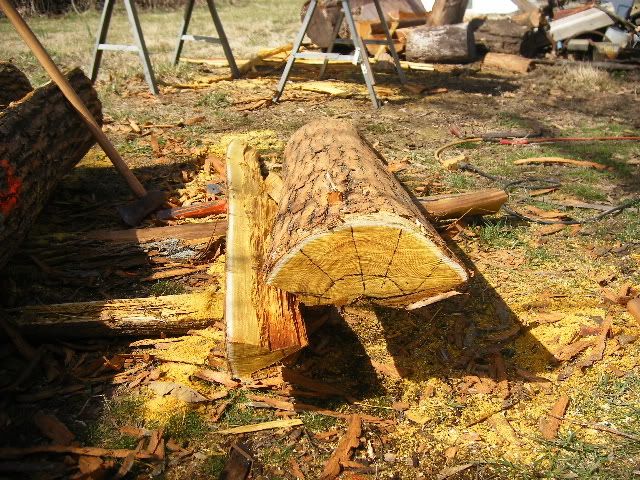
They all came out well.
I then turned to the bigger half and layed it out. You can see I have multiple staves layed out here. How to get to them is easier than one thinks. Since I had a bit of trouble with the split following the bark kerf on the sister half, I run a kerf straight down the end grain on this one, as deep as the saw would cut. (Sorry I forgot to take a picture of it) but you get the idea? Set two wedges (one up high, and one down low), and keep them going in the same, hit one first, then the other until they are set, and the wood starts to open. This will keep the split started straight so it won’t veer off to one side, and ruin a chance at another full belly stave.
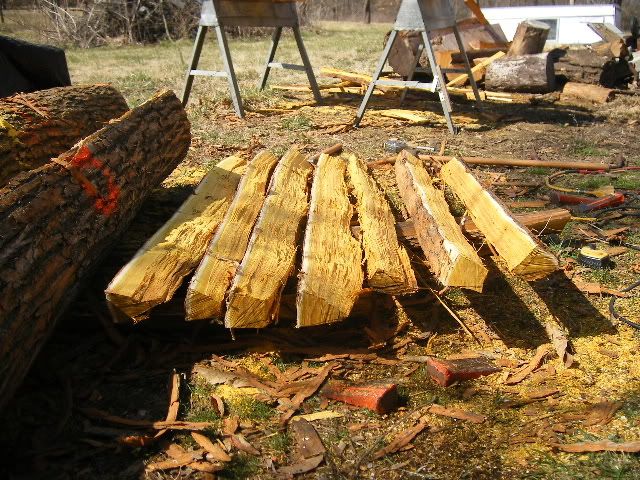
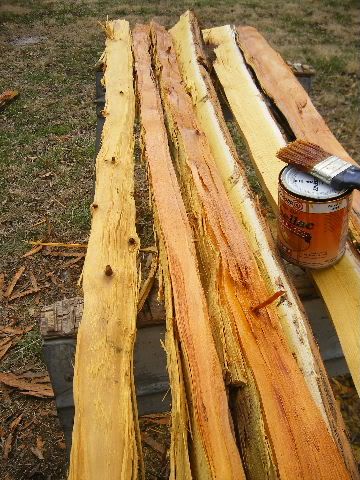
I split the log in half, and then into quarters. From there I finished it just like the others, taking bellies off first, then the outsides.
This side had some very nice outer splits but as you can see, as a youngster, it was a busy boy? There were however a couple very nice clean snakey pieces within. Kind of odd, given all the knots in the sisters.
Most of you have seen this pic already.

This is the basics.There is alot more that I could have went into about this, but I figure most here will figure it out on their own. If ya have any more questions, please ask. If I can't help,then I am sure there is someone here that can.